
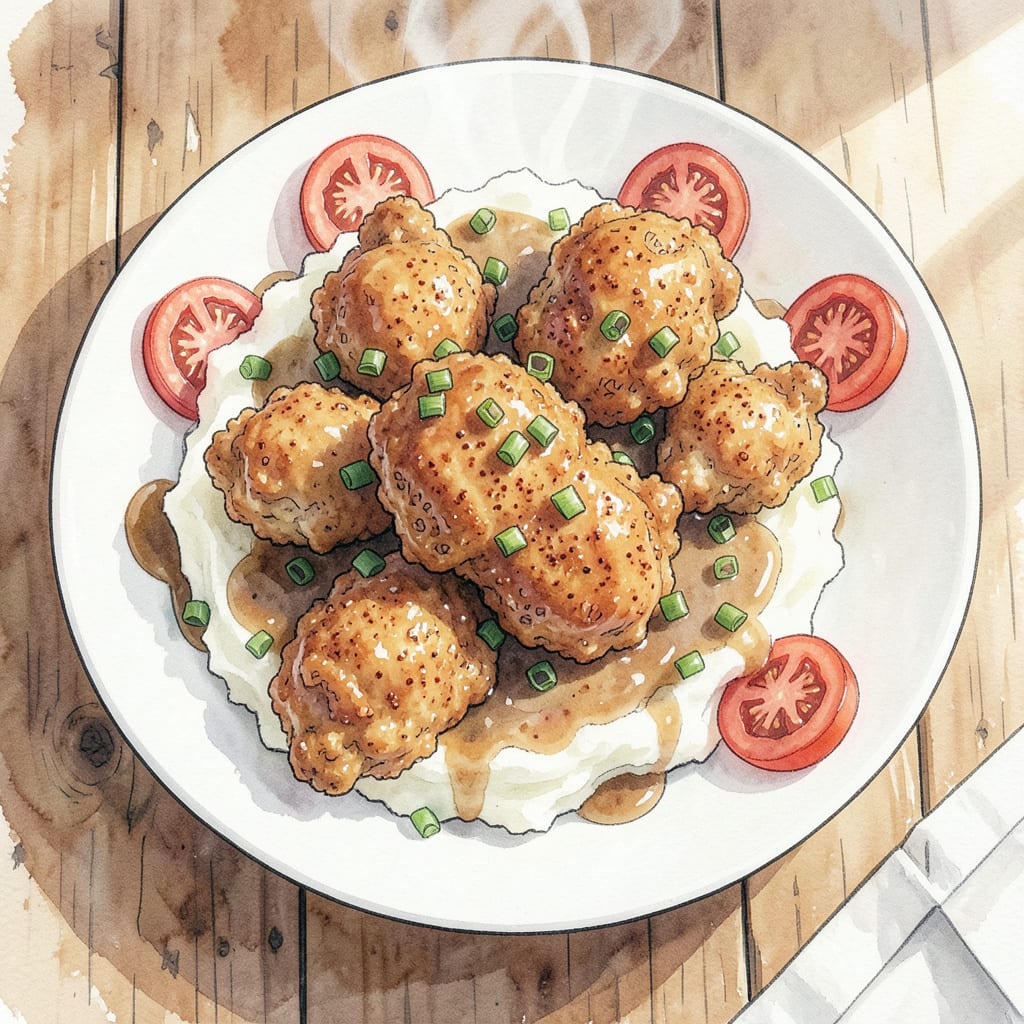
Achieving crispy fried chicken perfection is easier than you think. I’ve mastered this blue ribbon recipe through trial and error, ensuring every bite is golden and delicious.
With precise temperature control and a special coating technique, you’ll get restaurant-quality fried chicken at home. Follow these steps for a mouth-watering dish that’s sure to impress.
Ingredients for Blue Ribbon Fried Chicken
Twelve ingredients to crispy fried chicken perfection. Restaurant-quality results every time, guaranteed.
| Ingredient | Amount | Notes |
|---|---|---|
| Chicken Pieces 🍗 | 2 lb | Mixed parts, bone-in preferred |
| All-Purpose Flour 🌾 | 2 cups | For dredging chicken |
| Cornstarch 🌾 | ½ cup | For extra crispiness |
| Paprika 🌶️ | 2 tbsp | Smoked or sweet variety |
| Garlic Powder 🧄 | 1 tbsp | Not garlic salt |
| Onion Powder 🧅 | 1 tbsp | Fresh ground preferred |
| Salt 🧂 | 1 tbsp | Kosher or sea salt |
| Black Pepper 🌶️ | 1 tsp | Freshly ground preferred |
| Cayenne Pepper 🔥 | ½ tsp | Adjust for heat preference |
| Buttermilk 🥛 | 2 cups | For marinating chicken |
| Vegetable Oil 🫒 | 4 cups | For frying, peanut oil works too |
| Fresh Parsley 🌿 | ¼ cup | Chopped, for garnish |
The secret to crispy fried chicken starts with quality ingredients. I grab my spices from Penzeys for that extra depth of flavor. For the chicken, mixed parts (legs, thighs, breasts) work best—bone-in gives you that juicy interior. Don’t skimp on the buttermilk; it tenderizes the meat beautifully. If you’re out, make a quick substitute with milk and lemon juice or plain yogurt.
No buttermilk? No problem. Milk with a splash of vinegar or yogurt thinned with milk works in a pinch. Want extra heat? Bump up the cayenne or add some hot sauce to the buttermilk. The cornstarch is non-negotiable for that crispy crust. If you’re missing paprika, chili powder can work as a substitute, just be aware it adds a bit more heat. For an extra crunchy coating, try chilling the breaded chicken for 30 minutes before frying.
Fried chicken is best fresh, but leftovers keep in the fridge for 3-4 days. Reheat in the oven at 375°F to crisp it back up—don’t microwave. Keep that leftover chicken in an airtight container to maintain freshness. You can also freeze cooked chicken for up to 3 months—just thaw and re-crisp in the oven.
Step-by-Step Instructions for Blue Ribbon Fried Chicken
Here’s the method that delivers that perfect blue ribbon fried chicken every time.
Step 1: Marinate the Chicken in Buttermilk
Start by combining the 2 lb Chicken Pieces and 2 cups Buttermilk in a large bowl or zip-top plastic bag. I like to use a mix of chicken parts for variety in texture and flavor. Make sure the chicken is fully submerged in the buttermilk—if necessary, weigh down the top pieces with a plate. Cover or seal and refrigerate for at least 2 hours or overnight for best results.
The acidity in the buttermilk will tenderize the chicken and help the coating adhere better. You’ll notice the chicken pieces become more pliable and develop a slight tanginess after marinating.
Step 2: Prepare the Dredge Mixture
In a large bowl, whisk together the 2 cups All-Purpose Flour, 0.5 cup Cornstarch, 2 tbsp Paprika, 1 tbsp Garlic Powder, 1 tbsp Onion Powder, 1 tbsp Salt, 1 tsp Black Pepper, and 0.5 tsp Cayenne Pepper. I prefer to use a mix of spices that complement the richness of the chicken without overpowering it. Make sure to break up any lumps in the flour mixture for an even coating.
The cornstarch is crucial for achieving that extra crispy exterior. It helps prevent the coating from becoming soggy during frying.
Step 3: Dredge the Chicken
Remove the chicken pieces from the buttermilk marinade, allowing any excess to drip off. Dredge the chicken in the flour mixture, pressing the coating onto the chicken to ensure it adheres well. I like to use a pair of tongs for this step to minimize mess. Place the coated chicken on a wire rack set over a baking sheet to catch any excess flour.
For an extra crispy coating, you can double-dredge the chicken by dipping it back into the buttermilk and then into the flour mixture again. This step is optional but recommended for that perfect blue ribbon crunch.
Step 4: Fry the Chicken to Perfection
Heat the 4 cups Vegetable Oil in a large Dutch oven or heavy-bottomed pot to 350°F. I prefer to use a thermometer to ensure the oil reaches the correct temperature. Once hot, carefully add a few pieces of the coated chicken to the oil—don’t overcrowd the pot. Fry for 8-10 minutes until the coating is golden brown and the internal temperature reaches 165°F.
Maintain the oil temperature between 325°F and 350°F throughout frying. Adjust the heat as necessary to keep it consistent. You’ll know the chicken is done when it reaches the correct internal temperature and the coating is crispy.
Step 5: Drain and Garnish
Using tongs, remove the fried chicken from the oil and place it on a wire rack or paper towels to drain excess oil. Let it rest for a few minutes before serving. Just before serving, sprinkle with additional salt if needed and garnish with 0.25 cup Fresh Parsley for a fresh touch.
Serve the fried chicken hot and enjoy the crispy exterior and juicy interior. This blue ribbon fried chicken is perfect for any occasion, from casual dinners to special gatherings.
Essential Equipment for Perfect Results
Essential Cooking Equipment
For perfect blue ribbon fried chicken, you’ll need some essential equipment. First, a large Dutch oven or heavy-bottomed pot is crucial for maintaining consistent oil temperature. I prefer Lodge cast iron for its heat retention properties. 🔥
Thermometer for Precision
A deep-fry thermometer is non-negotiable for achieving that perfect crisp. I use a ThermoWorks Smoke thermometer because it provides accurate readings even at high temperatures. This ensures your oil stays between 325°F and 350°F throughout frying.
Tongs and Wire Rack
Long-handled tongs are essential for safely adding and removing chicken from hot oil. A wire rack set over a baking sheet helps excess flour fall off before frying and allows excess oil to drip off after frying. These simple tools make the process much cleaner and more efficient.
Additional Tools
Other helpful tools include a large bowl for marinating chicken, a whisk for mixing the dredge, and a plate or tray for holding breaded chicken. Having all your equipment ready before starting makes the cooking process smoother and more enjoyable.
Optional Equipment
For those who want to take their fried chicken game to the next level, consider investing in a frying thermometer with a probe that can monitor temperature continuously. Some cooks also swear by a pressure fryer for achieving extra crispy results with less oil.
Nutrition Facts

- Jollof Rice Sauce Recipe: West African Tomato and Spice Infusion - September 25, 2026
- Japanese Rice Soup Recipe: Umami-Rich Comfort in a Bowl - September 25, 2026
- Homemade Cream Of Rice Recipe: Silk-Smooth Breakfast in Minutes - September 25, 2026