
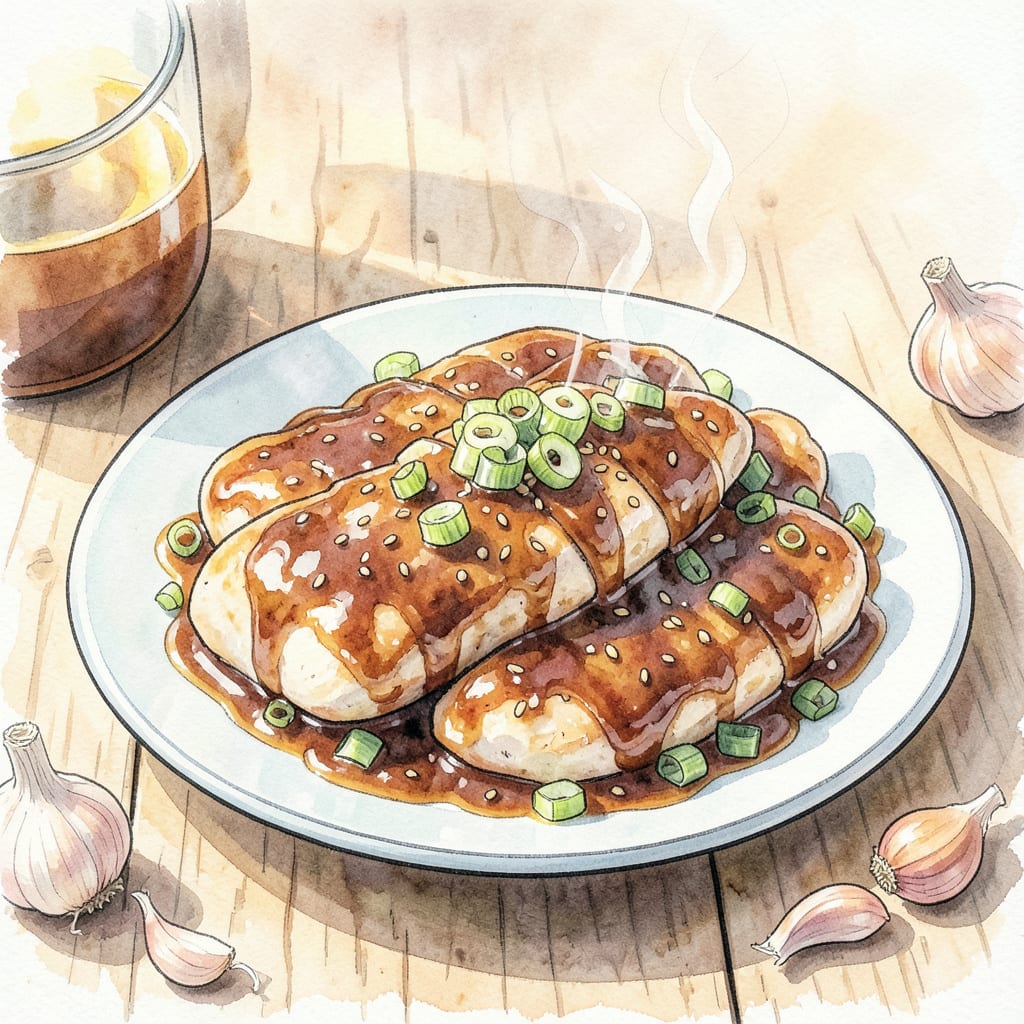
This quick and delicious chicken recipe uses bottled teriyaki sauce for a perfectly glazed finish. Ready in under 30 minutes, it’s perfect for busy weeknights when you need a flavorful meal fast.
With just a few ingredients and simple cooking steps, you’ll achieve restaurant-quality results at home. Let’s cook this teriyaki chicken to perfection!
Ingredients for Bottled Teriyaki Sauce Chicken
Quick, flavorful, and restaurant-quality. Just what you need for a busy weeknight.
| Ingredient | Amount | Notes |
|---|---|---|
| Boneless, Skinless Chicken Breasts 🍗 | 1 ½ lb | Pounded to even thickness |
| Bottled Teriyaki Sauce 🍜 | ¾ cup | High-quality brand preferred |
| Sesame Oil 🫒 | 2 tbsp | For added richness |
| Garlic Cloves 🧄 | 3 cloves | Minced for flavor |
| Fresh Ginger 🌿 | 1 tbsp | Grate before using |
| Green Onions 🌸 | ¼ cup | Chopped for garnish |
| Sesame Seeds 🌼 | 1 tbsp | Optional for garnish |
| Black Pepper 🌶️ | ¼ tsp | Freshly ground preferred |
| Salt 🧂 | ½ tsp | Kosher or sea salt |
The teriyaki sauce is the star here. Kikkoman is a solid choice if you’re not feeling adventurous. For the chicken, pounding to even thickness helps it cook faster and more evenly. Most grocery stores carry pre-pounded chicken breasts too, which saves time. I usually grab mine from Costco when I’m doing a big batch.
No fresh ginger? Dried ginger powder works at one-third the amount. Sesame oil can be skipped if you don’t have it, but it adds that nice nutty flavor. For a bit of heat, throw in some red pepper flakes. The green onions are optional but add a nice pop of color. If you’re out of sesame seeds, you can omit them or substitute with chopped cashews for crunch.
This dish reheats beautifully—keeps for 3-4 days in the fridge. Freeze individual portions for up to 3 months. When reheating, add a splash of extra teriyaki sauce to keep it moist. I like to portion mine into containers so lunches are sorted for the week.
Step-by-Step Instructions for Quick Glazed Chicken
Here’s the method that delivers perfectly glazed chicken every time – simple and effective.
Step 1: Prepare the Chicken Breasts
Start by pounding the 1.5 lb Boneless, Skinless Chicken Breasts to an even thickness. This ensures they cook uniformly and prevents overcooking the thinner parts. I like to use a meat mallet for this job – it’s quick and gets the job done.
Once pounded, season both sides of the chicken breasts with 0.5 tsp Salt and 0.25 tsp Black Pepper. The salt enhances the flavor, while the pepper adds a nice kick. Make sure to coat them evenly for the best results.
Step 2: Sear the Chicken in Sesame Oil
Heat 2 tbsp Sesame Oil in a large skillet over medium-high heat. Once the oil is hot and shimmering, add the chicken breasts. Sear them for 5-6 minutes per side until they develop a nice golden-brown crust. You’ll know they’re ready to flip when they release easily from the pan.
The sesame oil adds a rich, nutty flavor that complements the teriyaki sauce beautifully. Be careful not to overcrowd the pan – cook in batches if necessary.
Step 3: Glaze with Teriyaki Sauce
After searing the chicken, reduce the heat to medium and pour in the 0.75 cup Bottled Teriyaki Sauce. Let it simmer for 2-3 minutes until the sauce thickens slightly and coats the chicken nicely. You’ll notice the sauce reducing and becoming more syrupy – that’s when you know it’s ready.
Add the 3 cloves Garlic Cloves (minced) and 1 tbsp Fresh Ginger (grated) to the sauce. These aromatics will infuse the chicken with a deep, savory flavor. Stir well to combine.
Step 4: Finish and Garnish
Continue to simmer the chicken in the teriyaki sauce for another 5 minutes, or until it reaches an internal temperature of 165°F. The sauce should be thick and glossy, coating the chicken beautifully.
Garnish with 0.25 cup Green Onions (chopped) and 1 tbsp Sesame Seeds (optional) before serving. The green onions add a fresh crunch, while the sesame seeds provide a nice nutty flavor and texture. Serve hot and enjoy!
Essential Equipment for Great bottled teriyaki sauce chicken
Essential Cooking Tools
For this teriyaki chicken recipe, you’ll need a few key pieces of equipment. First, a large skillet is crucial – I prefer a 12-inch cast iron for its even heat distribution. If you don’t have cast iron, a heavy-bottomed stainless steel pan works too.
Meat Preparation Tools
A meat mallet is essential for pounding the chicken breasts to an even thickness. This ensures they cook uniformly and prevents overcooking the thinner parts. If you don’t have a meat mallet, you can use the back of a heavy pan or a rolling pin.
Temperature Control
To ensure your chicken is cooked to a safe internal temperature, a meat thermometer is a must-have. I recommend an instant-read thermometer for quick checks. Look for one that’s accurate to within 1°F for best results.
Garnishing Tools
For the finishing touches, you’ll need a sharp knife for chopping green onions and a small strainer if you’re using sesame seeds. A microplane grater is also handy for grating fresh ginger. These tools make prep and garnish quick and easy.
Optional Equipment
If you’re planning to make this recipe frequently, consider investing in a garlic press for mincing garlic cloves quickly. A silicone spatula is also useful for scraping up any browned bits from the pan when adding the teriyaki sauce.
Storage Containers
For storing leftovers, have some airtight containers ready. Glass containers with snap-on lids are ideal as they keep the chicken fresh and are microwave-safe for reheating. This recipe makes great leftovers, keeping for 3-4 days in the fridge.
Nutrition Facts
Frequently Asked Questions
Can I use homemade teriyaki sauce instead of bottled?
Yes, you can substitute homemade teriyaki sauce for bottled. Keep in mind that homemade sauce may have a thinner consistency, so you might need to reduce the amount or simmer it longer to achieve the desired glaze. This can add an extra 2-3 minutes to your cooking time.
How do I prevent the chicken from burning when glazing?
To prevent burning, keep the heat at medium when adding the teriyaki sauce. Stir constantly during the 2-3 minute glazing period. If the sauce starts to darken too quickly, add a tablespoon of water to thin it out. This helps maintain a smooth, even glaze.
Can I make this recipe in advance?
Yes, you can prepare the chicken in advance. Cook it through, then store it in an airtight container in the refrigerator for up to 3 days. Reheat gently in the microwave or on the stovetop with a splash of extra teriyaki sauce to keep it moist. This makes for a quick and easy meal prep solution.
What’s the best way to serve teriyaki chicken?
Teriyaki chicken pairs well with steamed rice and stir-fried vegetables. For a complete meal, consider adding some grilled pineapple or roasted broccoli. You can also serve it with noodles or in a wrap for a different twist.

- Jollof Rice Sauce Recipe: West African Tomato and Spice Infusion - September 25, 2026
- Japanese Rice Soup Recipe: Umami-Rich Comfort in a Bowl - September 25, 2026
- Homemade Cream Of Rice Recipe: Silk-Smooth Breakfast in Minutes - September 25, 2026