
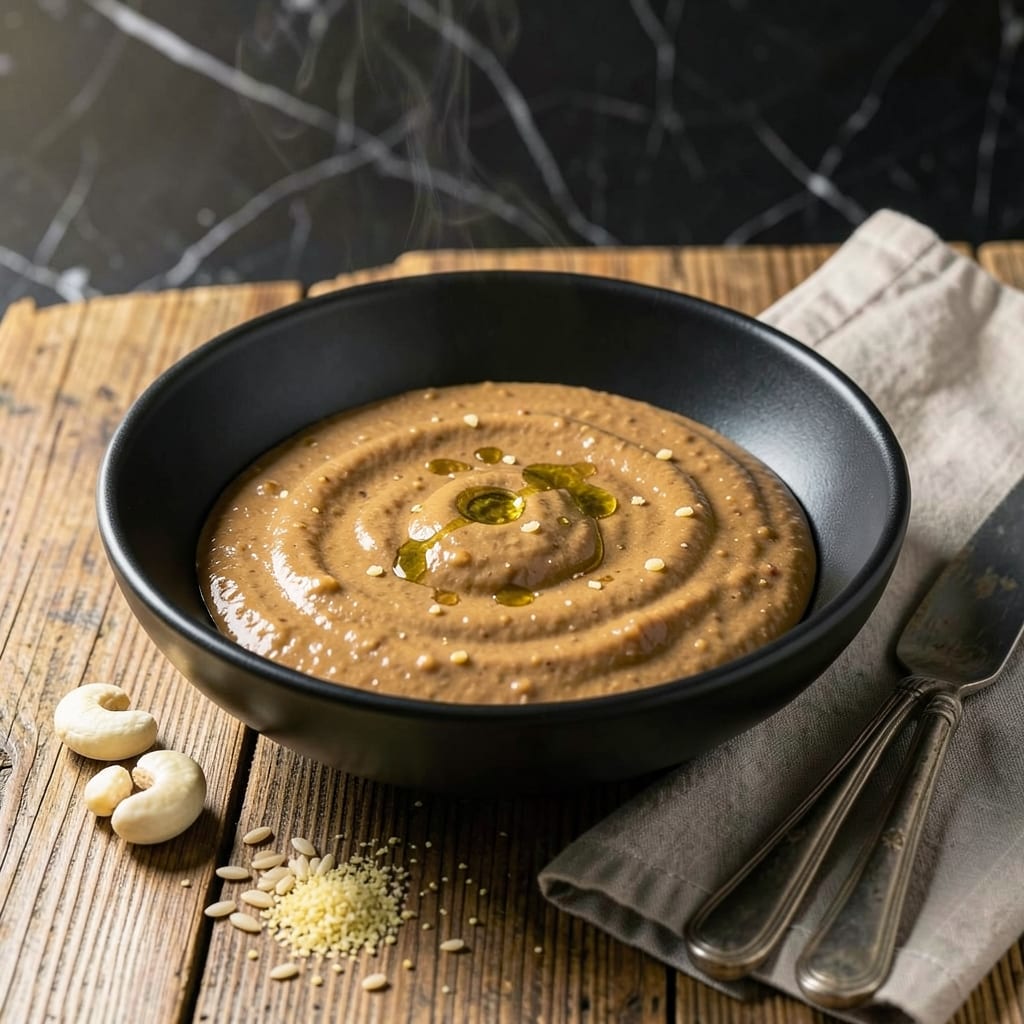
This brown rice sauce brings a rich, nutty depth to plant-based dishes that store-bought versions can’t match.
With just a few simple ingredients and 15 minutes, you’ll have a velvety sauce that transforms grains, vegetables, or proteins into restaurant-quality meals.
Ingredients for Brown Rice Sauce
Nine simple ingredients transform into a velvety, restaurant-quality sauce with nutty depth.
| Ingredient | Amount | Notes |
|---|---|---|
| Cooked Brown Rice 🍚 | 1 cup | Fully cooked and cooled |
| Raw Cashews 🥜 | ½ cup | Soaked in hot water for 15 minutes |
| Nutritional Yeast 🧀 | 2 tbsp | For umami depth |
| Tamari or Soy Sauce 🫒 | 2 tbsp | Low-sodium preferred |
| Apple Cider Vinegar 🍏 | 1 tbsp | Balances richness |
| Garlic Cloves 🧄 | 2 cloves | Peeled and minced |
| Dijon Mustard 🟡 | 1 tsp | Adds tangy complexity |
| Maple Syrup 🍁 | 1 tbsp | Adjust to taste preference |
| Smoked Paprika 🌶️ | ½ tsp | Optional for smoky note |
| Water 💧 | ½ cup | As needed for consistency |
The cashews are non-negotiable for creaminess—raw and unsalted only, as roasted can impart bitterness. Trader Joe’s and Whole Foods offer reliable bulk options. For the brown rice, any variety works, but short-grain yields a slightly stickier base. Nutritional yeast, found in the supplement or bulk section of most health food stores, provides the cheesy depth without dairy. Ensure your tamari is 100% soy-based to maintain vegan integrity.
No cashews? Raw sunflower seeds or silken tofu can substitute, though the flavor profile shifts slightly. Swap nutritional yeast for white miso paste (use half the amount) if you have it on hand. The maple syrup can be replaced with agave or date syrup—avoid honey to keep this strictly plant-based. For a milder tang, reduce the apple cider vinegar by half and add a squeeze of lemon instead.
This sauce keeps beautifully in an airtight container for 5-7 days refrigerated. For longer storage, freeze in ice cube trays for up to 3 months. The texture may separate slightly upon thawing, but a quick blend restores its velvety consistency. Always bring to room temperature before using for best results.
Why You’ll Love This Recipe
- Blender Magic: I just toss all the ingredients—cashews, tamari, even that splash of apple cider vinegar—into the blender and let it do the work.
- Umami Bomb: The nutritional yeast and tamari create this deep, savory richness that makes plain brown rice taste like a gourmet dish.
- Meal Prep Hero: I drizzle this over rice bowls all week—it keeps beautifully and works with roasted veggies or tofu.
- Wallet Friendly: Raw cashews and pantry staples mean I’m not spending a fortune for a sauce that tastes this good. Honestly, it’s cheaper than takeout.
Step-by-Step Instructions for Brown Rice Sauce
Master this velvety plant-based sauce with precise technique and professional results.
Step 1: Prepare the Cashew Base
Drain the 0.5 cup raw cashews thoroughly after their 15-minute hot water soak. This softening step is essential for achieving a silky texture. Transfer them to a high-speed blender along with the 0.5 cup water.
Blend on high for 45-60 seconds until completely smooth, stopping to scrape down the sides once or twice. You’re looking for a thick, creamy consistency without any visible cashew pieces—this forms the luxurious foundation of your sauce.
Step 2: Incorporate Flavor Builders
Add the 1 cup cooked brown rice, 2 tbsp nutritional yeast, 2 tbsp tamari or soy sauce, and 2 minced garlic cloves to the blender. The brown rice adds body while the nutritional yeast delivers that distinctive umami depth essential to plant-based sauces.
Blend again for 30-45 seconds until all ingredients are fully integrated. The mixture should now have a rich, golden color and a velvety texture. Pause occasionally to push down any stray rice grains clinging to the sides of the blender.
Step 3: Balance and Season
Incorporate the 1 tbsp apple cider vinegar, 1 tsp Dijon mustard, and 1 tbsp maple syrup. These elements create the perfect balance: the vinegar cuts through the richness, the mustard adds complexity, and the maple syrup rounds out the edges.
Blend for another 20-30 seconds until completely homogeneous. Taste and adjust seasoning if needed—remember the tamari contributes saltiness, so go cautiously with any additional salt.
Step 4: Add Final Touches and Adjust Consistency
Introduce the 0.5 tsp smoked paprika for a subtle smoky note that complements the nuttiness of the cashews. Pulse the blender just until incorporated—over-blending at this stage can make the sauce too thin.
Check the consistency. For a thicker sauce, blend in an additional 1-2 tbsp cooked brown rice. For a thinner sauce, add 1-2 tbsp water as needed. The ideal texture should coat the back of a spoon but still drizzle easily.
Transfer to a saucepan and warm gently over low heat, stirring constantly, for 2-3 minutes to allow the flavors to meld completely before serving.
Pro Tips For Making Brown Rice Sauce
- Soak the Cashews: Cover raw cashews in hot water for 15 minutes before blending—I learned this the hard way after my first sauce turned gritty instead of creamy.
- Toast the Yeast: Lightly dry-toast the nutritional yeast in a pan for 30 seconds before adding; it deepens the flavor and removes any raw, bitter edge.
- Balance the Vinegar: Start with half the apple cider vinegar, taste, then add more—too much can overpower the tamari and make the sauce taste harsh.
- Use Warm Liquid: Blend the cashews with warm water or broth (about 1 cup) to help them break down faster and create a smoother, richer sauce without extra effort.
Make-Ahead Tips for brown rice sauce
Batch Prep Method
I always make a double batch of this sauce—it freezes so well. Use a high-speed blender to process 2 cups cooked brown rice and 1 cup raw cashews with the other ingredients scaled accordingly. This gives you 4 cups of sauce in one go. 💪
Refrigerator Storage
Store in a clean 16-ounce mason jar or similar airtight container. It keeps beautifully for 5-7 days at 40°F or below. The flavors deepen overnight as the ingredients meld together.
Freezing for Later
Pour into ice cube trays for perfect 2-tbsp portions. Once frozen solid, transfer cubes to a zip-top freezer bag. It stays fresh for up to 3 months without quality loss.
Thawing Tips
Move a portion to the fridge the night before you plan to use it. For faster thawing, place the frozen cube in a small saucepan with 2 tbsp water and warm over low heat, stirring frequently.
Reviving Texture
After thawing, the sauce may separate slightly. Just give it a quick blend with 1-2 tsp water to restore its velvety consistency. Always bring to room temperature before using for best results. 💡
Meal Prep Integration
I love having this ready for quick meals. Use it as a base for grain bowls, stir it into soups for creaminess, or drizzle over roasted vegetables. The possibilities are endless with this versatile sauce on hand.
Nutrition Facts
Frequently Asked Questions
Can I use white rice instead?
White rice lacks the nutty depth and fiber of brown rice, which gives this sauce its distinctive flavor. If substituting, add 1 tsp toasted sesame oil to compensate. The texture may also be slightly thinner.
Why soak the cashews first?
Soaking softens the cashews for a silky-smooth texture. Skip this step and you’ll get a grainy sauce. 15 minutes in hot water is the minimum for best results.
What if my sauce is too thick?
Thin it gradually with warm water, 1 tbsp at a time, until it reaches your desired consistency. Avoid adding too much at once, as you can’t thicken it back easily.
Is this sauce gluten-free?
Yes, if you use certified gluten-free tamari instead of soy sauce. All other ingredients are naturally gluten-free. Always check labels to be sure.

- Gambia Jollof Rice Recipe: West African One-Pot Spice Fusion - October 5, 2026
- Cream of Wild Rice Soup Recipe Minnesota: Northwoods Creaminess With Foraged Grains - October 5, 2026
- Frozen Cauliflower Fried Rice Recipe: Quick Low-Carb Wok Magic - October 5, 2026