
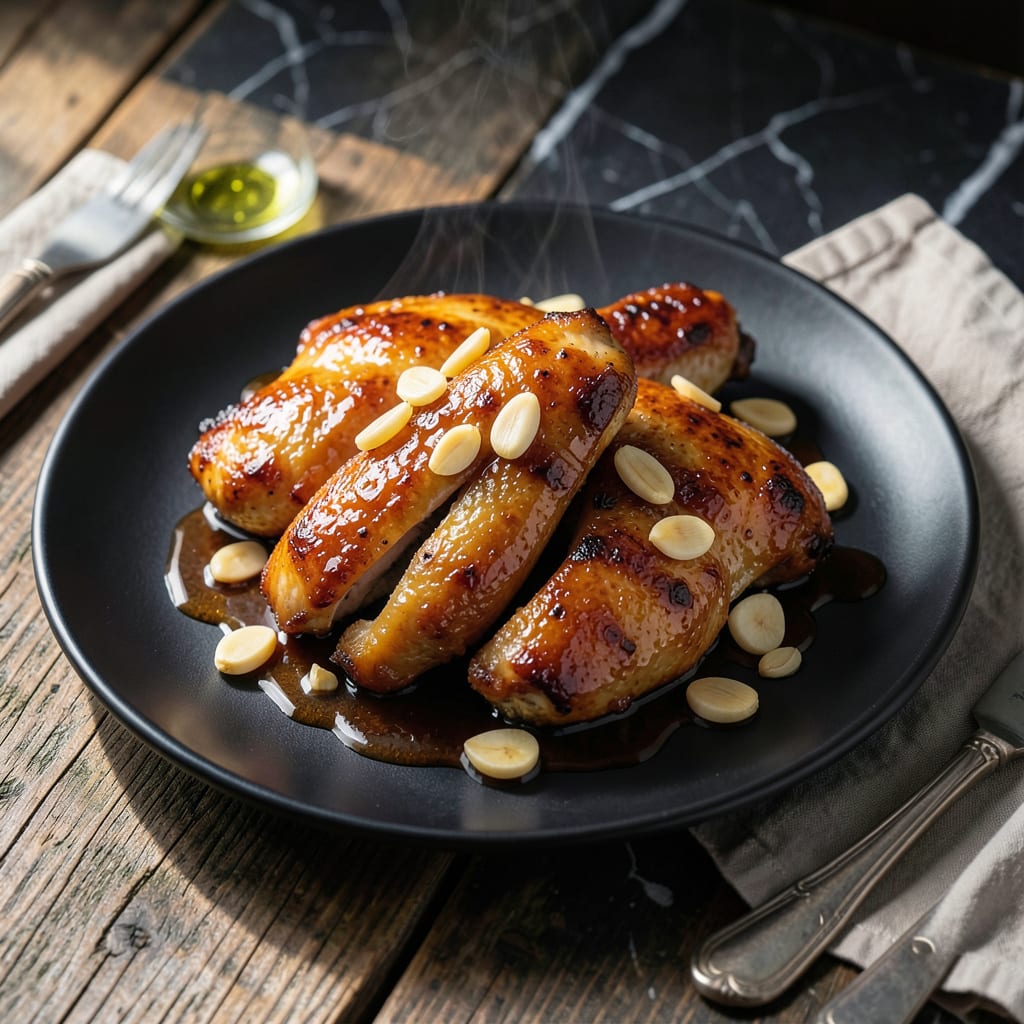
This dish transforms ordinary chicken into something extraordinary with a caramelized glaze that balances sweet and savory perfectly. The combination of brown sugar and soy sauce creates a sticky, flavorful coating that clings to every bite.
Simple ingredients come together quickly, with garlic adding depth to the sauce. The result is tender chicken with a glossy, rich finish that’s sure to impress at any dinner table.
Ingredients for Brown Sugar and Soy Sauce Chicken
Transform everyday chicken with this caramelized brown sugar and soy sauce glaze.
| Ingredient | Amount | Notes |
|---|---|---|
| Boneless Skinless Chicken Thighs 🍗 | 2 lb | Trimmed of excess fat |
| Light Brown Sugar 🍚 | ¾ cup | Packed for accurate measure |
| Low-Sodium Soy Sauce 🫒 | ½ cup | For balanced saltiness |
| Garlic Cloves 🧄 | 6 cloves | Minced for maximum flavor |
| Apple Cider Vinegar 🍏 | 2 tbsp | Adds brightness to glaze |
| Fresh Ginger 🌿 | 1 tbsp | Grated for aromatic depth |
| Cornstarch 🌾 | 2 tsp | For thickening the sauce |
| Water 💧 | ¼ cup | To dissolve cornstarch |
| Vegetable Oil 🫒 | 2 tbsp | High smoke point for searing |
| Sesame Oil 🫒 | 1 tsp | Toasted, for finishing |
| Green Onions 🧅 | 3 whole | Thinly sliced for garnish |
| Sesame Seeds 🌰 | 1 tsp | Toasted for crunch |
| Kosher Salt 🧂 | ½ tsp | Diamond Crystal preferred |
| Black Pepper 🌶️ | ½ tsp | Freshly ground for best flavor |
[recipeingredientscaler]
The chicken thighs are essential for tender, juicy results—avoid breasts as they dry out. Costco or Whole Foods offer high-quality, pre-trimmed options. For the soy sauce, Kikkoman Low-Sodium provides consistent flavor without overwhelming saltiness. Brown sugar should be light and packed for accurate measurement—dark brown adds molasses notes if preferred.
Substitute chicken breasts if necessary, but reduce cooking time by one-third. Coconut aminos can replace soy sauce for gluten-free needs. Fresh ginger is ideal, but ground ginger at one-third the amount works. The apple cider vinegar can be swapped for rice vinegar for a milder tang. Trader Joe’s offers pre-minced garlic for convenience.
Store raw chicken in the fridge for up to 2 days or freeze for 9 months. The glaze keeps for 1 week refrigerated. Toast sesame seeds just before serving for optimal crunch and aroma.
Why You’ll Love This Recipe
- One Pan Wonder: I toss everything in a skillet and let the brown sugar caramelize with the soy sauce—minimal cleanup, maximum flavor.
- Sweet-Savory Magic: The brown sugar and garlic create this sticky, umami-rich glaze that makes the chicken irresistibly tender.
- Meal Prep Hero: I make a big batch on Sunday and it tastes just as good reheated for lunches all week.
- Budget Stretcher: Chicken thighs stay juicy and affordable, and a little brown sugar goes a long way to make them taste gourmet.
Instructions
Master the technique for sticky, caramelized chicken with a glossy, flavor-packed glaze.
Step 1: Sear the Chicken Thighs
Pat the 2 lb Boneless Skinless Chicken Thighs dry with paper towels—this ensures a proper sear. Season both sides with 0.5 tsp Kosher Salt and 0.5 tsp Black Pepper. Heat 2 tbsp Vegetable Oil in a large skillet over medium-high heat until shimmering.
Add the chicken in a single layer, working in batches if necessary to avoid crowding. Sear undisturbed for 4-5 minutes per side until deep golden brown and the internal temperature reaches 165°F. The crust will release naturally when ready—don’t force it.
Transfer the chicken to a plate and set aside. Pour off all but 1 tbsp of the rendered fat from the skillet to control the sauce’s richness.
Step 2: Build the Glaze Foundation
Reduce heat to medium and add the 6 cloves Garlic Cloves and 1 tbsp Fresh Ginger to the skillet. Sauté for 30-45 seconds until fragrant but not browned—garlic burns quickly, so stay attentive.
Pour in 0.5 cup Low-Sodium Soy Sauce, 0.75 cup Light Brown Sugar, and 2 tbsp Apple Cider Vinegar. Stir to dissolve the sugar, scraping up any browned bits from the pan. Bring to a gentle simmer and cook for 2-3 minutes until slightly thickened.
This step develops the deep, savory-sweet base. The vinegar balances the sugar’s sweetness, while the soy sauce adds umami depth.
Step 3: Thicken and Finish the Sauce
In a small bowl, whisk 2 tsp Cornstarch with 0.25 cup Water until smooth. Slowly pour this slurry into the simmering glaze while stirring constantly to prevent lumps.
Return the chicken to the skillet along with any accumulated juices. Spoon the glaze over the thighs and simmer for 3-4 minutes until the sauce thickens to a syrupy consistency and clings to the chicken. The glaze should coat the back of a spoon with a slight sheen.
Step 4: Garnish and Serve
Remove from heat and drizzle with 1 tsp Sesame Oil, stirring to incorporate. The sesame oil adds a nutty aroma that elevates the dish’s complexity.
Garnish with 3 whole Green Onions, thinly sliced, and 1 tsp Sesame Seeds. Serve immediately while the glaze is still glossy and the chicken is at its juiciest. Each bite should deliver tender meat with a sticky, caramelized exterior.
Pro Tips For Making Brown Sugar And Soy Sauce Chicken
- Sear the Thighs First: Brown the chicken thighs in a hot pan for 3-4 minutes per side before adding the sauce—this builds a deep flavor base that absorbs the soy and sugar better.
- Bloom the Garlic: Cook the minced garlic in the pan for just 30 seconds until fragrant, not brown, or it’ll turn bitter and overpower the sweet-savory balance.
- Reduce the Sauce: Let the brown sugar, soy sauce, and vinegar simmer for 5-6 minutes until it thickens slightly—this prevents a watery glaze that slides right off the chicken.
- Use Room-Temp Chicken: Take the thighs out of the fridge 20 minutes before cooking so they cook evenly and don’t seize up in the pan, which can make them tough.
Common Mistakes When Making Great brown sugar and soy sauce chicken
Overcrowding the Pan
Searing too many chicken thighs at once lowers the pan temperature, causing them to steam instead of brown. I always cook in batches with at least 1 inch of space between pieces. This ensures a proper deep golden crust. 🔥
Skipping the Drying Step
Wet chicken won’t sear properly—it’ll just boil in its own juices. I pat each thigh thoroughly with paper towels before seasoning. This simple step makes the difference between soggy and crispy.
Burning the Garlic
Garlic burns in 30 seconds over medium-high heat. I sauté it just until fragrant, then immediately add the liquids. Burnt garlic turns bitter and ruins the sweet-savory balance we worked hard to create.
Inconsistent Sauce Thickness
Adding cornstarch directly to the skillet creates lumps. I always whisk it with cold water first, then slowly incorporate. The sauce should coat the back of a spoon but still drizzle easily.
Overcooking the Chicken
Chicken thighs reach 165°F quickly after searing. I pull them from the pan as soon as they hit temperature, then finish cooking in the glaze. This prevents dry, tough meat.
Forgetting to Rest
Letting the chicken rest for 5 minutes after glazing allows the juices to redistribute. I tent it loosely with foil to keep it warm. Cutting immediately causes all those delicious juices to spill out. 💡
Nutrition Facts
Frequently Asked Questions
Can I use white sugar instead of brown?
Brown sugar adds molasses depth that white can’t replicate. For a quick fix, add 1 tbsp molasses to 0.75 cup white sugar to mimic the flavor. The glaze may be slightly lighter in color.
How do I prevent the sauce from burning?
Keep heat at medium and stir frequently once sugar is added. If it thickens too fast, add 1-2 tbsp water and reduce heat. Never walk away from caramelizing sugar.
What’s the best way to reheat leftovers?
Gently warm in a skillet over low heat with 1-2 tbsp water to prevent drying. Microwave works in 30-second bursts, stirring between each. The glaze will soften but still taste great.

- Rice Mix Recipe: Fluffy Grains With Customizable Flavor Boost - September 25, 2026
- Soupy Rice Recipe: Broth-Soaked Grains With Rustic Depth - September 25, 2026
- Rice Paper Pancakes Recipe: Crispy Vietnamese Breakfast Delight - September 25, 2026