
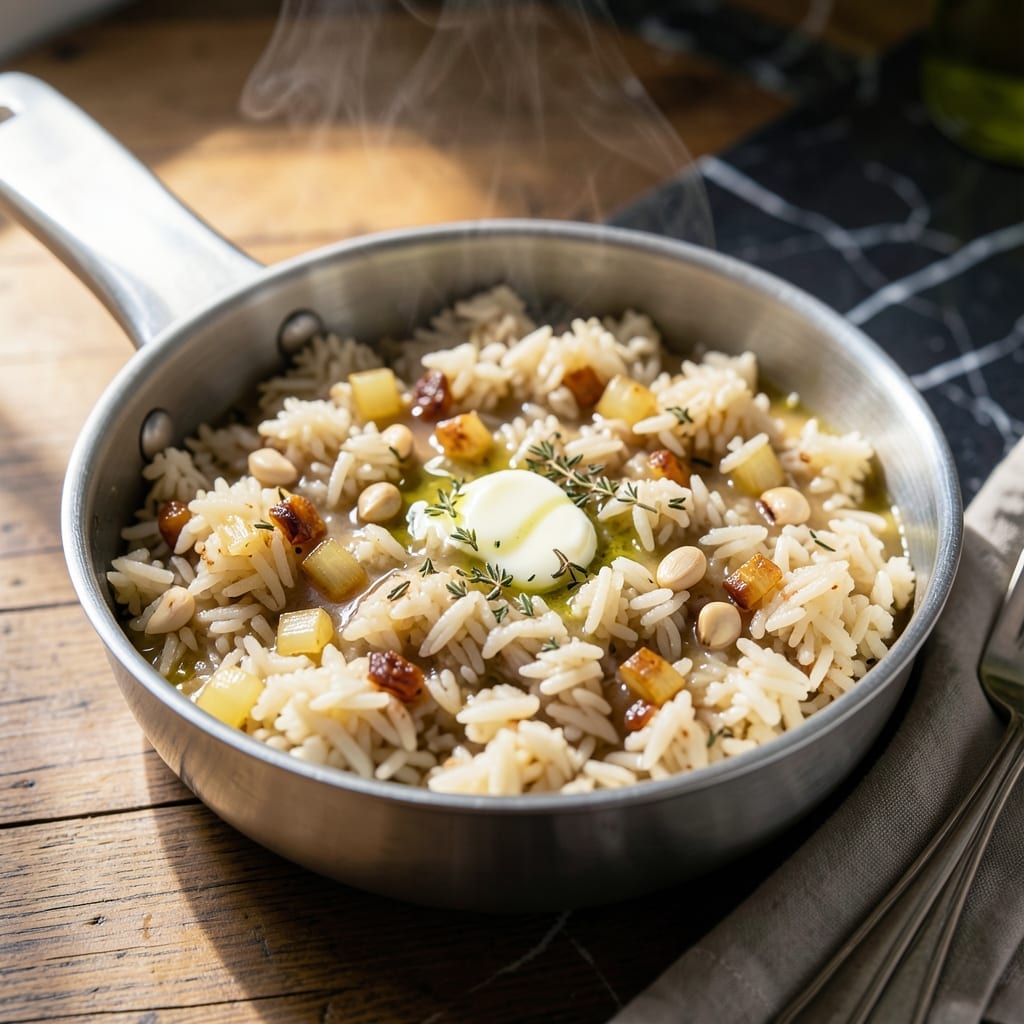
This rice mix recipe transforms basic grains into a flavorful, customizable base for any meal. I’ve refined this method to ensure consistently fluffy results every time, with minimal effort.
The beauty lies in its versatility—whether you pair it with proteins, vegetables, or keep it simple, the seasoning blend elevates the dish. A single batch cooks in under 20 minutes, making it ideal for busy weeknights.
What sets this apart is the ability to tailor it to your taste. Add herbs, spices, or broth for a personalized touch that still delivers restaurant-quality texture.
Perfect for meal prep or last-minute dinners, this dish proves that great flavor doesn’t require complicated steps. Here’s how to make it.
Ingredients for Rice Mix
Transform plain rice with these carefully curated ingredients for restaurant-quality results every time.
| Ingredient | Amount | Notes |
|---|---|---|
| Long-Grain White Rice 🍚 | 2 cups | Rinsed until water runs clear |
| Chicken Broth 🥣 | 3 ½ cups | Low-sodium preferred for control |
| Unsalted Butter 🧈 | 2 tbsp | Divided for toasting and finishing |
| Yellow Onion 🧅 | ½ whole | Finely diced for even distribution |
| Garlic Cloves 🧄 | 3 cloves | Minced for maximum flavor infusion |
| Dried Thyme 🌿 | ½ tsp | Crushed between fingers to release oils |
| Dried Rosemary 🍃 | ½ tsp | Finely chopped to avoid woody texture |
| Bay Leaf 🌿 | 1 whole | Removed before serving |
| Kosher Salt 🧂 | 1 tsp | Diamond Crystal preferred for consistency |
| Freshly Ground Black Pepper 🌶️ | ½ tsp | Adjust to taste preference |
| Dried Parsley 🌿 | 1 tbsp | For color and mild herbaceous note |
| Lemon Zest 🍋 | 1 tsp | From one medium lemon for brightness |
The rice quality is paramount for fluffy texture. Basmatis or jasmine work best—avoid instant or pre-cooked varieties as they lack structure. Whole Foods and Trader Joe’s carry excellent bulk options. For the broth, Better Than Bouillon concentrate allows precise sodium control. Always rinse rice thoroughly to remove excess starch, which can make the final dish gummy.
No chicken broth? Vegetable broth or water with bouillon works at a 1:1 ratio. Fresh herbs can replace dried at triple the amount, but add them at the end to preserve color. Butter can be swapped for olive oil (use extra-virgin for depth). For gluten-free, verify broth and seasonings—Imagine Foods makes reliable certified options.
Store uncooked rice in airtight containers in a cool, dark place for up to 1 year. Cooked rice keeps 4-5 days refrigerated or 6 months frozen. To reheat, sprinkle with water and microwave covered, or steam on the stovetop with a splash of broth.
Why You’ll Love This Recipe
- One Pot Wonder: I toss everything in—rice, broth, butter, onion, garlic—and let it simmer. No babysitting, just perfect fluffy rice every time.
- Savory Depth: The chicken broth and butter make this rice ridiculously rich. Honestly, it tastes fancy but takes zero effort.
- Meal Prep Hero: I make a big batch and use it all week—under stir-fries, with grilled chicken, or as a side. So versatile.
- Budget Stretcher: Long-grain rice and simple pantry staples mean I can feed four for the cost of takeout. I’ll be real: that’s a win.
Step-by-Step Instructions for Flavorful Rice Mix
This method ensures perfectly fluffy grains with layered aromatic depth every time.
Step 1: Toast the Rice to Enhance Nutty Depth
Heat a large saucepan over medium heat and melt 1 tbsp Unsalted Butter. I use a light-colored pan so I can easily monitor the toasting process. Add the 2 cups Long-Grain White Rice and stir constantly for 2-3 minutes.
You’ll notice the rice grains turn from translucent to slightly opaque with a delicate golden hue. This toasting step develops a subtle nutty flavor and helps prevent the grains from sticking together. Stop toasting immediately if you detect any dark brown spots—this means the rice is burning.
Step 2: Sauté Aromatics for Fragrant Foundation
Add the finely diced 0.5 whole Yellow Onion to the pan with the toasted rice. Cook for 3-4 minutes until the onion softens and becomes translucent. Then add the minced 3 cloves Garlic Cloves and cook for 30 seconds until fragrant—just long enough to mellow the raw edge.
Stir in the 0.5 tsp Dried Thyme, 0.5 tsp Dried Rosemary, and 1 whole Bay Leaf. I crush the thyme and chop the rosemary between my fingers as I add them to release their essential oils. This step builds the aromatic base that will infuse the rice as it cooks.
Step 3: Add Liquids and Seasonings for Balanced Flavor
Pour in the 3.5 cups Chicken Broth and add the remaining 1 tbsp Unsalted Butter, 1 tsp Kosher Salt, 0.5 tsp Freshly Ground Black Pepper, 1 tbsp Dried Parsley, and 1 tsp Lemon Zest. Stir well to combine all ingredients and distribute the seasonings evenly.
Bring the mixture to a boil over medium-high heat. As soon as you see bubbles breaking the surface consistently, reduce the heat to low, cover the pan with a tight-fitting lid, and set a timer for 18 minutes. This is the point where the rice begins its transformation.
Step 4: Steam Undisturbed for Perfect Texture
Allow the rice to cook, undisturbed, for the full 18 minutes. Resist the urge to peek or stir—this maintains the steam environment crucial for even cooking. You’ll know it’s working when you see steam escaping from under the lid and hear a gentle simmer.
After 18 minutes, turn off the heat and let the rice rest, covered, for an additional 5 minutes. This resting period allows the grains to absorb any remaining liquid and finish cooking through gently. The rice should be tender with each grain distinct and separate.
Step 5: Fluff and Finish for Optimal Presentation
Remove the Bay Leaf and discard it. Use a fork to fluff the rice gently, breaking up any clumps and separating the grains. I run the fork through the rice in a lifting motion rather than stirring, which helps maintain the individual grain structure.
The finished dish should have a light, airy texture with visible flecks of herbs and a subtle sheen from the butter. Taste and adjust seasoning if needed, though with the measured Kosher Salt and Chicken Broth, it should be perfectly balanced. Serve immediately while hot and fragrant.
Pro Tips For Making Rice Mix
- Toast the Rice: Cook the rice in the butter for 2-3 minutes before adding liquid—this brings out a nutty depth that plain rice misses. I learned this the hard way after making bland batches for years.
- Use Hot Broth: Pour in chicken broth that’s already simmering, not cold, or the rice will take forever to cook and the texture will suffer. Sounds obvious, but I’ve ruined dinner rushing this step.
- Skip Uncooked Onions: Sauté the yellow onion until soft and translucent before adding rice—raw onion bits ruin the creamy finish. My grandmother swore by this, and she was right.
- Salt the Butter: Since you’re using unsalted butter, add a pinch of salt when melting it to season the rice from the start. This isn’t fancy, but it fixes underseasoned dishes every time.
Common Mistakes When Making This Dish
Skipping the Rinse
Never skip rinsing your 2 cups Long-Grain White Rice—this removes excess starch that can make your dish gummy. I rinse until the water runs completely clear, which usually takes 3-4 washes. 💡
Over-Toasting the Rice
Watch carefully during the 2-3 minute toasting step—golden is perfect, but dark brown means it’s burning. Burnt rice grains will impart a bitter flavor that ruins the whole batch. Use medium heat and stir constantly.
Peeking During Cooking
Resist lifting the lid during the 18-minute cook time. Each peek releases precious steam, which can lead to uneven cooking. Trust the process—the rice needs that consistent, moist environment to cook properly.
Wrong Liquid Ratio
Stick to the 3.5 cups Chicken Broth measurement. Too much liquid makes rice mushy, while too little leaves it undercooked. I use a measuring cup and check at eye level for accuracy.
Skipping the Rest
The 5-minute rest after cooking is crucial. It lets the grains absorb final moisture and firm up. Skipping this makes the rice stick together and can leave the center undercooked. 🔥
Using Wrong Pan Size
Choose a pan with a tight-fitting lid that’s just the right size for 2 cups—too large spreads the rice too thin, while too small can cause uneven cooking. My 3-quart saucepan works perfectly for this quantity.
Nutrition Facts
Frequently Asked Questions
Can I use brown rice instead of white?
Yes, but adjust the liquid to 4 cups and cook for 40-45 minutes. Brown rice needs more water and time to soften. The texture will be chewier but still flavorful.
What if my rice turns out mushy?
This usually means too much liquid or stirring during cooking. Next time, measure broth precisely and avoid lifting the lid. Spread the rice on a tray to dry slightly if needed.
Can I make this in a rice cooker?
Sauté aromatics first, then add all ingredients to the cooker. Use the standard 1:1.75 rice-to-liquid ratio and let it complete the cycle undisturbed.

- Rice Mix Recipe: Fluffy Grains With Customizable Flavor Boost - September 25, 2026
- Soupy Rice Recipe: Broth-Soaked Grains With Rustic Depth - September 25, 2026
- Rice Paper Pancakes Recipe: Crispy Vietnamese Breakfast Delight - September 25, 2026