
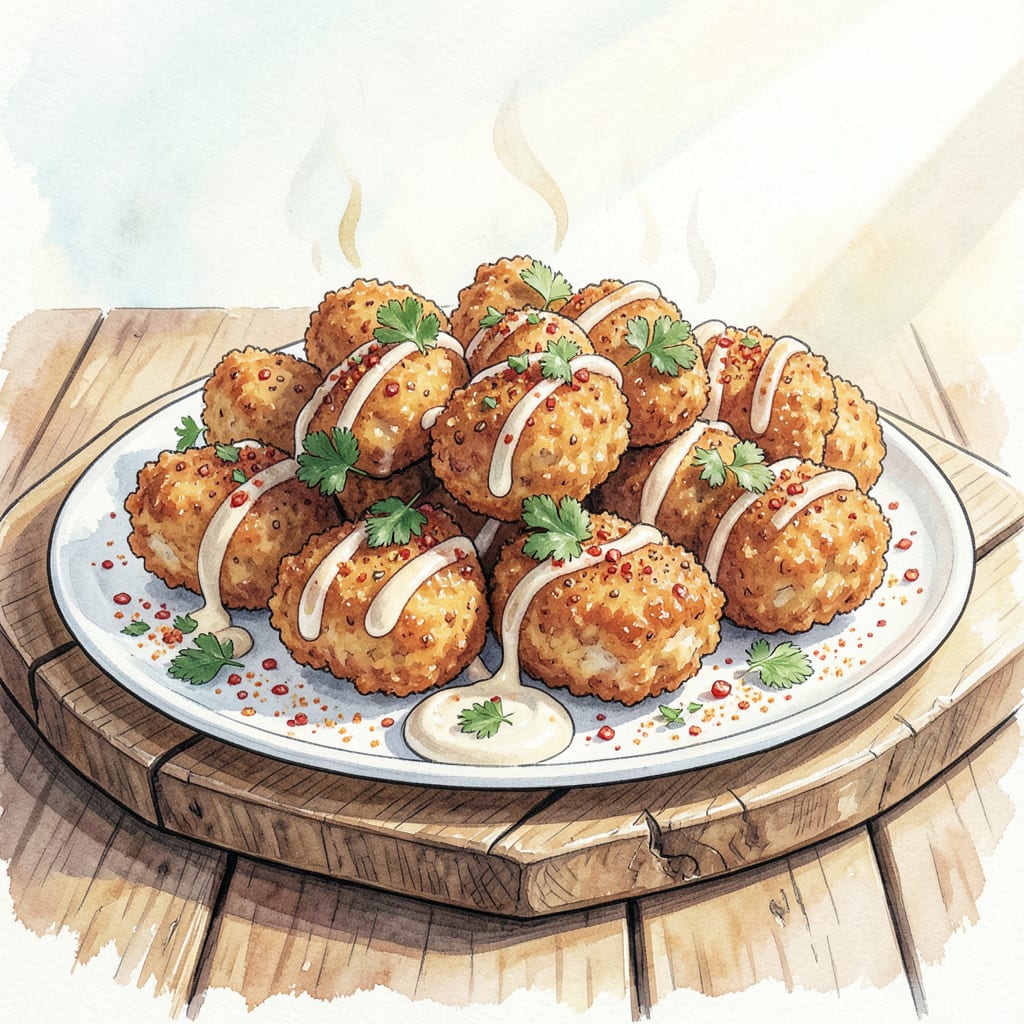
I’ve perfected a copycat Burger King chicken nuggets recipe that delivers crispy perfection every time. This recipe replicates the iconic fast food favorite with simple ingredients and precise cooking techniques.
By following this recipe, you’ll achieve golden nuggets with tender interiors and a crispy exterior, just like the original. The secret lies in the breading process and precise frying temperature.
Ingredients for Burger King Chicken Nuggets
Simple ingredients, precise techniques. That’s the secret to these crispy chicken nuggets.
| Ingredient | Amount | Notes |
|---|---|---|
| Chicken Breast Cutlets 🍗 | 1 ½ lb | Pounded to even thickness |
| All-Purpose Flour 🌾 | 1 ½ cups | For breading station |
| Cornstarch 🌽 | ½ cup | For crispy coating |
| Paprika 🌶️ | 2 tsp | Smoked or sweet variety |
| Garlic Powder 🧄 | 1 tsp | Not garlic salt |
| Onion Powder 🧅 | 1 tsp | For flavor depth |
| Salt 🧂 | 1 tsp | Kosher salt preferred |
| Black Pepper 🌶️ | ½ tsp | Freshly ground |
| Large Eggs 🥚 | 2 whole | For egg wash |
| Panko Breadcrumbs 🍞 | 2 cups | For crispy exterior |
| Vegetable Oil 🫒 | 2 cups | For frying |
| Buttermilk 🥛 | 1 cup | For marinating |
The breading station is key. Panko breadcrumbs create that signature crunch. For the best results, use Japanese-style Panko from an Asian market or well-stocked grocery. If you’re feeling fancy, try making your own breadcrumbs with crustless white bread processed into fine crumbs. The cornstarch in the breading mix helps achieve that ultra-crispy coating.
No buttermilk? Make a substitute by mixing 1 cup milk with 1 tbsp white vinegar or lemon juice. Let it sit for 5-10 minutes to thicken. For an extra crispy coating, you can chill the breaded nuggets in the refrigerator for 30 minutes before frying. If you don’t have smoked paprika, regular paprika works too—just add a pinch of liquid smoke for that authentic flavor.
These nuggets freeze beautifully before frying. Freeze them on a baking sheet, then transfer to a freezer bag for up to 3 months. When you’re ready to cook, fry them straight from frozen, adding a few extra minutes to the cooking time. Store leftovers in an airtight container in the refrigerator for up to 3 days.
Step-by-Step Instructions for Crispy Chicken Nuggets
Follow these precise steps to achieve Burger King-style chicken nuggets with perfect crispy coating every time.
Step 1: Marinate Chicken in Buttermilk
Begin by placing the 1.5 lb Chicken Breast Cutlets in a large bowl. Pour in the 1 cup Buttermilk, ensuring the chicken is fully submerged. If necessary, gently press the pieces down or add a little more buttermilk to cover them completely. Cover the bowl with plastic wrap and refrigerate for at least 30 minutes or up to 2 hours. The acidity in the buttermilk will tenderize the chicken and add flavor.
As the chicken marinates, you’ll notice it becoming more tender and absorbing the tangy flavor of the buttermilk. This step is crucial for achieving juicy nuggets.
Step 2: Prepare Breading Station
While the chicken is marinating, set up your breading station. In one shallow dish, mix together the 1.5 cups All-Purpose Flour, 0.5 cup Cornstarch, 2 tsp Paprika, 1 tsp Garlic Powder, 1 tsp Onion Powder, 1 tsp Salt, and 0.5 tsp Black Pepper. In another dish, beat the 2 whole Large Eggs until well mixed. In a third dish, place the 2 cups Panko Breadcrumbs. Having everything organized will make the breading process smooth and efficient.
The combination of flour, cornstarch, and spices creates a flavorful coating that adheres well to the chicken. Panko breadcrumbs provide the signature crispy exterior.
Step 3: Bread the Chicken Nuggets
Remove the chicken from the buttermilk marinade, allowing any excess to drip off. Dredge the chicken pieces in the flour mixture, coating them evenly. Then dip them in the beaten eggs, making sure they’re fully coated. Finally, roll the chicken pieces in the Panko breadcrumbs, pressing gently to adhere. Place the breaded nuggets on a plate or tray. You should have a nice, even coating on each piece.
The breading process is critical for achieving that signature crispy exterior. Make sure to coat the chicken evenly at each stage.
Step 4: Fry to Golden Perfection
Heat the 2 cups Vegetable Oil in a large, heavy-bottomed pot or deep fryer to 350°F. Once the oil reaches the correct temperature, carefully add a few breaded chicken nuggets to the hot oil. Do not overcrowd the pot—fry in batches if necessary. Cook for 5-7 minutes or until the nuggets are golden brown and the internal temperature reaches 165°F. Use a slotted spoon to remove the nuggets from the oil and drain on paper towels.
Frying at the correct temperature ensures a crispy exterior while cooking the chicken through. Watch for the nuggets to turn golden brown and float to the surface.
Step 5: Serve Immediately
Serve the crispy chicken nuggets hot. For an authentic Burger King experience, consider serving with your favorite dipping sauces. The nuggets are best enjoyed immediately while still crispy.
For the crispiest results, serve the nuggets as soon as possible after frying. If you need to keep them warm, place them on a wire rack in a low oven (200°F) rather than stacking them on a plate.
Essential Equipment for This Recipe
Essential Cooking Equipment
To make these Burger King-style chicken nuggets, you’ll need some essential cooking equipment. First, a large, heavy-bottomed pot or deep fryer is necessary for frying the nuggets. I recommend using a cast-iron Dutch oven or a deep fryer with temperature control. 🔥
Thermometer for Precision
A deep-fry thermometer is crucial for achieving the perfect frying temperature of 350°F. This ensures that your nuggets cook evenly and develop that signature crispy exterior. You can use either a digital thermometer or an analog one, whichever you prefer.
Breading Station Essentials
For the breading process, you’ll need three shallow dishes. I like to use pie plates or shallow bowls for this purpose. You’ll also need a wire rack set over a baking sheet to hold the breaded nuggets before frying. This setup helps keep everything organized and makes the breading process much smoother.
Additional Tools
Other useful tools include tongs or a slotted spoon for safely handling the nuggets during frying, and paper towels for draining excess oil after frying. If you plan on making these nuggets frequently, consider investing in a deep-fry basket to make the frying process easier and safer.
Optional Equipment
While not essential, a meat mallet can be helpful for pounding the chicken breast cutlets to an even thickness. This ensures that the nuggets cook consistently and are tender. Additionally, a food processor can be used to make your own Panko breadcrumbs if you can’t find them in stores.
Nutrition Facts

- Jollof Rice Sauce Recipe: West African Tomato and Spice Infusion - September 25, 2026
- Japanese Rice Soup Recipe: Umami-Rich Comfort in a Bowl - September 25, 2026
- Homemade Cream Of Rice Recipe: Silk-Smooth Breakfast in Minutes - September 25, 2026