
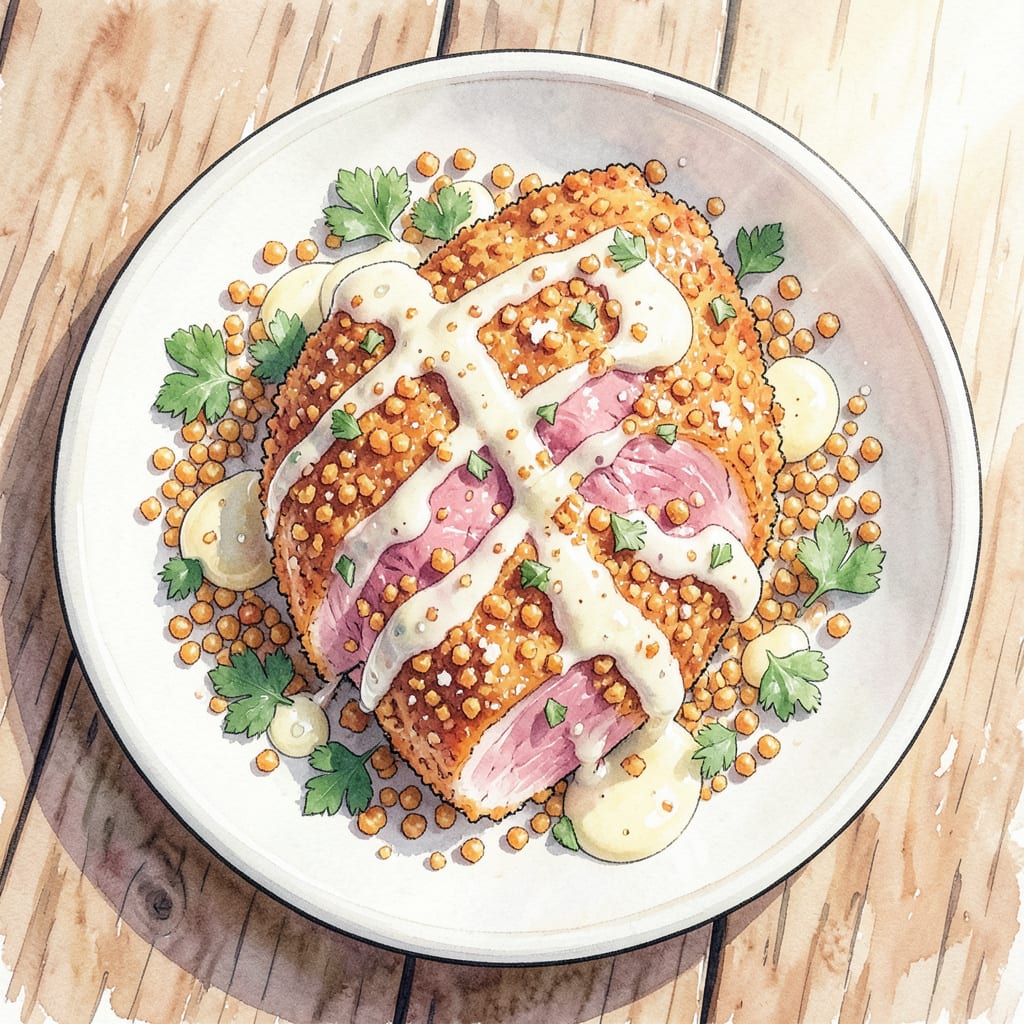
I’m excited to share my Cheeto chicken recipe that delivers both crunchy coating and juicy results. By incorporating crushed Cheetos into the breading, we add a bold cheese flavor that elevates this comfort food classic.
This recipe promises restaurant-quality results with simple ingredients and straightforward instructions. With a cooking time of under 30 minutes, it’s perfect for a quick weeknight dinner that’ll please both kids and adults alike.
Ingredients for Cheeto Chicken
Simple ingredients come together for a crunchy, cheesy, and juicy chicken dinner.
| Ingredient | Amount | Notes |
|---|---|---|
| Chicken Breast Cutlets 🍗 | 1 ½ lb | Pounded to even thickness |
| Cheetos 🧀 | 2 cups | Crushed, any flavor |
| All-Purpose Flour 🌾 | 1 cup | For dredging chicken |
| Large Eggs 🥚 | 2 whole | Beaten for egg wash |
| Panko Breadcrumbs 🍞 | ½ cup | Optional, for extra crunch |
| Garlic Powder 🧄 | 1 tsp | For added flavor |
| Paprika 🌶️ | ½ tsp | Smoked or sweet |
| Salt 🧂 | 1 tsp | Kosher or sea salt |
| Black Pepper 🌶️ | ½ tsp | Freshly ground preferred |
| Vegetable Oil 🫒 | 1 cup | For frying chicken |
| Buttermilk 🥛 | 1 cup | For marinating chicken |
For the best crunch, use Flamin’ Hot Cheetos—the bold flavor really shines through. Most grocery stores carry them, but if you can’t find them, regular Cheetos work too. The panko breadcrumbs are optional but trust me, they add nice extra crispiness. I like to keep both Panko and Cheetos in separate airtight containers so they’re ready for future recipes.
No buttermilk? Make a substitute by mixing 1 cup milk with 1 tbsp white vinegar or lemon juice—let it sit 5-10 minutes to thicken. For an extra kick, add 1/2 tsp cayenne to the Cheetos mixture. The garlic powder can be replaced with 1/2 tsp onion powder if that’s what you have on hand. If you’re out of paprika, a pinch of cayenne pepper works as a substitute.
Leftovers keep in an airtight container in the fridge for up to 3 days. Reheat in the oven at 350°F to maintain crispiness—avoids the sogginess you get from microwaving. Freeze individual portions on a baking sheet, then transfer to a freezer bag for up to 3 months.
Step-by-Step Instructions for Cheeto Chicken
Follow my method for perfectly crispy Cheeto-crusted chicken with juicy results every time.
Step 1: Marinate Chicken in Buttermilk
Begin by placing the 1.5 lb Chicken Breast Cutlets in a large bowl or zip-top plastic bag. Pour in the 1 cup Buttermilk, making sure the chicken is fully submerged. If necessary, weigh down the chicken with a plate to keep it under the liquid. Refrigerate for at least 2 hours or overnight for maximum tenderness. The acidity in the buttermilk will break down the proteins, ensuring juicy results.
As the chicken marinates, you’ll notice it becoming more tender and developing a slightly thicker coating on the surface. This step is crucial for achieving that perfect balance between crispy exterior and juicy interior.
Step 2: Prepare Cheeto Crust Mixture
While the chicken is marinating, prepare the Cheeto crust. Place the 2 cups Cheetos in a food processor and pulse until you achieve a fine crumb consistency. Transfer the crushed Cheetos to a shallow dish and mix in the 0.5 cup Panko Breadcrumbs, 1 tsp Garlic Powder, 0.5 tsp Paprika, 1 tsp Salt, and 0.5 tsp Black Pepper. The combination of Cheetos and Panko creates an exceptionally crispy coating.
For an extra crunchy coating, you can toast the Panko breadcrumbs in a dry skillet over medium heat for 2-3 minutes, stirring constantly, until they’re golden brown. Let them cool completely before mixing with the crushed Cheetos.
Step 3: Dredge and Coat Chicken
Remove the chicken from the buttermilk marinade, allowing any excess to drip off. Dredge the chicken cutlets in the 1 cup All-Purpose Flour, shaking off any excess. Then dip the floured chicken into the 2 whole Large Eggs that have been beaten until smooth, making sure they’re fully coated. Finally, press the chicken into the Cheeto mixture, ensuring an even coating on both sides. The egg wash helps the Cheeto crust adhere to the chicken.
For the best results, I like to let the coated chicken rest on a wire rack for 10-15 minutes before frying. This resting period helps the coating adhere better to the chicken during frying.
Step 4: Fry to Golden Perfection
Heat the 1 cup Vegetable Oil in a large skillet over medium-high heat until it reaches 350°F. Fry the coated chicken cutlets for 3-4 minutes per side until they achieve a golden brown crust and the internal temperature reaches 165°F. Be careful not to overcrowd the pan; fry in batches if necessary.
Once fried, transfer the chicken to a paper towel-lined plate to drain any excess oil. For serving, you can keep the chicken warm in a 200°F oven while frying subsequent batches. This ensures that all pieces stay crispy and hot.
Common Mistakes When Making Perfect Results
Overcooking the Chicken
The most common mistake is overcooking the chicken, which results in dry, tough meat. Use a thermometer to check for 165°F internal temperature. Remove from heat immediately when reached. 🔥
Incorrect Oil Temperature
Frying at the wrong temperature affects the crust. Heat oil to 350°F before adding chicken. Too low and the coating absorbs excess oil; too high and it burns before cooking through.
Poor Coating Adhesion
If the Cheeto crust doesn’t stick properly, it’s often due to excess moisture or improper coating technique.
Insufficient Marination
Skipping or rushing the marination step leads to less tender chicken. Let chicken marinate for at least 2 hours or overnight for best results.
Crowding the Pan
Frying too many pieces at once lowers the oil temperature, resulting in greasy or undercooked chicken. Fry in batches if necessary, keeping cooked pieces warm in a 200°F oven.
Skipping Resting Time
Not letting coated chicken rest before frying can cause the crust to fall off during cooking. Let it sit on a wire rack for 10-15 minutes to help the coating set.
Nutrition Facts

- Jollof Rice Sauce Recipe: West African Tomato and Spice Infusion - September 25, 2026
- Japanese Rice Soup Recipe: Umami-Rich Comfort in a Bowl - September 25, 2026
- Homemade Cream Of Rice Recipe: Silk-Smooth Breakfast in Minutes - September 25, 2026