
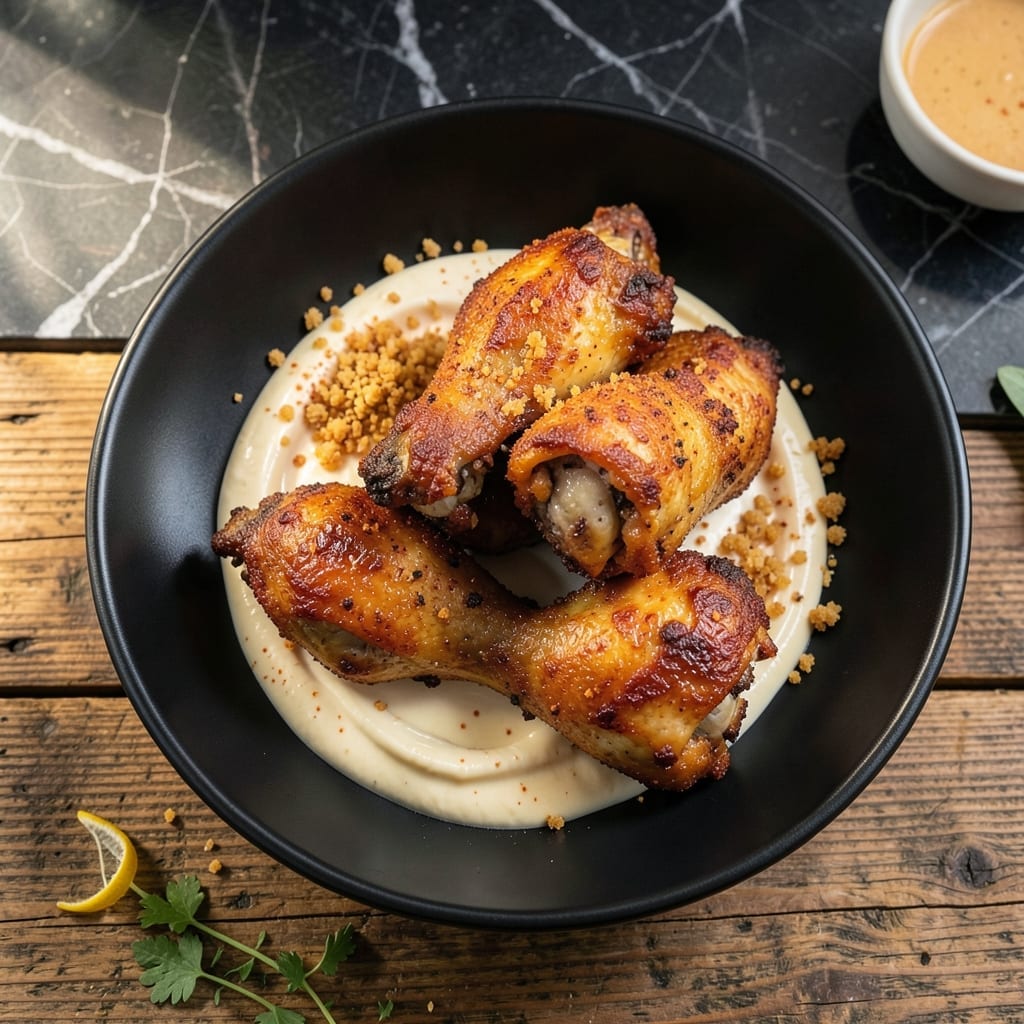
This recipe brings classic comfort food to your kitchen with a crispy coating that stays perfect every time. I’ve refined the technique to deliver that signature golden crunch without the guesswork.
The secret lies in a double-dipping method and precise frying temperature that ensures even cooking. Each piece emerges with a shatteringly crispy exterior and juicy interior that defines this dish.
You’ll achieve that nostalgic taste with simple ingredients and professional results. The coating clings perfectly, creating the classic texture that makes this dish so satisfying.
Ready in under an hour with standard kitchen tools. This is comfort food at its most reliable and delicious.
Ingredients for Chester’s Chicken
Simple pantry staples create this crispy coated classic comfort dish with professional results.
| Ingredient | Amount | Notes |
|---|---|---|
| Chicken Thighs 🍗 | 2 lb | Boneless, skinless, cut into strips |
| All-Purpose Flour 🌾 | 1 ½ cups | For initial dredging |
| Large Eggs 🥚 | 2 whole | Beaten for egg wash |
| Buttermilk 🥛 | 1 cup | For tenderizing and flavor |
| Breadcrumbs 🍞 | 2 cups | Panko for extra crunch |
| Cornstarch 🌾 | ¼ cup | For coating crispiness |
| Paprika 🌶️ | 1 tbsp | Sweet or smoked variety |
| Garlic Powder 🧄 | 1 tbsp | Enhances savory depth |
| Onion Powder 🧅 | 1 tbsp | Balances seasoning blend |
| Salt 🧂 | 2 tsp | Diamond Crystal preferred |
| Black Pepper 🌶️ | 1 tsp | Freshly ground for best flavor |
| Cayenne Pepper 🔥 | ½ tsp | Adjust for heat preference |
| Vegetable Oil 🫒 | 4 cups | For deep frying |
| Hot Sauce 🌶️ | 2 tbsp | Optional for dipping |
The chicken quality defines the outcome. Boneless, skinless thighs provide the juiciest results—avoid breasts as they dry out. Source from Whole Foods or Costco for consistent sizing. The buttermilk must be full-fat (trust me on this one) for optimal tenderizing. Panko breadcrumbs, available at Trader Joe’s or any Asian market, deliver the signature crunch.
No buttermilk on hand? Whole milk plus 1 tbsp vinegar per cup works perfectly. Swap paprika for Cajun seasoning if you prefer a spicier kick. For gluten-free, use cornstarch and rice flour instead of all-purpose flour. The vegetable oil can be substituted with peanut oil for a higher smoke point, but avoid olive oil for frying.
Store raw chicken in the coldest part of your fridge for up to 2 days. Fried pieces keep crispy for 1 day if left uncovered in the fridge. Reheat in a 350°F oven for 10 minutes to restore texture. Freeze uncooked breaded chicken for up to 3 months.
Why You’ll Love This Recipe
- One Pan Magic: No deep fryer, no mess—just a sheet pan and that golden buttermilk-breaded crust on juicy thighs.
- Crispy Perfection: The buttermilk soak keeps the chicken tender while the crumb coating gets that irresistible crunch.
- Weeknight Hero: I throw this together between soccer practice and bedtime. Yes, even on a Tuesday night.
- Stretches Far: Leftovers? They disappear into sandwiches or salads the next day—my budget’s new best friend.
Step-by-Step Instructions for Crispy Coated Chicken
Master the double-dredge technique for maximum crunch and juicy, tender chicken.
Step 1: Season and Dredge in Flour Mixture
In a shallow dish, combine the 1.5 cups all-purpose flour, 0.25 cup cornstarch, 1 tbsp paprika, 1 tbsp garlic powder, 1 tbsp onion powder, 2 tsp salt, 1 tsp black pepper, and 0.5 tsp cayenne pepper. Mix thoroughly with a fork to distribute the spices evenly.
Pat the 2 lb chicken thighs dry with paper towels to ensure the coating adheres properly. Dredge each piece in the flour mixture, pressing firmly to create an even, thick layer. Shake off any excess, but don’t be stingy—this first coating is crucial for the crunch. Set aside on a wire rack.
Step 2: Dip in Egg Wash and Coat with Breadcrumbs
In a separate bowl, whisk together the 2 whole large eggs and 1 cup buttermilk until fully combined. This mixture serves as the binder for the second coating. The buttermilk adds tenderness and a subtle tang that balances the richness of the fried chicken.
Dip each floured chicken piece into the egg wash, allowing any excess to drip off for a moment. Then, roll it in the 2 cups breadcrumbs, pressing gently to ensure full coverage. For extra texture, I like to sprinkle a bit more breadcrumbs on top and press them in. Place the coated pieces back on the wire rack to rest for 5-10 minutes—this helps the coating set.
Step 3: Fry to Golden Perfection
In a deep, heavy-bottomed pot, heat the 4 cups vegetable oil to 350°F. Use a deep-fry or candy thermometer to monitor the temperature accurately. Maintaining the correct temperature is key—if the oil is too cool, the chicken will absorb grease; if too hot, the outside will burn before the inside cooks.
Carefully lower the breaded chicken into the hot oil, working in batches to avoid overcrowding. Fry for 8-10 minutes, turning occasionally, until the coating is deep golden brown and the internal temperature reaches 165°F. Drain on a wire rack or paper towels to keep it crispy. The rack allows air to circulate, preventing sogginess.
Step 4: Serve Hot with Optional Dipping Sauce
Transfer the fried chicken to a serving platter while still hot. The contrast of the crispy exterior and the juicy, tender interior is at its peak right out of the fryer. If you’re serving a crowd, keep the finished batches warm in a 200°F oven on a wire rack to maintain crispiness.
Serve with the 2 tbsp hot sauce for dipping, if desired. The slight heat and acidity cut through the richness beautifully. For a classic touch, pair with pickles and a simple slaw. This dish is best enjoyed fresh, so dig in while it’s hot and at its crispiest.
Pro Tips For Making Chester’S Chicken
- Double-Dredge the Thighs: Dip the chicken in buttermilk, then flour, then buttermilk again, then breadcrumbs—I learned this the hard way after my first batch had patches of bare meat.
- Rest the Coated Chicken: Let the breaded thighs sit for 10 minutes before frying; it keeps the coating from sliding off when it hits the oil.
- Skip Cold Oil: Heat your oil to 350°F before adding the chicken, or you’ll end up with greasy, soggy crusts instead of that crisp golden shell.
- Use Thigh Skin: Leave the skin on the chicken thighs—it renders down and adds an extra layer of crunch that skinless just can’t match.
Wine and Beer Pairings for chesters chicken
Crisp White Wines
A chilled Sauvignon Blanc from New Zealand cuts through the richness with its bright acidity and citrus notes. The crisp finish cleanses your palate between bites. I love the Kim Crawford or Oyster Bay labels for consistent quality. 🍷
Light Beers
An American-style lager like Bud Light or Coors Banquet offers a clean, refreshing contrast that won’t overwhelm the dish. The light body and mild flavor let the chicken shine. For craft options, try Lagunitas Pils or Firestone Lager. 🍺
Sparkling Options
Prosecco or dry sparkling cider provides effervescence that lifts the richness off your palate. The bubbles enhance the crispy texture. La Marca Prosecco is my go-to for its balance of fruit and acidity. Serve well-chilled.
Flavor-Enhancing Pairings
For a bolder choice, a wheat beer like Blue Moon with its citrus notes complements the spices beautifully. The slight sweetness balances the heat from the cayenne. Avoid heavy IPAs—they’ll clash with the dish’s delicate crunch.
Non-Alcoholic Choices
Sparkling lemonade or iced tea with a squeeze of lemon offers a refreshing, family-friendly option. The acidity mirrors wine’s palate-cleansing effect. I sweeten mine lightly to avoid overpowering the chicken’s seasoning. ✨
Nutrition Facts
Frequently Asked Questions
Can I use chicken breasts instead of thighs?
You can, but thighs stay juicier. If using breasts, brine them first in saltwater for 30 minutes to prevent dryness.
How do I keep the coating crispy?
Drain on a wire rack, not paper towels, to allow air circulation. Keep finished batches warm in a 200°F oven if frying in advance.
What if my oil temperature drops?
Remove the pot from heat briefly to let it recover to 350°F. Overcrowding causes temperature drops, so fry in small batches.
Can I bake instead of fry?
Yes! Bake at 400°F for 20-25 minutes on a wire rack. Spray with oil for extra crispiness.

- Jollof Rice Sauce Recipe: West African Tomato and Spice Infusion - September 25, 2026
- Japanese Rice Soup Recipe: Umami-Rich Comfort in a Bowl - September 25, 2026
- Homemade Cream Of Rice Recipe: Silk-Smooth Breakfast in Minutes - September 25, 2026