
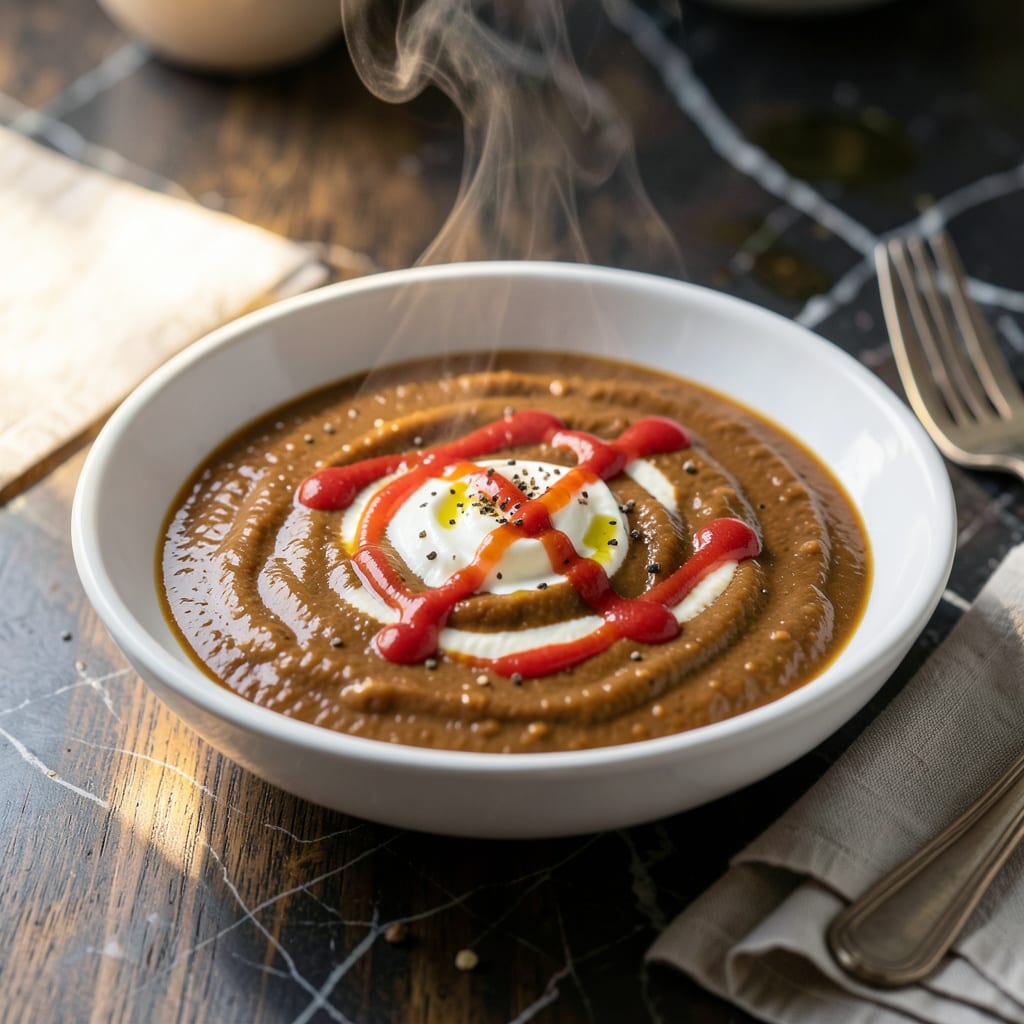
This copycat sauce delivers the creamy, tangy flavor that made Chi Chi’s famous. I’ve tested multiple versions to nail that perfect balance of richness and subtle spice.
With just a few pantry staples, you can recreate this copycat restaurant favorite at home. The secret is in the slow simmer that allows the flavors to meld into that signature smooth texture.
Ingredients for Chi Chi’s Chicken Chimichanga Sauce
A handful of pantry staples creates that signature creamy, tangy magic right at home.
| Ingredient | Amount | Notes |
|---|---|---|
| Butter 🧈 | ½ cup | Unsalted for controlled seasoning |
| All-Purpose Flour 🌾 | ¼ cup | For thickening the sauce |
| Chicken Broth 🥣 | 2 cups | Low-sodium preferred for balance |
| Heavy Cream 🥛 | 1 cup | Full-fat for creaminess |
| Tomato Sauce 🍅 | ½ cup | Smooth, plain variety |
| White Vinegar 💧 | 2 tbsp | For tangy kick |
| Granulated Sugar 🍚 | 1 tbsp | Balances acidity |
| Chili Powder 🌶️ | 1 tsp | Mild variety for subtle heat |
| Garlic Powder 🧄 | ½ tsp | Adds savory depth |
| Onion Powder 🧅 | ½ tsp | Complements the garlic |
[recipeingredientscaler]
Butter is the base here—unsalted lets you control the salt level perfectly. I grab mine from Kroger or whatever’s on sale, but any good brand works. The chicken broth should be low-sodium (I like Swanson or College Inn), otherwise the sauce can get too salty once everything reduces. Heavy cream is non-negotiable for that velvety texture—don’t even think about subbing milk (trust me, I tried).
No heavy cream? Half-and-half plus a pat of butter gets you close, but it won’t be as rich. Out of tomato sauce? Tomato paste thinned with water works in a pinch (use half the amount). Vinegar can be apple cider if that’s what you’ve got. For extra depth, a dash of Worcestershire sauce (even though it’s not in the original) adds a nice umami note.
This keeps beautifully in the fridge for 5-7 days in an airtight container. Freeze for up to 3 months—just stir well after thawing. The flavors actually deepen overnight, so it’s even better the next day.
Why You’ll Love This Recipe
- 5-Minute Base: I melt butter, whisk in flour, and the roux is ready before the broth even heats up.
- Creamy Tomato Hug: The heavy cream and tomato sauce blend into this velvety, slightly tangy sauce that clings to every bite of chimichanga.
- Dinner or Dip: I drizzle it over chimichangas one night, then serve it as a dip for chips the next—no extra effort.
- Fridge Friendly: Honestly, it tastes even better the next day, and I can stretch one batch across two meals without breaking the bank.
Step-by-Step Instructions for Chicken Chimichanga Sauce
Here’s the simple method for recreating that signature Chi Chi’s flavor at home.
Step 1: Create the Roux Base
Melt the 0.5 cup Butter in a medium saucepan over medium heat. Once melted and foaming, whisk in the 0.25 cup All-Purpose Flour to form a smooth paste. This is your roux—the foundation for a velvety sauce.
Cook the roux for 1-2 minutes, stirring constantly, until it turns a light golden color and smells slightly nutty. Don’t let it brown too deeply, or your sauce will taste bitter. The mixture should bubble gently but not burn.
Step 2: Build the Flavorful Liquid Base
Slowly pour in the 2 cups Chicken Broth, whisking continuously to prevent lumps from forming. The mixture will thicken almost immediately as the roux absorbs the liquid. Keep whisking until it’s completely smooth.
Add the 0.5 cup Tomato Sauce, 1 tbsp Granulated Sugar, 1 tsp Chili Powder, 0.5 tsp Garlic Powder, and 0.5 tsp Onion Powder. Stir well to combine, then bring the mixture to a gentle simmer. This is where the magic starts to happen.
Step 3: Finish with Cream and Tang
Reduce the heat to low and stir in the 1 cup Heavy Cream. Let the sauce simmer for 5-7 minutes, stirring occasionally, until it thickens enough to coat the back of a spoon. The color will deepen slightly, and the aroma will be rich and inviting.
Finally, stir in the 2 tbsp White Vinegar. This adds the signature tang that makes Chi Chi’s sauce so addictive. Taste and adjust seasoning if needed, though the flavors will meld further as it cools slightly.
Step 4: Serve Warm
Remove the sauce from the heat and let it sit for 2-3 minutes to thicken a bit more. It should be smooth, creamy, and pourable—perfect for drizzling over chimichangas or using as a dip.
The sauce will continue to thicken as it cools, so if it becomes too thick, simply stir in a splash of warm water or additional chicken broth to reach your desired consistency. Serve warm for the best flavor and texture.
Pro Tips For Making Chi Chi’S Chicken Chimichanga Sauce
- Melt Butter Slowly: Use medium-low heat when melting the butter for your roux—too hot and it’ll brown, giving the sauce a bitter edge. I learned this the hard way after ruining a batch with burnt butter.
- Whisk Out Lumps: Add the flour gradually to the melted butter and whisk constantly for 1-2 minutes to cook out the raw taste. Sounds tedious, but it’s the only way to avoid a floury aftertaste.
- Warm the Broth: Take the chicken broth out of the fridge 10 minutes early or microwave it for 30 seconds—cold broth seizes up the roux and makes the sauce clumpy. My grandmother swore by this, and she was right.
- Finish with Cream: Stir in the heavy cream at the very end, off the heat, to prevent curdling. After splitting one too many sauces, I finally figured out this timing matters most.
Storing and Reheating This Dish
Refrigerator Storage
Let the sauce cool completely at room temperature for no more than 2 hours. Transfer to an airtight container—I use glass Mason jars for easy pouring. Store in the fridge at 40°F or below for up to 5-7 days. ❄️
Freezer Storage
This sauce freezes beautifully for up to 3 months without losing flavor. Use freezer-safe containers or heavy-duty zip-top bags. Leave ½ inch headspace for expansion and squeeze out excess air to prevent freezer burn.
Stovetop Reheating
Pour the sauce into a small saucepan and warm over low-medium heat, stirring frequently. Add 1-2 tbsp chicken broth or water if it’s too thick. Heat until it reaches 165°F and is smooth and pourable.
Microwave Reheating
Microwave individual portions in 30-second intervals at 50% power, stirring between each. This prevents separation and hot spots. Expect to heat for 1-2 minutes total depending on your microwave. 🔥
Reviving Separated Sauce
If the sauce separates after storage, don’t worry—this is normal. Simply whisk in 1 tsp cold water at a time until it comes back together. The fat and liquids will re-emulsify with a little patience and elbow grease.
Nutrition Facts
Frequently Asked Questions
Can I use milk instead of heavy cream?
For best results, avoid milk as it lacks the fat content needed for that velvety texture. Use half-and-half plus 1 tbsp butter as a closer substitute. The sauce won’t be as rich but will still work.
Why does my sauce taste too tangy?
If the vinegar flavor overpowers, add 1 tsp sugar to balance the acidity. Start small—you can always add more. Simmering for an extra 2-3 minutes also helps mellow the tang.
How do I fix a lumpy sauce?
Whisk vigorously to break up lumps, or strain through a fine-mesh sieve. For prevention, ensure the roux is smooth before adding liquid and whisk constantly while pouring in broth.
Can I make this ahead of time?
The flavors deepen after 24 hours in the fridge. Store in an airtight container and reheat gently before serving. It’s perfect for meal prep.

- Jollof Rice Sauce Recipe: West African Tomato and Spice Infusion - September 25, 2026
- Japanese Rice Soup Recipe: Umami-Rich Comfort in a Bowl - September 25, 2026
- Homemade Cream Of Rice Recipe: Silk-Smooth Breakfast in Minutes - September 25, 2026