
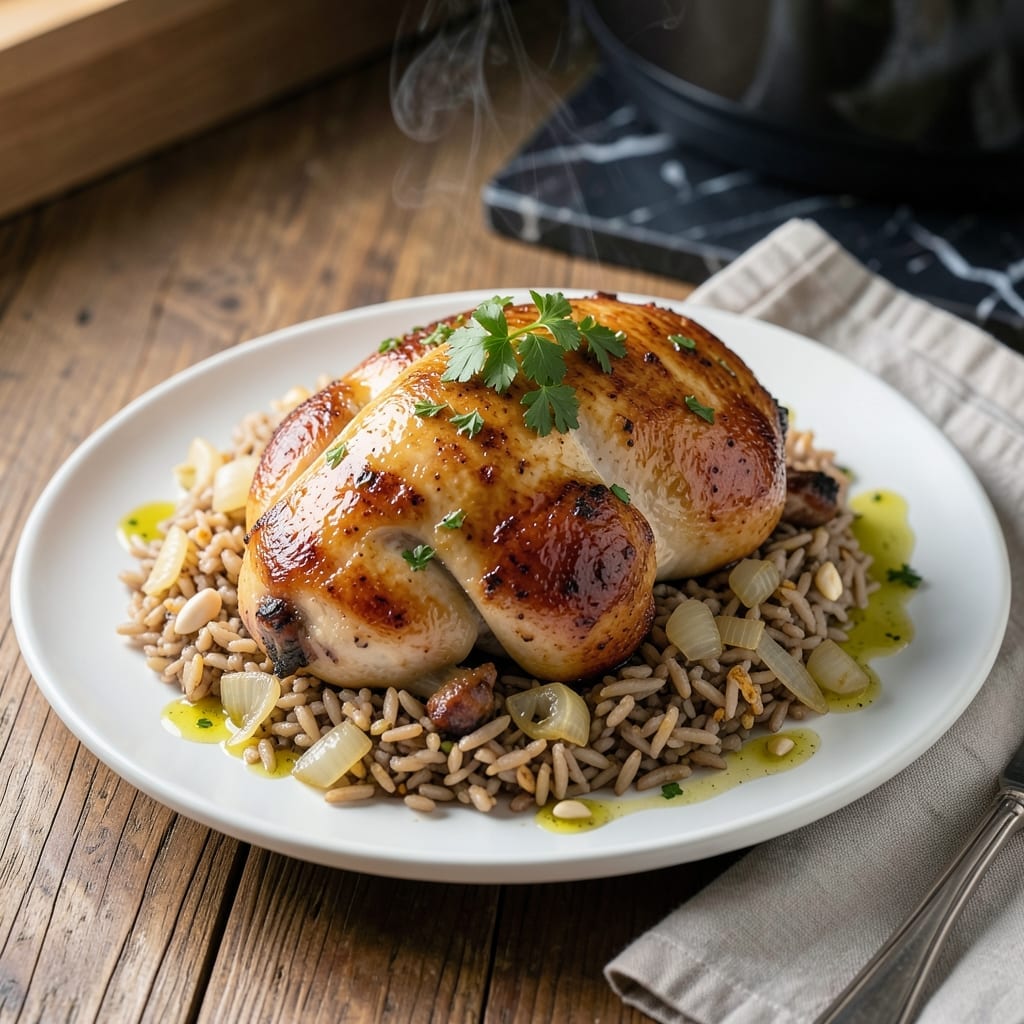
This pressure cooker method delivers a complete weeknight meal with minimal effort. Chicken and brown rice cook together, absorbing flavors while maintaining perfect texture.
In just 30 minutes, you’ll have tender chicken and fluffy rice ready to serve. The hands-off approach means no stirring, no babysitting—just set it and let the pressure cooker do the work.
Ingredients for Chicken and Brown Rice Pressure Cooker
A complete meal with chicken, rice, and aromatics for effortless weeknight cooking.
| Ingredient | Amount | Notes |
|---|---|---|
| Boneless Skinless Chicken Thighs 🍗 | 1 ½ lb | Trimmed of excess fat |
| Long-Grain Brown Rice 🍚 | 1 ½ cups | Rinsed thoroughly before cooking |
| Low-Sodium Chicken Broth 🥣 | 2 ½ cups | Divided for cooking and deglazing |
| Yellow Onion 🧅 | 1 whole | Medium-sized, finely diced |
| Garlic Cloves 🧄 | 4 cloves | Minced for maximum flavor |
| Olive Oil 🫒 | 2 tbsp | Divided for sautéing and finishing |
| Dried Thyme 🌿 | 1 tsp | Crushed between fingers to release oils |
| Dried Rosemary 🍃 | 1 tsp | Finely chopped before adding |
| Bay Leaf 🌿 | 1 whole | Removed before serving |
| Kosher Salt 🧂 | 1 ½ tsp | Diamond Crystal preferred for even seasoning |
| Freshly Ground Black Pepper 🌶️ | ½ tsp | Coarse grind for texture |
| Fresh Parsley 🌿 | ¼ cup | Chopped for garnish |
| Lemon 🍋 | 1 whole | Zested and juiced for brightness |
The chicken thighs are non-negotiable here. Boneless, skinless ensures even cooking and optimal texture in the pressure cooker. Costco and Whole Foods carry high-quality options with good marbling. Brown rice requires precise liquid ratios—rinsing removes excess starch that could make the final dish gummy. The broth should be low-sodium to control seasoning.
No chicken thighs? Boneless breasts work at a 1:1 ratio but may dry out slightly. Brown rice substitutes like farro or wild rice need adjusted cooking times. Vegetable broth swaps in seamlessly for a lighter touch. Fresh herbs can replace dried—use triple the amount. The lemon zest adds brightness (don’t skip it).
Leftovers reheat beautifully—4-5 days in the fridge, 3 months frozen. The rice absorbs flavors more deeply overnight. Store cooked chicken and rice together in airtight containers for best results.
Why You’ll Love This Recipe
- Set It and Forget: The pressure cooker does all the work while I sip my coffee. Just toss in the chicken thighs, brown rice, and broth—no babysitting required.
- Garlic-Infused Comfort: The brown rice soaks up the onion and garlic flavor like a sponge. Honestly, it’s the kind of meal I crave after a long day.
- Meal Prep Dream: I make a big batch on Sunday and it’s lunch for the whole week. The chicken stays juicy, the rice doesn’t dry out—perfect in containers.
- Budget Stretcher: Boneless thighs and brown rice are cheap, but this tastes like a million bucks. I’ll be real: it’s my go-to when the wallet’s feeling light.
Step-by-Step Instructions for Chicken and Brown Rice Pressure Cooker
This streamlined method delivers perfectly cooked rice and tender chicken with minimal active time.
Step 1: Sauté Aromatics and Brown Chicken
Set your pressure cooker to Sauté mode and add 1 tbsp olive oil. When the oil shimmers, add the finely diced yellow onion and cook for 3-4 minutes until translucent and softened.
Add the minced garlic cloves, dried thyme, and dried rosemary, stirring constantly for 30 seconds until fragrant. Push the aromatics to one side, add the remaining 1 tbsp olive oil, then sear the 1.5 lb boneless skinless chicken thighs in batches for 2-3 minutes per side until golden brown. Remove and set aside.
Step 2: Deglaze and Combine Ingredients
Pour ½ cup low-sodium chicken broth into the pressure cooker and scrape the bottom with a wooden spoon to release all the browned bits. This step prevents burning and builds flavor.
Add the 1.5 cups long-grain brown rice, remaining 2 cups low-sodium chicken broth, 1.5 tsp kosher salt, 0.5 tsp freshly ground black pepper, and the bay leaf. Stir to combine, then return the chicken to the pot. Ensure the rice is submerged in liquid.
Step 3: Pressure Cook to Perfection
Secure the lid and set the pressure cooker to High Pressure for 22 minutes. It will take approximately 10-15 minutes to come to pressure before the cooking time begins.
Once the cooking cycle completes, allow the pressure to release naturally for 10 minutes, then perform a quick release. This gradual pressure release prevents the rice from becoming mushy.
Step 4: Finish and Serve
Discard the bay leaf. Stir in the zest and juice from the lemon to brighten the flavors. Taste and adjust seasoning if needed—brown rice often requires a bit more salt.
Garnish with the 0.25 cup fresh parsley and serve immediately. The chicken should be fall-apart tender, and the rice should be fully cooked with a slight bite. If the dish appears too thick, stir in a splash of warm water or broth to reach your desired consistency.
Pro Tips For Making Chicken And Brown Rice Pressure Cooker
- Use Natural Release: Let the pressure release naturally for 10 minutes before quick-releasing—brown rice needs that extra time to soften, and chicken stays juicy instead of tough.
- Toast the Rice: Sauté the dry brown rice in the pot for 2-3 minutes until nutty; it adds depth and prevents a mushy texture.
- Cut Chicken Evenly: Trim thighs into 1-2 inch pieces so they cook through without overcooking the rice—uneven chunks lead to dry spots or crunchy grains.
- Boost Flavor Early: Bloom the minced garlic and diced onion in oil before adding broth; it builds a richer base than dumping everything in at once.
Flavor Customization for chicken and brown rice pressure cooker
Herb Infusions
Swap the dried thyme and rosemary for 1 tsp dried oregano and 1 tsp smoked paprika for a Spanish-inspired twist. I love how this combo adds warmth. Alternatively, use 2 tbsp fresh dill and 1 tsp lemon zest for a bright Mediterranean flair. 🌿
Spice It Up
Add ½ tsp cayenne pepper or 1 chopped jalapeño with the onions for heat. For a Cajun kick, mix in 1 tbsp Cajun seasoning (I use Tony Chachere’s) when browning the chicken. The spices bloom beautifully under pressure.
Citrus Variations
Replace the lemon with lime zest and juice for a zesty change, or add 1 tbsp orange zest for a sweeter note. I’ve found that 2 tsp lime juice at the end gives a vibrant finish that pairs well with cilantro instead of parsley.
Umami Boosters
Stir in 1 tbsp soy sauce or 1 tsp fish sauce with the broth for depth. Mushrooms also work—sauté 1 cup sliced cremini with the onions. I always keep Mushroom Umami Seasoning from Trader Joe’s on hand for this. 💡
Creamy Additions
After cooking, stir in ½ cup coconut milk for a Thai-inspired version. Or add ¼ cup heavy cream and 2 tbsp grated Parmesan for a rich, creamy finish. The cream softens the brown rice’s texture beautifully.
Fresh Herb Garnish
Beyond parsley, try fresh cilantro or basil for a different herbaceous note. I often mix 2 tbsp chopped chives with the parsley for a mild onion flavor that complements the dish perfectly.
Nutrition Facts
Frequently Asked Questions
Can I use white rice instead?
Yes, but reduce the cooking time to 8-10 minutes on high pressure. White rice cooks faster than brown.
What if my rice is undercooked?
Add ¼ cup more broth, seal the lid, and cook for an additional 3-5 minutes on high pressure. Natural release helps too.
Can I add frozen chicken?
Yes, but increase the cooking time to 25 minutes. Ensure it’s fully thawed during the natural release.
How do I prevent the burn notice?
Always deglaze the pot thoroughly after sautéing. Use at least 2 cups of liquid for brown rice.

- Jollof Rice Sauce Recipe: West African Tomato and Spice Infusion - September 25, 2026
- Japanese Rice Soup Recipe: Umami-Rich Comfort in a Bowl - September 25, 2026
- Homemade Cream Of Rice Recipe: Silk-Smooth Breakfast in Minutes - September 25, 2026