
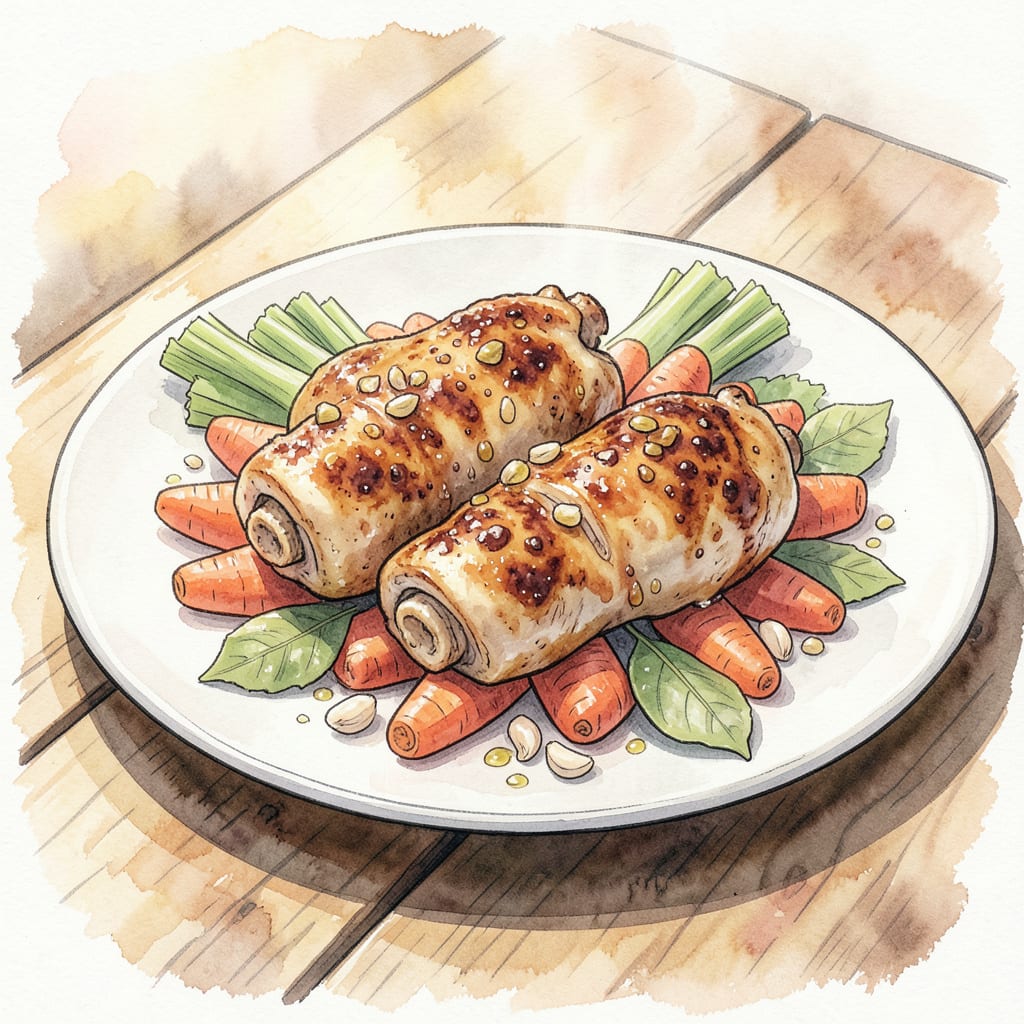
I’ve discovered that chicken backs are the secret to creating a rich, depthful stock foundation in minutes. By leveraging their natural collagen and marrow, we can achieve a velvety texture that’s perfect for soups, stews, and sauces.
This recipe transforms often-overlooked chicken backs into a culinary goldmine, delivering restaurant-quality results with minimal effort. Simply roast, simmer, and strain for a versatile base that elevates any dish.
Ingredients for Chicken Backs
Simple ingredients create rich, restaurant-quality stock foundation using chicken backs and basic aromatics.
| Ingredient | Amount | Notes |
|---|---|---|
| Chicken Backs 🍗 | 2 lb | Fresh or frozen, thawed |
| Carrots 🥕 | 2 whole | Peeled, roughly chopped |
| Onion 🧅 | 1 whole | Peeled, quartered |
| Celery Stalks 🥕 | 2 stalks | Roughly chopped |
| Garlic Cloves 🧄 | 4 cloves | Peeled, smashed |
| Bay Leaves 🌿 | 2 whole | Fresh or dried |
| Black Peppercorns 🌶️ | 1 tsp | Whole, not ground |
| Salt 🧂 | 1 tsp | Kosher salt preferred |
| Water 💧 | 4 cups | Cold, filtered water |
| Fresh Parsley 🌿 | ¼ cup | Chopped, for garnish |
| Fresh Thyme 🌿 | 2 sprigs | Fresh, not dried |
| Olive Oil 🫒 | 2 tbsp | For roasting chicken backs |
Chicken backs are key. Look for them at Whole Foods or local butcher shops. If you can’t find them, ask your butcher to save them for you. Freshness matters—check for any off smells or slimy texture. I usually grab mine from Costco when I’m stocking up.
No celery? Fennel or leeks work as great substitutes. Bay leaves are non-negotiable for that authentic depth, but you can use dried if fresh isn’t available. Black peppercorns should be whole—grind them yourself for the best flavor. The aromatics can be adjusted to taste, but keep the chicken backs as is for the best results.
This stock keeps for 4-5 days in the fridge. Freeze it in ice cube trays for up to 3 months for easy use in recipes. When freezing, label with date and contents—trust me, you’ll thank yourself later. Portion control is key here.
Step-by-Step Instructions for Chicken Backs Stock
Creating a rich chicken stock foundation is simpler than you think – let’s get started.
Step 1: Roast the Chicken Backs for Depth
Preheat your oven to 425°F. Toss the 2 lb Chicken Backs with 2 tbsp Olive Oil in a roasting pan until they’re evenly coated. Roast for 30-40 minutes until they achieve a deep golden brown color. This step enhances the stock’s flavor by caramelizing the natural sugars in the chicken.
Once roasted, remove the chicken backs from the oven and transfer them to a large stockpot. Be careful as they’ll be hot – I like to use tongs for this transfer.
Step 2: Sauté the Aromatics
In the same roasting pan (no need to clean it), add the 2 whole Carrots, 1 whole Onion, and 2 stalks Celery Stalks. Toss to coat with the remaining chicken fat and roast in the oven for another 20-25 minutes until they begin to caramelize. This step creates a rich, complex flavor profile for your stock.
Remove the vegetables from the oven and add them to the stockpot with the chicken backs. Then add the 4 cloves Garlic Cloves, 2 whole Bay Leaves, 1 tsp Black Peppercorns, and 1 tsp Salt.
Step 3: Simmer to Perfection
Pour in the 4 cups Water and bring the mixture to a gentle simmer over medium heat. Once it reaches a simmer, reduce the heat to low and let it cook for 4-6 hours. The longer it simmers, the more concentrated the stock will be. You’ll know it’s ready when the flavors have melded together and the stock has reduced slightly.
During the simmering process, skim off any impurities that rise to the surface. This ensures a clear, clean-tasting stock.
Step 4: Strain and Finish
After the stock has simmered, remove the pot from the heat and let it cool slightly. Strain the stock through a fine-mesh sieve into a clean container, discarding the solids. If desired, you can chill the stock and remove any solidified fat before using it.
Just before serving, garnish with 0.25 cup Fresh Parsley and add 2 sprigs Fresh Thyme for a fresh, herbaceous note. The stock is now ready to use as a base for soups, stews, or risottos.
Common Mistakes When Making Perfect Results
Overcooking the Stock
One of the most common mistakes is letting the stock simmer for too long. While 4-6 hours is ideal, going beyond 8 hours can make it overly concentrated and bitter. I recommend checking it every hour after the 4-hour mark to catch it when it’s just right. ⏰
Skipping the Roasting Step
Some might be tempted to skip roasting the chicken backs and aromatics, but this step is crucial for developing that rich, deep flavor. Take the extra 30-40 minutes to roast them at 425°F – it’s worth it. The caramelization adds a complexity that you just can’t achieve by simmering alone.
Not Skimming Impurities
As the stock simmers, impurities will rise to the surface. Not skimming these off can result in a cloudy, off-tasting stock. Use a large slotted spoon or fat skimmer to remove the impurities every 30 minutes or so. This simple step makes a big difference in the final product.
Using Tap Water
Tap water can contain chemicals like chlorine that affect the taste of your stock. Always use filtered water to ensure the purest flavor. I prefer using a water filter pitcher or bottled spring water for the best results.
Not Cooling Properly
After straining the stock, it’s essential to cool it quickly to prevent bacterial growth. I like to use an ice bath to cool it down rapidly before refrigerating or freezing. This step is crucial for food safety and maintaining quality.
Storing Without Labeling
If you plan to freeze the stock, always label the containers with the date and contents. It’s easy to forget what’s inside after a few months. Use permanent markers and label with the date, contents, and any relevant reheating instructions. This keeps your stock organized and ready to use. ❄️
Nutrition Facts
Frequently Asked Questions
Can I use frozen chicken backs for this recipe?
Yes, you can use frozen chicken backs. Simply thaw them completely before roasting. This ensures even cooking and better flavor development. Thawing in the refrigerator overnight is the safest method.
How long can I store the homemade chicken stock?
Homemade chicken stock can be stored in the refrigerator for 4-5 days. For longer storage, freeze it in airtight containers or ice cube trays for up to 3 months. Label containers with date and contents for easy identification.
Can I make this stock in a pressure cooker?
Yes, you can make chicken stock in a pressure cooker. The cooking time reduces significantly to 1-2 hours. Follow the same roasting and sautéing steps, then pressure cook on high for 1 hour. Let the pressure release naturally for the best results.
What can I use instead of bay leaves?
If you don’t have bay leaves, you can substitute with a combination of thyme and parsley. While it won’t be exactly the same, it will still provide a good flavor profile. Start with 1 teaspoon dried thyme and adjust to taste.

- Jollof Rice Sauce Recipe: West African Tomato and Spice Infusion - September 25, 2026
- Japanese Rice Soup Recipe: Umami-Rich Comfort in a Bowl - September 25, 2026
- Homemade Cream Of Rice Recipe: Silk-Smooth Breakfast in Minutes - September 25, 2026