
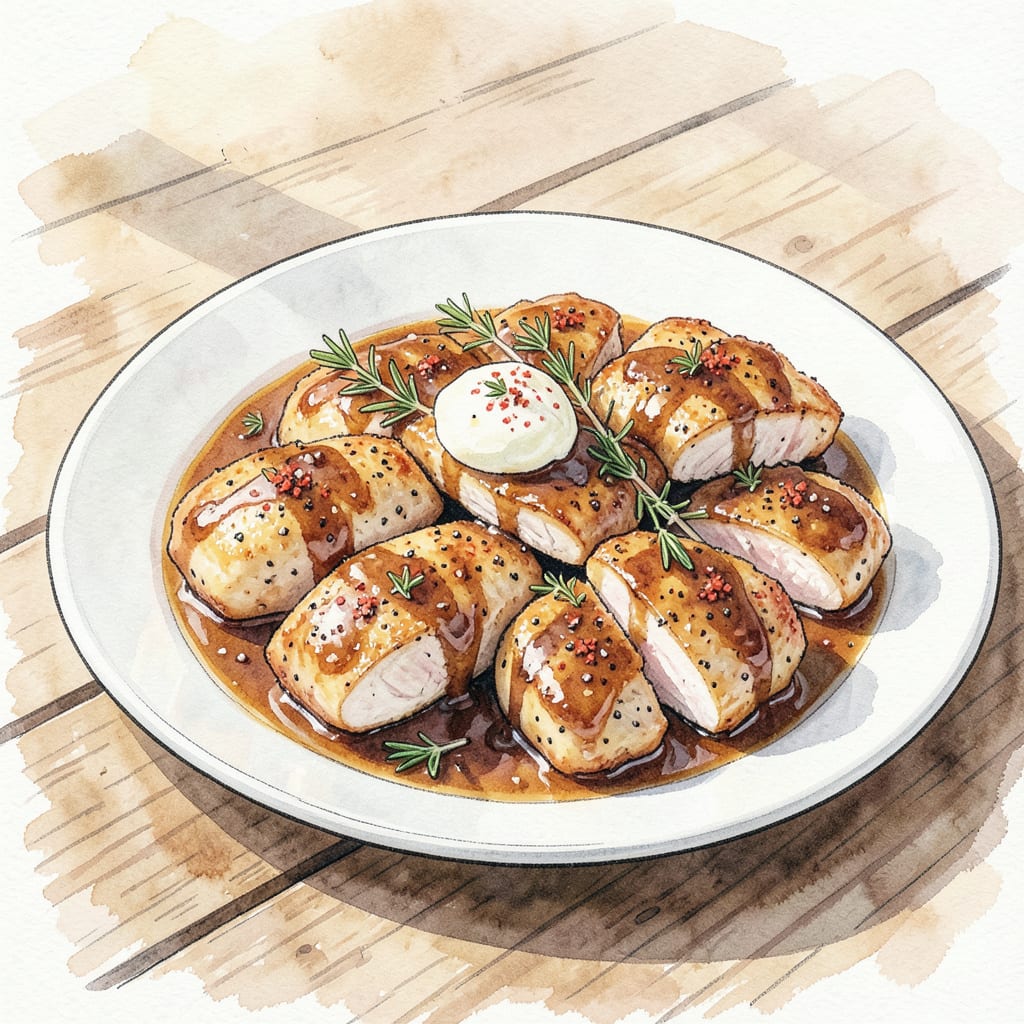
Achieving perfectly pan-seared chicken chops is easier than you think. The key is getting a golden-brown crust on the outside while keeping the inside juicy and tender.
By following this simple recipe, you’ll be able to create restaurant-quality chicken chops in under 30 minutes. With precise temperature control and a hot skillet, you’ll be enjoying a delicious meal in no time.
Ingredients for Chicken Chops
Restaurant-quality chicken chops start with these simple, high-quality ingredients and precise techniques.
| Ingredient | Amount | Notes |
|---|---|---|
| Chicken Breast Cutlets 🍗 | 1 ½ lb | Pounded to even thickness |
| All-Purpose Flour 🌾 | 1 cup | For dredging chicken |
| Unsalted Butter 🧈 | 4 tbsp | Melted for pan-searing |
| Garlic Cloves 🧄 | 4 cloves | Minced for flavor |
| Fresh Thyme 🌿 | 2 tsp | Chopped, fresh preferred |
| Paprika 🌶️ | 1 tsp | Smoked or sweet variety |
| Salt 🧂 | 1 tsp | Kosher or sea salt |
| Black Pepper 🌶️ | ½ tsp | Freshly ground preferred |
| Olive Oil 🫒 | 2 tbsp | For pan-searing |
| Lemon Wedges 🍋 | 4 pieces | For serving |
| Fresh Parsley 🌿 | ¼ cup | Chopped, for garnish |
The chicken matters here. Look for organic or free-range breast cutlets at Whole Foods or your local butcher. Pound them to even thickness for uniform cooking. If you can’t find cutlets, regular chicken breasts work too—just slice them in half horizontally.
No fresh thyme? Dried thyme works at one-third the amount. For the paprika, smoked gives a deeper flavor while sweet is milder. If you’re out of paprika, a pinch of cayenne pepper adds a nice kick. The garlic can be minced ahead of time and stored in oil.
These chops reheat beautifully in the oven at 300°F. Store leftovers in an airtight container for up to 3 days. Freeze individual portions for 3 months—just thaw overnight in the fridge. The lemon wedges keep fresh for 1 week wrapped in plastic wrap in the fridge.
Step-by-Step Instructions for Pan-Seared Chicken Chops
Here’s the method that delivers perfect pan-seared chicken chops every single time.
Step 1: Prepare the Chicken for Searing
Start by seasoning the 1.5 lb Chicken Breast Cutlets with 1 tsp Salt and 0.5 tsp Black Pepper on both sides. I like to press the seasoning into the meat to ensure it adheres well. Next, dredge the chicken cutlets in the 1 cup All-Purpose Flour, shaking off any excess flour. This step creates a beautiful crust on the chicken.
Make sure the chicken is evenly coated with flour, as this will help in achieving a uniform sear. If you notice any excess flour, gently tap the cutlets against the plate to remove it.
Step 2: Sear the Chicken to Perfection
Heat 2 tbsp Olive Oil in a large skillet over medium-high heat. Once the oil is hot and shimmering, add 2 tbsp Unsalted Butter and let it melt. Place the floured chicken cutlets in the skillet and sear for 3-4 minutes per side until they develop a golden brown crust. You want the chicken to release easily from the pan when it’s ready to flip.
During the searing process, don’t overcrowd the skillet. Cook the chicken cutlets in batches if necessary, to ensure they have enough room to cook evenly. Once cooked, transfer the chicken to a plate and tent it with foil to keep warm.
Step 3: Finish with Garlic and Thyme Butter
In the same skillet, reduce the heat to medium and add the remaining 2 tbsp Unsalted Butter. Once melted, add the 4 cloves Garlic Cloves and 2 tsp Fresh Thyme. Cook for 1 minute until the garlic is fragrant and the thyme is aromatic. Be careful not to burn the garlic.
Stir the garlic and thyme mixture into the butter, creating a flavorful sauce. If the sauce seems too thick, you can add a splash of the pan drippings or a bit more butter to achieve your desired consistency.
Step 4: Serve with Fresh Parsley and Lemon
Return the chicken cutlets to the skillet and spoon some of the garlic-thyme butter sauce over them. Let them simmer in the sauce for 1-2 minutes to heat through and absorb the flavors. Transfer the chicken to serving plates and garnish with 0.25 cup Fresh Parsley. Serve with 4 pieces Lemon Wedges on the side, allowing everyone to add a squeeze of fresh lemon juice to their liking.
The final dish should have chicken cutlets with a beautifully browned crust, served in a rich garlic-thyme butter sauce, and finished with a bright, citrusy note from the lemon wedges.
Troubleshooting This Dish
Common Cooking Mistakes
One of the most frequent issues with pan-searing chicken chops is overcooking. To avoid this, use a meat thermometer to check for an internal temperature of 165°F. Another common mistake is not letting the chicken rest after cooking, which can cause juices to run out when cut. 🔥
Skillet Temperature Control
If your chicken isn’t developing a proper crust, your skillet might not be hot enough. Heat your skillet over medium-high heat until it reaches 400°F before adding oil. You can test the heat by flicking a few drops of water onto the pan—if they sizzle and evaporate quickly, it’s ready.
Flour Coating Issues
A poor flour coating can lead to uneven browning.
Garlic-Thyme Butter Problems
If your garlic burns during the butter sauce preparation, it’s likely because the heat was too high. Reduce the heat to medium and add garlic towards the end of the butter melting process. Stir constantly for 1 minute until fragrant.
Resolving Searing Issues
If your chicken sticks to the pan during searing, it might not be ready to release yet. Wait until you see the edges starting to brown and the chicken releases easily from the pan, usually after 3-4 minutes. Don’t force it, as this can tear the crust.
Serving and Storage Tips
To keep your chicken chops warm while serving, tent them with foil and place them in a 200°F oven. For leftovers, store them in an airtight container in the refrigerator for up to 3 days. Reheat in the oven at 300°F until warmed through. ❄️
Nutrition Facts
Frequently Asked Questions
What’s the best way to ensure my chicken chops are cooked through?
Using a meat thermometer is the most accurate way to check for doneness. The chicken is safe to eat when it reaches an internal temperature of 165°F. This method eliminates guesswork and ensures juicy results every time.
Can I prepare the garlic-thyme butter ahead of time?
Yes, you can make the garlic-thyme butter in advance. Mix the softened butter with minced garlic and thyme, then store it in an airtight container in the refrigerator for up to 3 days. Let it come to room temperature before using.
How do I prevent the chicken from sticking to the pan?
To prevent sticking, make sure your skillet is hot enough before adding the chicken. Heat it over medium-high heat until it reaches 400°F. Also, ensure the chicken is dry and evenly coated with flour. This helps create a nice crust that releases easily from the pan.
Can I use dried thyme instead of fresh?
Yes, you can substitute dried thyme for fresh. Use one-third the amount called for in the recipe since dried herbs are more concentrated. So, if the recipe calls for 2 tsp fresh thyme, use about 1/2 tsp dried thyme instead.

- Jollof Rice Sauce Recipe: West African Tomato and Spice Infusion - September 25, 2026
- Japanese Rice Soup Recipe: Umami-Rich Comfort in a Bowl - September 25, 2026
- Homemade Cream Of Rice Recipe: Silk-Smooth Breakfast in Minutes - September 25, 2026