
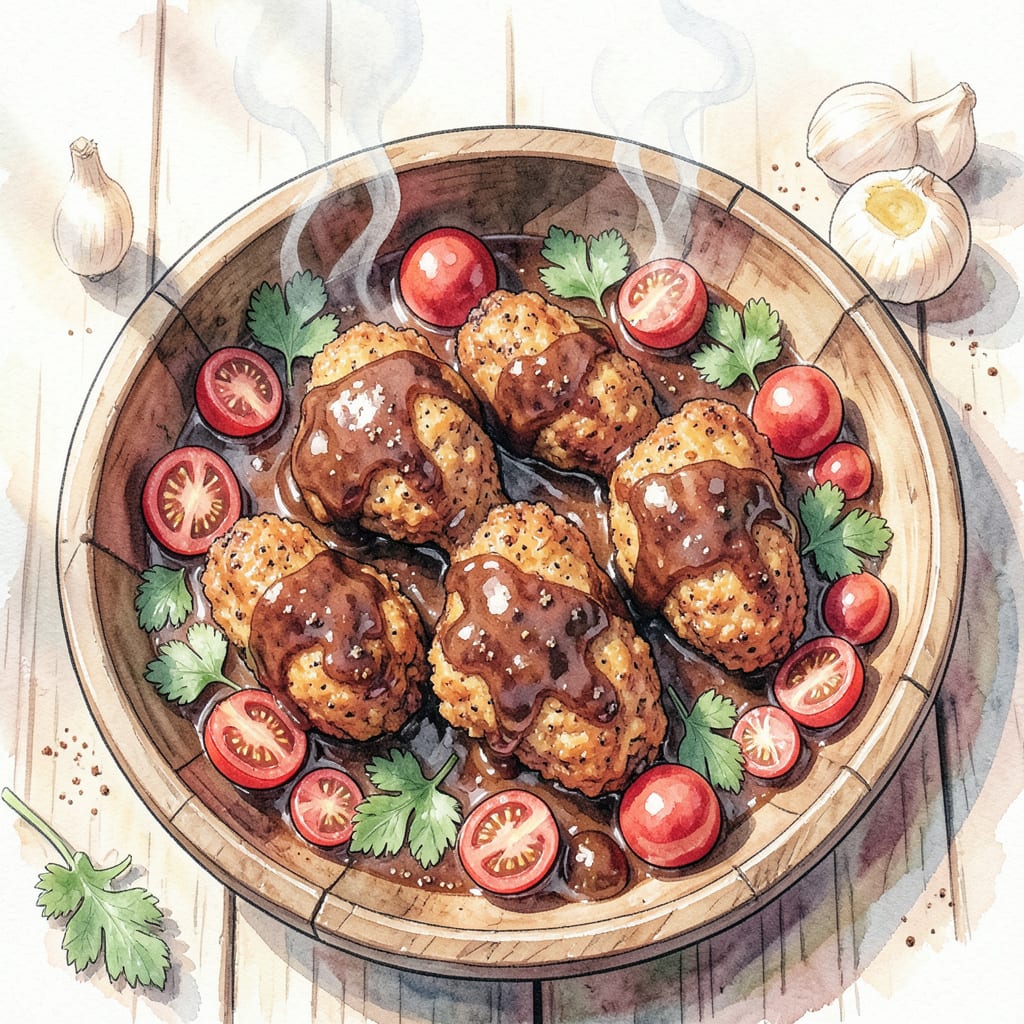
I’m sharing my secret recipe for tender and juicy chicken drumsticks that are perfect for a quick weeknight dinner. This BBQ chicken drumstick recipe delivers fall-off-the-bone results in just 30 minutes.
With simple ingredients and straightforward instructions, you’ll achieve restaurant-quality BBQ chicken at home. Pair it with your favorite sides, such as coleslaw or cornbread, for a delicious meal.
Ingredients for Chicken Drumstick Recipe Bbq
Simple ingredients make restaurant-quality BBQ chicken drumsticks in just 30 minutes.
| Ingredient | Amount | Notes |
|---|---|---|
| Chicken Drumsticks 🍗 | 2 lb | Fresh or thawed, skin-on preferred |
| BBQ Sauce 🍅 | 1 cup | Homemade or quality store-bought |
| Olive Oil 🫒 | 2 tbsp | For drumstick coating |
| Brown Sugar 🍮 | 1 tbsp | Packed, for rub |
| Smoked Paprika 🌶️ | 1 tsp | For smoky flavor |
| Garlic Powder 🧄 | 1 tsp | Not garlic salt |
| Onion Powder 🧅 | 1 tsp | Adds depth to rub |
| Salt 🧂 | 1 tsp | Kosher or sea salt |
| Black Pepper 🌶️ | ½ tsp | Freshly ground preferred |
| Cayenne Pepper 🔥 | ¼ tsp | Optional, for heat |
| Apple Cider Vinegar 🍎 | 2 tbsp | Adds tanginess |
| Worcestershire Sauce 💧 | 1 tbsp | For umami flavor |
For the best drumsticks, look for plump, fresh pieces at the grocery store. Most stores have them pre-packaged, but if you have a butcher, ask for their freshest batch. I usually grab mine from Costco when I’m doing a big batch, but the regular supermarket stuff works fine for a weeknight dinner.
No BBQ sauce? Make your own with ketchup, brown sugar, and vinegar. Or, use Kraft or Sweet Baby Ray’s for a quick fix. If you like a little heat, cayenne pepper or hot sauce can be added to the rub. The Worcestershire sauce adds depth, but it’s optional if you’re in a pinch.
These drumsticks reheat beautifully—keep them in an airtight container in the fridge for up to 4 days. To freeze, wrap them individually in foil and store in a freezer bag for up to 3 months. Reheat in the oven at 350°F for about 10-15 minutes until warmed through.
Step-by-Step Instructions for Chicken Drumstick BBQ
Here’s the method that delivers finger-licking goodness in just 30 minutes.
Step 1: Prepare the Spice Rub
In a small bowl, mix together the 1 tbsp Brown Sugar, 1 tsp Smoked Paprika, 1 tsp Garlic Powder, 1 tsp Onion Powder, 1 tsp Salt, 0.5 tsp Black Pepper, and 0.25 tsp Cayenne Pepper until well combined. I like to use my fingers to ensure everything is evenly distributed. This spice rub is the foundation of our flavor profile, so take your time to mix it properly.
The combination of brown sugar and smoked paprika creates a perfect balance of sweetness and smokiness. If you’re sensitive to heat, feel free to reduce or omit the cayenne pepper. The key is to get all these dry ingredients well incorporated so they adhere evenly to the chicken drumsticks.
Step 2: Coat the Chicken Drumsticks
Place the 2 lb Chicken Drumsticks in a large bowl and drizzle with the 2 tbsp Olive Oil. Toss the drumsticks until they’re evenly coated with the oil. This helps the spice rub adhere to the chicken. Now, sprinkle the prepared spice rub over the drumsticks and toss again until they’re evenly coated. I like to use my hands for this step to ensure the rub gets into all the nooks and crannies.
Make sure to coat the drumsticks evenly, as this will ensure consistent flavor throughout. If you find that the rub isn’t sticking well, you can lightly pat the drumsticks dry with paper towels before applying the rub.
Step 3: Bake the Chicken Drumsticks
Preheat your oven to 400°F. Line a baking sheet with aluminum foil or parchment paper for easy cleanup, and arrange the coated chicken drumsticks on it in a single layer. Bake the drumsticks in the preheated oven for 20-25 minutes, or until they reach an internal temperature of 165°F. You’ll know they’re done when the meat is tender and the skin is crispy.
While the drumsticks are baking, prepare the BBQ sauce. In a small saucepan, combine the 1 cup BBQ Sauce, 2 tbsp Apple Cider Vinegar, and 1 tbsp Worcestershire Sauce. Heat the mixture over low heat, stirring occasionally, until warmed through. This will enhance the flavors and create a rich, tangy sauce.
Step 4: Glaze and Finish
After the drumsticks have baked for 20-25 minutes, brush them generously with the prepared BBQ sauce. Return them to the oven and bake for an additional 5 minutes, or until the sauce is caramelized and sticky. Keep an eye on them during this step to prevent burning. The final result should be drumsticks with a glossy, BBQ sauce glaze that adds a deep, rich flavor to the crispy exterior and tender interior.
Once done, remove the drumsticks from the oven and let them rest for a few minutes. This allows the juices to redistribute, making the chicken even more tender and flavorful. Serve hot and enjoy the finger-licking goodness!
Serving Suggestions for This Dish
Classic BBQ Pairings
These BBQ chicken drumsticks shine when paired with traditional Southern sides. I love serving them with creamy coleslaw made with shredded cabbage, mayonnaise, and a hint of vinegar. The cool, crunchy slaw perfectly balances the rich, smoky drumsticks. For a heartier meal, add some warm cornbread on the side – the sweetness of the cornbread complements the tangy BBQ sauce beautifully.
Summer Salad Options
For a lighter accompaniment, try a fresh garden salad with seasonal vegetables like tomatoes, cucumbers, and bell peppers. A simple vinaigrette dressing lets the flavors of the vegetables shine through. You can also add some grilled vegetables like zucchini or bell peppers to the mix for added smokiness that ties in with the BBQ drumsticks.
Comfort Food Combinations
For a comforting meal, serve the drumsticks with mac and cheese or baked beans. The creamy pasta or sweet, smoky beans pair wonderfully with the savory chicken. If you’re feeling extra hungry, add some garlic bread to the mix – it’s always a crowd-pleaser and helps soak up the delicious BBQ sauce.
Refreshing Beverage Pairings
To drink, I recommend something refreshing like iced tea or lemonade to cut through the richness of the meal. For adults, a cold beer like a crisp lager or pilsner works wonderfully with BBQ. If you prefer wine, a rosé or Pinot Grigio can provide a nice contrast to the smoky flavors of the drumsticks.
Garnishing Tips
For a beautiful presentation, garnish your drumsticks with fresh herbs like parsley or cilantro. A sprinkle of chopped green onions adds a nice pop of color and flavor. You can also serve the drumsticks on a bed of crushed ice for a fun, casual presentation that’s perfect for summer gatherings.
Family-Style Serving
For a casual, family-style meal, place the drumsticks in the center of the table with all the sides arranged around them. This encourages everyone to dig in and enjoy the meal together. I like to use a large, rustic serving platter to add to the casual, comforting atmosphere of the meal.
Nutrition Facts
Frequently Asked Questions
Can I use boneless chicken for this BBQ drumstick recipe?
While the recipe is designed for bone-in drumsticks, you can use boneless chicken thighs or breasts as a substitute. However, keep in mind that cooking times will vary – boneless chicken typically cooks 5-7 minutes faster than bone-in. Always check for an internal temperature of 165°F to ensure food safety.
How do I prevent the BBQ sauce from burning during baking?
To prevent the BBQ sauce from burning, brush it onto the drumsticks during the last 5 minutes of baking. You can also cover the baking sheet with foil if you notice the sauce starting to caramelize too quickly. This helps achieve a sticky glaze without burning.
Can I make these BBQ drumsticks in a slow cooker instead of the oven?
Yes, you can adapt this recipe for a slow cooker. Cook the drumsticks on high for 2-3 hours or low for 4-5 hours. Brush with BBQ sauce during the last 30 minutes of cooking. While the texture may differ slightly, the flavor will still be delicious.
What’s the best way to store leftover BBQ drumsticks?
Store leftover drumsticks in an airtight container in the refrigerator for up to 4 days. To reheat, bake in the oven at 350°F for 10-15 minutes until warmed through. You can also freeze them for up to 3 months and reheat when needed.

- Jollof Rice Sauce Recipe: West African Tomato and Spice Infusion - September 25, 2026
- Japanese Rice Soup Recipe: Umami-Rich Comfort in a Bowl - September 25, 2026
- Homemade Cream Of Rice Recipe: Silk-Smooth Breakfast in Minutes - September 25, 2026