
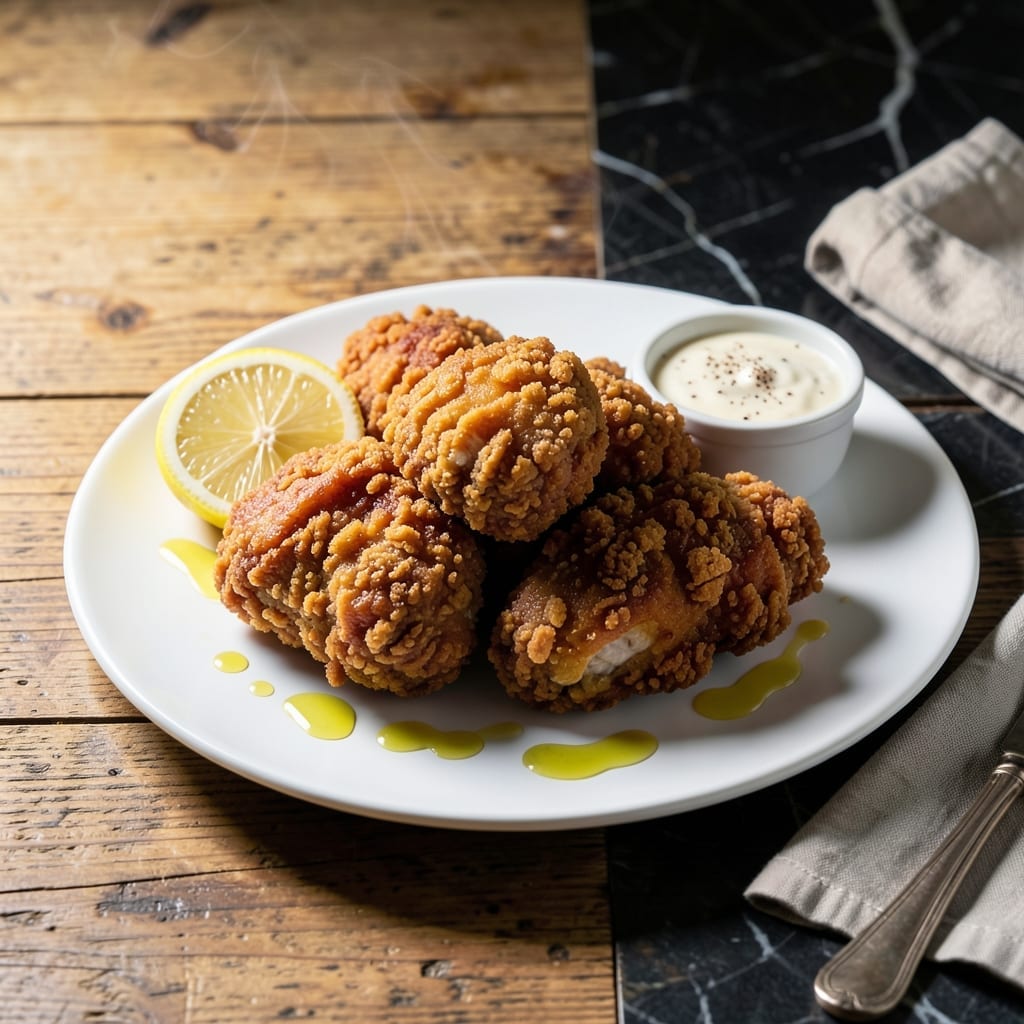
This southern-style coating delivers the crispy texture that defines great chicken fried chicken. I’ve refined the batter through countless tests to achieve that perfect crunch every time.
The secret lies in the right flour blend and precise frying temperature. A touch of seasoning in the batter ensures flavor in every bite, while the double-dredging method guarantees maximum crispiness.
At 350°F, the chicken cooks through while forming a golden-brown crust. The result is juicy meat inside with a shatteringly crispy exterior that holds up to gravy.
This technique works for both bone-in pieces and tenders. The batter stays put during frying, creating that signature ridged surface.
Ingredients for Chicken Fried Chicken Batter
A precise blend of flour and seasonings creates that signature southern crisp every time.
| Ingredient | Amount | Notes |
|---|---|---|
| All-Purpose Flour 🌾 | 3 cups | Divided for dredging layers |
| Buttermilk 🥛 | 2 cups | Full-fat for richness |
| Large Eggs 🥚 | 2 whole | For binding the batter |
| Baking Powder 🧂 | 1 tbsp | For extra crispiness |
| Salt 🧂 | 2 tsp | Diamond Crystal kosher preferred |
| Black Pepper 🌶️ | 1 tsp | Freshly ground for best flavor |
| Paprika 🌶️ | 1 tsp | Sweet or smoked variety |
| Garlic Powder 🧄 | 1 tsp | Not garlic salt substitute |
| Onion Powder 🧅 | 1 tsp | Enhances savory depth |
| Cayenne Pepper 🔥 | ½ tsp | Adjust for heat preference |
| Vegetable Shortening 🫒 | 4 cups | For deep frying, like Crisco |
| Chicken Pieces 🍗 | 4 lb | Bone-in thighs and drumsticks recommended |
The flour quality matters here. King Arthur or White Lily for that authentic southern texture. Buttermilk is non-negotiable—full-fat from the dairy case (not powdered). I always grab my shortening from Walmart in the baking aisle. For the chicken, bone-in, skin-on pieces give the best crunch-to-juice ratio. Look for pieces that are similar in size so they cook evenly.
No buttermilk? Whole milk plus 1 tbsp vinegar per cup works in a pinch. Swap the cayenne for hot paprika at half the amount for milder heat. The baking powder is key—don’t substitute baking soda. For gluten-free, a 1:1 baking blend works but the texture won’t be identical. If using chicken tenders, reduce frying time by 2-3 minutes per side.
The battered chicken holds well at room temperature for 30 minutes before frying. Store leftover fried chicken in the fridge for up to 4 days, though it’s best fresh. Reheat in a 375°F oven for 15 minutes to restore some crispiness. Never microwave—it’ll turn soggy.
Why You’ll Love This Recipe
- Five Ingredients: That’s all you need—flour, buttermilk, eggs, baking powder, and salt—and I already have them in my pantry.
- Crispy Outside, Juicy Inside: The buttermilk and baking powder combo gives it that golden crunch with tender chicken underneath.
- Weeknight Hero: I’ve served this for quick dinners, potlucks, and even Sunday suppers with zero stress.
- Budget Friendly: Feeds my family of four for less than takeout, and leftovers reheat like a dream.
Step-by-Step Instructions for Chicken Fried Chicken Batter
Master this process and you will achieve an ultra crispy coating that stays golden and crunchy long after frying.
Step 1: Prepare the Seasoned Flour Dredge
In a large shallow dish, combine 3 cups all-purpose flour with 1 tbsp baking powder, 2 tsp salt, 1 tsp black pepper, 1 tsp paprika, 1 tsp garlic powder, 1 tsp onion powder, and 0.5 tsp cayenne pepper. Whisk thoroughly to distribute the spices evenly throughout the flour mixture.
The baking powder creates tiny air pockets in the coating, enhancing its crispiness. I always sift the flour first to eliminate lumps, which ensures a smooth, even dredge that adheres perfectly to the chicken pieces.
Step 2: Create the Buttermilk Egg Wash
In a separate large bowl, whisk together the 2 cups buttermilk and 2 whole large eggs until fully combined and slightly frothy. The buttermilk’s acidity tenderizes the chicken while the eggs provide the binding power to make the flour coating stick during frying.
For best results, use full-fat buttermilk—its richness adds depth to the final flavor. I find that letting the wash sit for 5 minutes after whisking allows the eggs to fully incorporate, creating a more uniform consistency that clings better to the chicken.
Step 3: Dredge and Coat the Chicken Pieces
Working with one piece at a time, dredge each of the 4 lb chicken pieces in the seasoned flour mixture, pressing firmly to adhere the coating to all surfaces. Shake off any excess flour, then dip the piece into the buttermilk wash, ensuring complete coverage.
Allow the excess wash to drip off for 10-15 seconds, then return the piece to the flour mixture for a second dredging. This double-dipping technique creates a thicker, more substantial crust. Press the flour into the chicken again, then place it on a wire rack set over a baking sheet. Let the coated pieces rest for 10 minutes to set the coating before frying.
Step 4: Fry to Golden Perfection
In a deep, heavy-bottomed pot or Dutch oven, heat the 4 cups vegetable shortening to 350°F over medium-high heat. Use a deep-fry or candy thermometer to monitor the temperature accurately—maintaining consistent heat is crucial for even cooking and optimal crispiness.
Carefully lower 3-4 coated chicken pieces into the hot shortening, being careful not to overcrowd the pot. Fry for 12-15 minutes, turning occasionally, until the coating is deep golden brown and the internal temperature reaches 165°F. The chicken should sizzle steadily but not violently—if it’s smoking or popping excessively, reduce the heat slightly.
Transfer the fried chicken to a wire rack or paper towel-lined plate to drain. The rack method prevents the coating from becoming soggy by allowing air circulation on all sides. Serve immediately while hot and crispy for the best texture.
Pro Tips For Making Chicken Fried Chicken Batter
- Chill the Buttermilk: I learned this the hard way—using cold buttermilk straight from the fridge makes the batter cling better and creates a crispier crust.
- Rest the Batter: After mixing, let the batter sit for 10 minutes so the baking powder can activate and the flour fully hydrates—it’ll be thicker and fry up lighter.
- Skip the Overmixing: Stir just until the flour disappears; overworking the batter develops gluten, which turns your coating gummy instead of flaky.
- Double-Dredge for Crunch: Dip the chicken in flour first, then buttermilk batter, then flour again—this extra layer guarantees that shatteringly crisp texture everyone loves.
Perfect Pairings for This Recipe
Classic Comfort Sides
There’s nothing like creamy mashed potatoes to complement this dish. I make mine with Yukon Gold potatoes, ½ cup whole milk, and 4 tbsp butter for that perfect smooth texture. The potatoes soak up the gravy beautifully. 💪
Country-Style Gravy
A proper white gravy made from the frying drippings is a must. Whisk ¼ cup flour into 2 cups reserved shortening over medium heat until bubbly. Slowly add 3 cups whole milk and cook until thickened. Season with salt and pepper to taste.
Bright Vegetable Pairings
Balance the richness with buttermilk biscuits or collard greens cooked with smoked turkey. For freshness, a shaved cabbage slaw with apple cider vinegar cuts through the fried richness. I like adding 1 tbsp sugar to my slaw dressing.
Beverage Recommendations
Serve with sweet tea—I brew Luzianne tea bags with 1 cup sugar per gallon. For adult pairings, a crisp American lager like Budweiser or Miller Lite works perfectly. The carbonation cleanses your palate between bites. 🍺
Nutrition Facts
Frequently Asked Questions
Why use buttermilk in the batter?
Buttermilk’s acidity tenderizes the meat and helps the coating cling. Its richness also adds depth to the flavor.
Can I use chicken breasts instead of bone-in?
Yes, but reduce frying time to 8-10 minutes per side. Breasts cook faster and may dry out if overcooked.
How do I keep the coating crispy?
Drain on a wire rack, not paper towels. This allows air circulation to prevent steam from making the crust soggy.
What if my oil temperature drops?
Let it return to 350°F between batches. Too-low heat makes greasy, undercooked chicken.

- Jollof Rice Sauce Recipe: West African Tomato and Spice Infusion - September 25, 2026
- Japanese Rice Soup Recipe: Umami-Rich Comfort in a Bowl - September 25, 2026
- Homemade Cream Of Rice Recipe: Silk-Smooth Breakfast in Minutes - September 25, 2026