
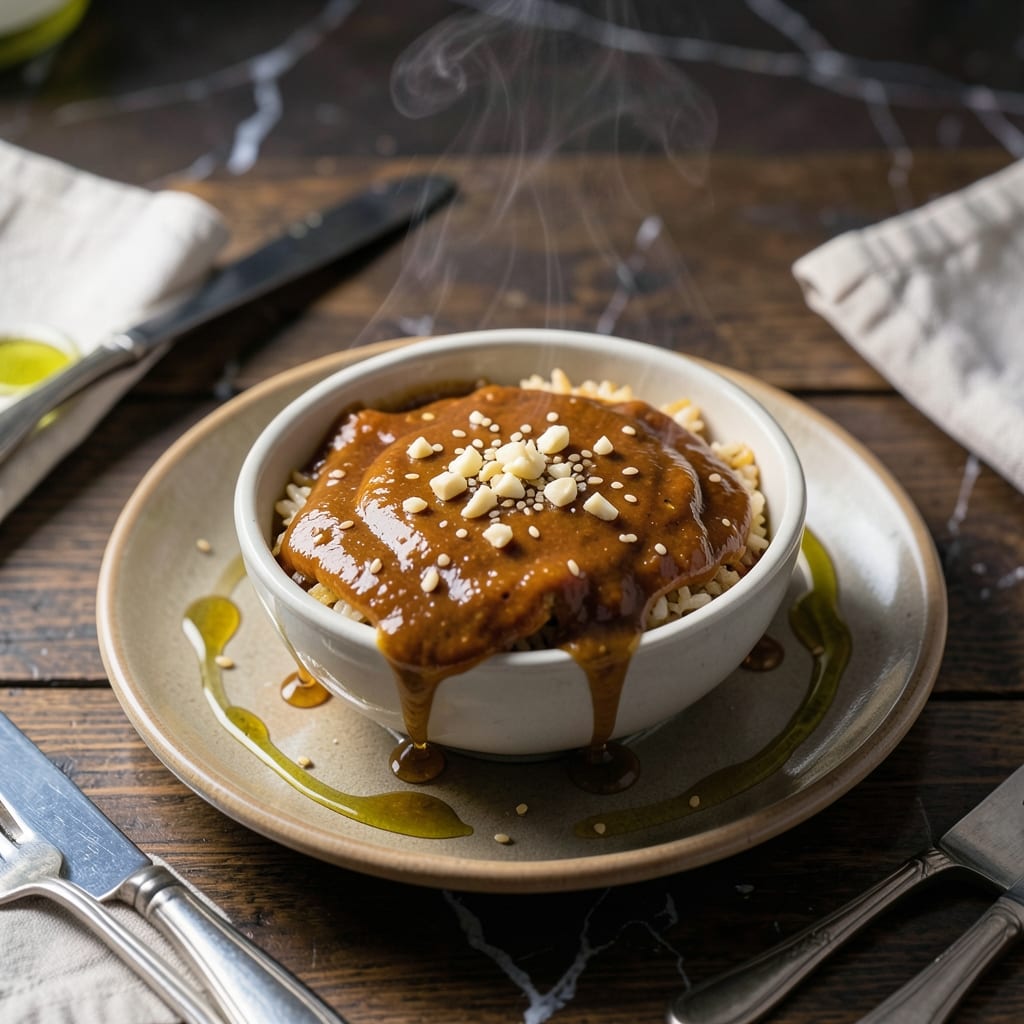
This sauce transforms ordinary fried rice into a restaurant-quality masterpiece. A precise blend of soy sauce, oyster sauce, and sesame oil creates that signature umami-packed flavor every wok dish needs.
I developed this recipe after years of experimenting to capture the perfect balance of salty, sweet, and savory notes. The key is using the right proportions of each ingredient to enhance without overpowering your dish.
With just 5 ingredients and 5 minutes of prep, you’ll have a versatile sauce that elevates not just fried rice but stir-fries and noodle dishes too. It keeps beautifully in the fridge for up to a week.
This is the secret weapon that makes homemade fried rice taste like it came from your favorite Chinese restaurant. Here’s how to make it.
Ingredients for Chicken Fried Rice Sauce
Five ingredients transform your fried rice into restaurant-quality magic instantly.
| Ingredient | Amount | Notes |
|---|---|---|
| Soy Sauce 💧 | ½ cup | Low-sodium preferred for balance |
| Oyster Sauce 🫒 | ¼ cup | Thick, savory variety essential |
| Sesame Oil 🫒 | 2 tbsp | Toasted for deep flavor |
| Granulated Sugar 🍚 | 1 tbsp | Balances saltiness perfectly |
| White Pepper 🌶️ | ½ tsp | Freshly ground for aroma |
| Garlic Cloves 🧄 | 3 cloves | Minced finely for even distribution |
The soy sauce is your base—low-sodium Kikkoman is my go-to because it lets you control the salt without losing that deep umami. Oyster sauce is non-negotiable here; Lee Kum Kee is the brand most Chinese restaurants use. Sesame oil should be toasted (the dark kind), not the light stuff. You’ll find all three in the Asian aisle at any Kroger or Walmart.
No oyster sauce? Vegetarian oyster sauce works in a pinch (though it’s not the same). Out of white pepper? Black pepper at half the amount—just know the flecks will show. If you’re avoiding sugar, 1 tsp of honey or maple syrup can sub in, but it’ll add a hint of its own flavor. The garlic can be 1 tsp of garlic powder if fresh isn’t available (use less—it’s more concentrated).
This keeps 7-10 days in the fridge in an airtight container. The flavors actually deepen over time. Freezing works too—up to 3 months—but separate into small portions first. Always give it a good stir before using; the sugar can settle at the bottom.
Why You’ll Love This Recipe
- Five-Minute Mix: I stir these five ingredients together faster than my coffee brews—no chopping, no fuss.
- Umami Bomb: The oyster sauce and soy hit that salty-sweet spot, while sesame oil adds a nutty depth I can’t resist.
- Meal Prep Magic: I double the batch on Sunday and it keeps all week, ready to turn last night’s chicken into tonight’s dinner.
- Pantry Hero: Every bottle sits in my cupboard already, so it’s a zero-cost, zero-waste way to make takeout taste at home.
Step-by-Step Instructions for Chicken Fried Rice Sauce
This foolproof method delivers a perfectly balanced, restaurant-quality sauce in minutes.
Step 1: Bloom the Garlic in Sesame Oil
Heat the 2 tbsp Sesame Oil in a small saucepan over medium-low heat. The oil should shimmer but not smoke—this temperature allows the garlic to infuse the oil without burning.
Add the 3 cloves Garlic Cloves, minced finely, and stir constantly for 30-45 seconds until fragrant and just beginning to turn pale golden. Watch closely; garlic burns quickly and turns bitter if left too long. You want to extract its aroma, not its bitterness.
Step 2: Combine the Umami Base
Pour in the 0.5 cup Soy Sauce and 0.25 cup Oyster Sauce, stirring to combine with the garlic-infused oil. The mixture should come to a gentle simmer within 1-2 minutes.
Here’s the thing—low-sodium soy sauce works best here because it lets you control the saltiness precisely. The oyster sauce adds depth and body, so don’t substitute; its thick texture is essential for the sauce’s consistency. Simmer for 2-3 minutes to let the flavors meld together.
Step 3: Balance Sweetness and Spice
Stir in the 1 tbsp Granulated Sugar and 0.5 tsp White Pepper. The sugar rounds out the saltiness, while the white pepper adds a subtle, earthy warmth without the sharpness of black pepper.
Taste and adjust if needed, but I’ve found this ratio hits the perfect balance of salty, sweet, and savory. Let it simmer for another 1-2 minutes—just enough time for the sugar to dissolve completely and the pepper to release its aroma.
Step 4: Cool and Store for Maximum Flavor
Remove the saucepan from heat and let the sauce cool to room temperature. This takes about 15-20 minutes. As it cools, the flavors will deepen and harmonize further.
Transfer to an airtight container. The sauce will keep in the refrigerator for up to 1 week, and I promise it only gets better with time. Use it to elevate your fried rice, stir-fries, or even as a dipping sauce for dumplings.
Pro Tips For Making Chicken Fried Rice Sauce
- Bloom the Sauces: Heat the soy and oyster sauces in the pan for 30 seconds before adding other ingredients—this deepens the flavor and prevents a raw, salty taste.
- Toast the Sugar: Add the granulated sugar to the hot pan and let it melt slightly before mixing with the sauces; it caramelizes just enough to balance the saltiness.
- Skip the Overpour: Start with half the sesame oil you think you need—it’s potent and can overpower the sauce if you’re heavy-handed.
- Finish with Pepper: Stir in the white pepper at the very end, not during cooking, to preserve its sharp, aromatic kick.
Storing and Reheating This chicken fried rice sauce
Refrigerator Storage
Once cooled, transfer your sauce to an airtight container. I use a 16-ounce mason jar for easy pouring. It’ll keep beautifully in the fridge for 7-10 days. The flavors actually deepen as it sits. ❄️
Freezer Storage
For longer storage, freeze in ice cube trays first. Once solid, pop the cubes into a ziplock freezer bag—this way, you can thaw just what you need. It’ll stay fresh for up to 3 months without losing flavor.
Stovetop Reheating
Gently warm the sauce in a small pan over low heat for 2-3 minutes, stirring often. Avoid boiling to preserve the delicate balance of flavors. If it thickens, add 1-2 tsp water to loosen.
Microwave Reheating
Microwave in 10-second bursts at 50% power, stirring between each. This prevents hot spots and keeps the sauce smooth. Expect it to take 30-45 seconds total for a single serving.
Room Temperature Use
For quick meals, I often keep a small jar at room temperature for up to 2 days. Just ensure the container is clean and sealed tightly. Stir well before using, as the sugar may settle.
Reviving Separated Sauce
If the sauce separates after storage, a quick whisk or vigorous stir brings it back together. If it’s too thick, thin with 1 tsp warm water at a time until it reaches your desired consistency. 💡
Nutrition Facts
Frequently Asked Questions
Can I use regular soy sauce instead of low-sodium?
Yes, but reduce the total amount by 25% to avoid overly salty results. Low-sodium lets you control the flavor balance more precisely. The sauce will still taste great, just adjust to your preference.
Why is oyster sauce essential in this recipe?
Oyster sauce adds depth, thickness, and a rich umami flavor that soy sauce alone can’t provide. It’s the secret to that authentic restaurant taste you’re aiming for.
How do I fix sauce that’s too salty?
Add a pinch of sugar or a splash of rice vinegar to balance the saltiness. Start with 1/2 tsp at a time, taste, and adjust until it’s perfect.
Can I make this sauce ahead of time?
It actually tastes better the next day. Store in an airtight container in the fridge for up to 10 days. The flavors will meld beautifully.

- Jollof Rice Sauce Recipe: West African Tomato and Spice Infusion - September 25, 2026
- Japanese Rice Soup Recipe: Umami-Rich Comfort in a Bowl - September 25, 2026
- Homemade Cream Of Rice Recipe: Silk-Smooth Breakfast in Minutes - September 25, 2026