
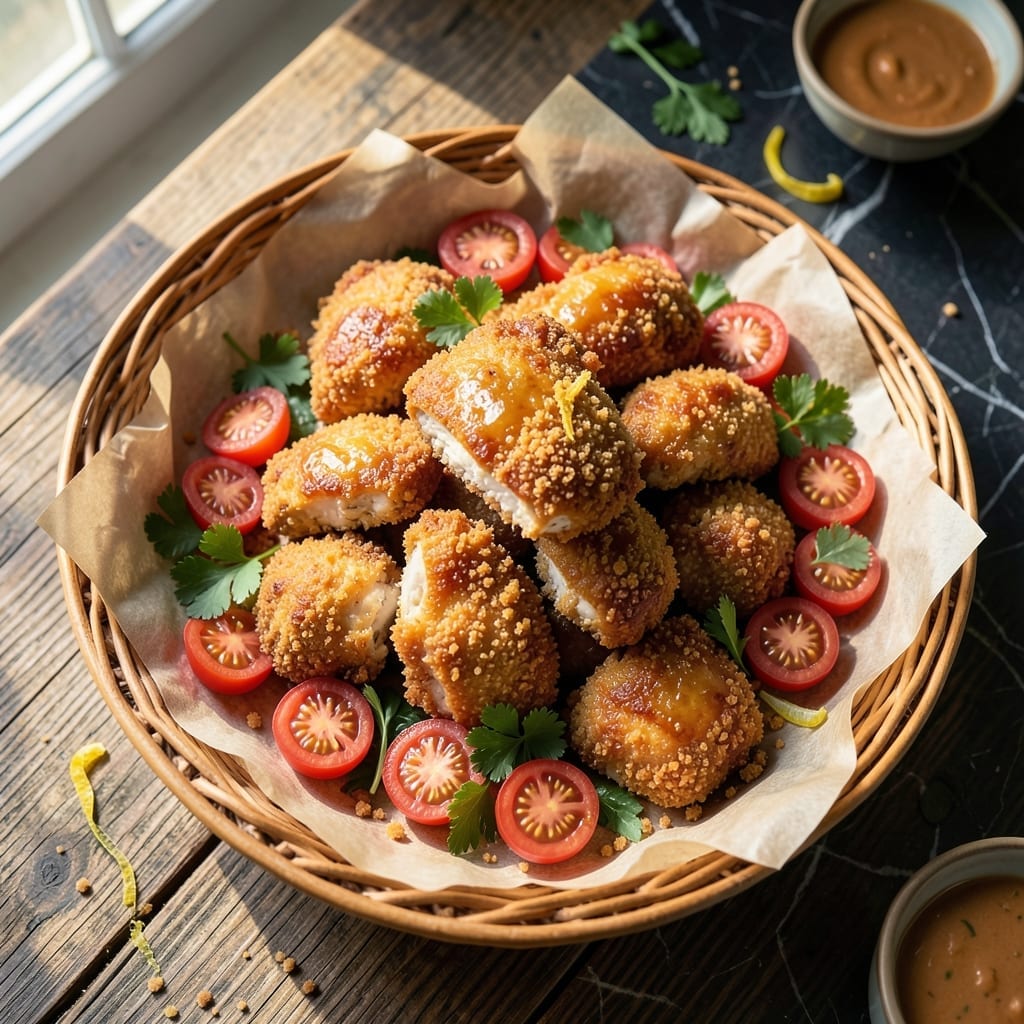
This recipe delivers a nostalgic diner classic with a crispy, golden finish that never disappoints. I’ve refined the technique to ensure each piece stays perfectly tender inside while achieving that signature crunch outside.
The secret lies in a double-breading method and the right oil temperature—350°F—to lock in juices. I use buttermilk for the marinade, which adds tang and helps the coating cling tightly to the chicken.
What you’ll get are bite-sized pieces with a shatteringly crispy exterior and moist, flavorful meat. The breading stays intact, even when served in a basket with paper lining, just like your favorite diner.
Serve hot with fries or coleslaw for the full retro experience. Here’s how to make it at home.
Ingredients for Chicken in a Basket
Pantry staples plus a buttermilk soak make this diner favorite shine bright at home.
| Ingredient | Amount | Notes |
|---|---|---|
| Chicken Breast 🍗 | 1 ½ lb | Boneless, skinless, cut into bite-sized pieces |
| Buttermilk 🥛 | 2 cups | For marinating chicken |
| All-Purpose Flour 🌾 | 1 ½ cups | For first breading layer |
| Large Eggs 🥚 | 2 whole | Beaten for egg wash |
| Panko Breadcrumbs 🍞 | 2 cups | For crispy outer coating |
| Cornstarch 🌾 | ¼ cup | Mixed with breadcrumbs for extra crunch |
| Salt 🧂 | 1 ½ tsp | Divided, Diamond Crystal preferred |
| Black Pepper 🌶️ | 1 tsp | Freshly ground preferred |
| Garlic Powder 🧄 | 1 tsp | For seasoning flour |
| Onion Powder 🧅 | 1 tsp | For seasoning flour |
| Paprika 🌶️ | 1 tsp | Sweet or smoked variety |
| Vegetable Oil 🫒 | 6 cups | For deep frying, 350°F |
| Cayenne Pepper 🔥 | ¼ tsp | Optional, for heat |
The chicken is the star here—boneless, skinless breasts cut into even 1-inch pieces fry up the best (thighs work too if that’s your preference). For the buttermilk, full-fat gives the best tang and cling, but low-fat works in a pinch. The panko is non-negotiable for that shatteringly crisp finish—Kikkoman or Progresso brands are my go-to. Skip the pre-seasoned stuff; we’re layering our own flavors.
No buttermilk? Whole milk plus 1 tbsp vinegar or lemon juice per cup does the trick. Panko shortage? Crushed cornflakes or saltines get you close (but not quite the same crunch). Want extra flavor? Swap one-third the paprika for smoked paprika. The oil amount seems like a lot, but you need enough for the chicken to float—use peanut oil if you want a neutral flavor with a higher smoke point.
Fry in batches to avoid crowding—keeps the oil temp steady at 350°F. Leftovers stay crisp in the oven at 375°F for 10 minutes. Don’t microwave them (soggy disaster). Best eaten fresh, but keeps 2-3 days in the fridge if you must.
Why You’ll Love This Recipe
- One Pan Wonder: I just mix buttermilk, flour, and eggs, coat the chicken, roll it in panko, and bake—no frying mess, no stress.
- Crispy Outside, Juicy Inside: The panko gives it that golden crunch while the buttermilk keeps the chicken absurdly tender.
- Weeknight Lifesaver: Honestly, I throw this together between soccer practice and bedtime stories and still get a hot meal on the table.
- Budget Stretcher: A pound of chicken breasts and pantry staples feed my whole family, with leftovers for lunch the next day.
Step-by-Step Instructions for Chicken in a Basket
Here’s how to achieve that perfect crispy coating every time—no shortcuts, just great technique.
Step 1: Marinate the Chicken in Buttermilk
Start by cutting the 1.5 lb Chicken Breast into 1-inch pieces. I like uniform sizes so everything cooks evenly. Place the chicken in a bowl and pour over the 2 cups Buttermilk. The buttermilk tenderizes the meat and helps the coating adhere later.
Add ½ tsp Salt to the buttermilk and mix well. Cover and refrigerate for at least 1 hour, or up to 4 hours for maximum tenderness. The longer it soaks, the juicier your final result will be. Don’t skip this step—it’s the secret to moist chicken inside that crispy shell.
Step 2: Prepare the Breading Stations
In a shallow dish, whisk together the 1.5 cups All-Purpose Flour, 1 tsp Salt, 1 tsp Black Pepper, 1 tsp Garlic Powder, 1 tsp Onion Powder, 1 tsp Paprika, and 0.25 tsp Cayenne Pepper. This seasoned flour is your first coating layer, adding flavor at every bite.
In another dish, beat the 2 whole Large Eggs until smooth. For the final station, mix the 2 cups Panko Breadcrumbs with the 0.25 cup Cornstarch in a third dish. The cornstarch is my pro tip—it creates an extra-crispy texture that’s hard to beat.
Step 3: Bread the Chicken for Maximum Crunch
Working with one piece at a time, remove the chicken from the buttermilk and let the excess drip off. Dredge it in the seasoned flour, pressing gently to adhere. Shake off any excess—you want a thin, even layer, not clumps.
Next, dip the floured chicken into the beaten eggs, letting any excess drip back into the bowl. Finally, roll it in the panko-cornstarch mixture, pressing firmly to ensure a thick, even coating. Place the breaded pieces on a wire rack set over a baking sheet. This setup prevents soggy bottoms while you finish coating the rest.
Step 4: Fry to Golden Perfection
Heat the 6 cups Vegetable Oil in a large, heavy pot to 350°F. Use a deep-fry or candy thermometer to maintain the temperature—this is crucial for even cooking. I prefer a Dutch oven for this; it holds heat well and prevents temperature drops when you add the chicken.
Carefully lower 4-5 breaded pieces into the hot oil at a time, being careful not to overcrowd the pot. Fry for 4-5 minutes, turning occasionally, until the coating is deep golden brown and the internal temperature reaches 165°F. The oil should bubble steadily around the chicken—if it’s smoking, your heat is too high.
Transfer the fried chicken to a wire rack or paper towel-lined plate to drain. The rack is better; it allows air circulation so the coating stays crispy. Sprinkle with a pinch of salt while hot—this is the only time you’ll season the exterior, and it makes all the difference.
Step 5: Serve Immediately While Crispy
These are best served straight from the fryer, while the coating is at its crispiest. The contrast between the crunchy exterior and tender interior is what makes this dish special. I like to serve them in a basket lined with parchment paper—it soaks up any excess oil while keeping the presentation clean.
If you need to keep them warm for a few minutes, place them on a wire rack in a 200°F oven. Never cover them; that would trap steam and make the coating soggy. The chicken should maintain its crunch for about 15 minutes this way, but for the absolute best texture, eat them right away.
Pro Tips For Making Chicken In A Basket
- Preheat the Oil: Get your oil to 350°F before adding the chicken—I learned this the hard way after my first few batches came out greasy instead of crispy.
- Dry the Chicken: Pat the chicken breasts completely dry with paper towels before dredging. Sounds weird, but it works: the coating sticks better and fries up crunchier.
- Skip the Overcrowding: Fry in batches if needed. After burning three batches, I finally figured out that too many pieces at once drops the oil temp and makes soggy breading.
- Rest Before Serving: Give it a solid 5 minutes on a wire rack after frying—this keeps the crust crisp while the juices settle. I used to rush this part and wondered why my chicken bled all over the plate.
Flavor Customization for chicken in a basket
Spicy Kick Upgrade
Add ½ tsp cayenne pepper to your flour mixture for heat that builds gradually. I also mix 1 tbsp hot sauce into the buttermilk marinade. This creates a subtle spice throughout, not just on the surface. 🌶️
Herb Infused Breading
Mix 1 tbsp dried Italian seasoning into your panko for a Mediterranean twist. Fresh herbs work too—add 2 tbsp chopped parsley and 1 tbsp chopped chives to the breadcrumb mixture for a brighter flavor profile.
Cheesy Crunch Layer
For extra richness, add ½ cup grated Parmesan to your panko mixture. The cheese browns beautifully and adds umami depth. I use Kraft grated Parmesan for consistent melting and browning.
Citrus Zest Boost
Stir 1 tbsp lemon zest into your seasoned flour for a bright, fresh note. This works especially well if you’re serving with a lemon aioli dipping sauce. The citrus cuts through the richness of the fried coating.
Sweet Heat Version
Combine 1 tbsp brown sugar with ½ tsp cinnamon in your flour mix for a sweet-spicy contrast. This creates a unique flavor that’s surprisingly addictive. I discovered this combo at a state fair and never looked back. 💡
Smoky Depth Addition
Replace regular paprika with smoked paprika in your seasoning blend. Add ¼ tsp chipotle powder to the flour mixture for an authentic smoky flavor. This pairs perfectly with a cool ranch dipping sauce.
Nutrition Facts
Frequently Asked Questions
Can I bake instead of frying?
Yes, but the texture will differ. Bake at 400°F for 15-18 minutes, flipping halfway. Use a wire rack for air circulation to maintain crispiness.
How do I keep the coating crispy longer?
Drain on a wire rack, not paper towels. Keep warm in a 200°F oven for up to 15 minutes. Avoid covering, as steam makes it soggy.
Can I use chicken thighs instead?
Thighs stay juicier. Cut into 1-inch pieces and follow the same steps. Dark meat may need 1 extra minute frying.
What’s the best oil for frying?
Use oils with a high smoke point like peanut, vegetable, or canola. Avoid olive oil—it burns at 350°F. Always maintain 350°F for even cooking.

- Jollof Rice Sauce Recipe: West African Tomato and Spice Infusion - September 25, 2026
- Japanese Rice Soup Recipe: Umami-Rich Comfort in a Bowl - September 25, 2026
- Homemade Cream Of Rice Recipe: Silk-Smooth Breakfast in Minutes - September 25, 2026