
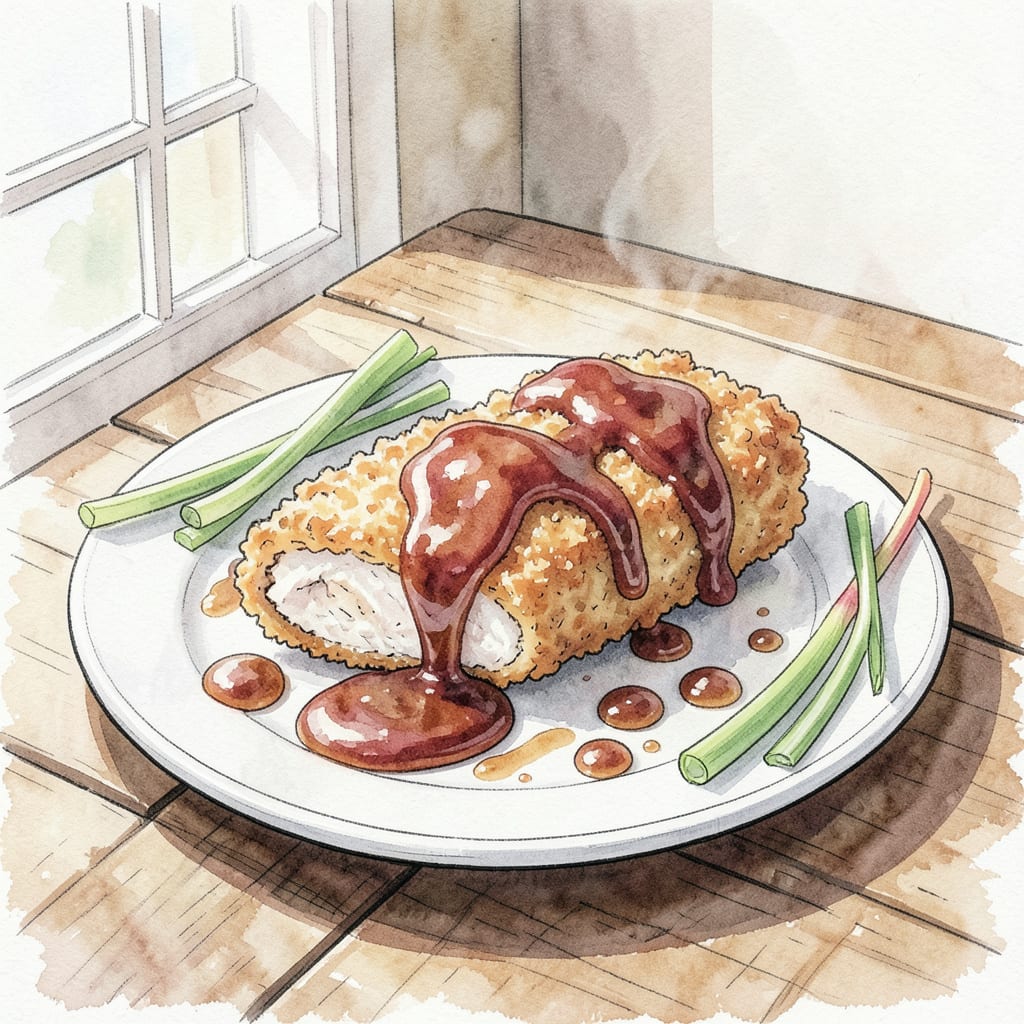
I’ve perfected my chicken katsu sauce recipe to capture the authentic flavors of Hawaiian cuisine. This rich and tangy condiment is a game-changer for anyone who loves Japanese-Hawaiian fusion dishes.
Made with simple ingredients and straightforward instructions, this sauce is ready in just 5 minutes. It’s perfect for serving alongside your favorite chicken katsu or as a dipping sauce for other dishes.
Ingredients for Chicken Katsu Sauce Recipe L&l
Simple pantry staples combine to create this rich and tangy Hawaiian-inspired katsu sauce.
| Ingredient | Amount | Notes |
|---|---|---|
| Ketchup 🍅 | ½ cup | High-quality ketchup preferred |
| Worcestershire Sauce 🧂 | 2 tbsp | Adds depth of flavor |
| Soy Sauce 💧 | 1 tbsp | Use low-sodium variety |
| Rice Vinegar 🍚 | 1 tbsp | Unseasoned rice vinegar |
| Brown Sugar 🍮 | 1 tbsp | Dark brown for richness |
| Garlic Cloves 🧄 | 2 cloves | Minced or pressed |
| Ginger 🌿 | 1 tsp | Grated fresh ginger |
| Black Pepper 🌶️ | ¼ tsp | Freshly ground preferred |
For the best flavor, use high-quality ketchup—organic or natural brands make a difference. Soy sauce should be low-sodium to control salt levels. I prefer Kikkoman for consistency, but any good brand works. Fresh ginger is worth grating—adds a brightness that ground ginger can’t match.
No Worcestershire? Combine soy sauce and a splash of Maggi seasoning for a similar umami hit. For a gluten-free version, use gluten-free soy sauce and check your Worcestershire sauce brand. The garlic can be minced ahead—keeps in the fridge for up to a week.
This sauce keeps for 2 weeks in the fridge. Store in an airtight container and give it a good stir before using. It’s perfect for meal prep—makes about 1 cup, so you can portion it out for multiple meals. Freezes well too, though the texture might change slightly.
Step-by-Step Instructions for Chicken Katsu Sauce
Let’s create this authentic Hawaiian-style dipping sauce together – it’s easier than you think.
Step 1: Combine Wet Ingredients and Sugar
Start by whisking together the 0.5 cup Ketchup, 2 tbsp Worcestershire Sauce, 1 tbsp Soy Sauce, 1 tbsp Rice Vinegar, and 1 tbsp Brown Sugar in a medium saucepan. I like to use a balloon whisk for this – it helps incorporate everything smoothly. Make sure to scrape down the sides to get all the brown sugar.
The mixture will be quite thick at first, but don’t worry, it’ll loosen up as it heats. You’ll notice the brown sugar starts to dissolve almost immediately, creating a rich, dark base for your sauce.
Step 2: Add Aromatics and Simmer
Add the 2 cloves Garlic Cloves and 1 tsp Ginger to the saucepan. I prefer to use freshly grated ginger for the best flavor – it makes a noticeable difference. Bring the mixture to a simmer over medium heat, whisking constantly to prevent scorching.
Once it reaches a gentle bubble, reduce the heat to low and let it simmer for 5-7 minutes, stirring occasionally. You’ll know it’s ready when the sauce has thickened slightly and reduced by about 1/4 cup – it should coat the back of a spoon.
Step 3: Season and Strain
Remove the saucepan from the heat and stir in the 0.25 tsp Black Pepper. I like to use freshly ground pepper for the best flavor. Let the sauce cool for 5 minutes – this allows the flavors to meld together beautifully.
Strain the sauce through a fine-mesh sieve into a clean bowl, pressing on the solids to extract all the liquid. Discard the solids – they’re spent. Your sauce should be smooth and glossy, with a deep, rich color that’s irresistible.
The final sauce will have a perfect balance of tangy, sweet, and savory notes. It’s now ready to serve with your favorite chicken katsu or other Japanese-inspired dishes. Store any leftovers in an airtight container in the refrigerator for up to 1 week – it reheats beautifully.
Common Mistakes When Making This Recipe
Common Ingredient Mistakes
One of the most common mistakes when making chicken katsu sauce is using low-quality ketchup. This base ingredient sets the tone for the entire sauce, so choose a high-quality, organic ketchup for the best flavor. I prefer Heinz Organic for its rich tomato flavor.
Incorrect Simmering Technique
Many people rush the simmering process, but this can lead to a sauce that’s too thin and lacks depth. Let it simmer gently for 5-7 minutes over low heat, stirring occasionally. This slow reduction helps develop the complex flavors that make L&L’s chicken katsu sauce so special. 🔥
Overlooking Flavor Balance
It’s easy to overseason the sauce, especially if you’re adding extra ingredients. Taste as you go and adjust carefully. The perfect balance is sweet from the ketchup and brown sugar, savory from the soy sauce and Worcestershire, and tangy from the rice vinegar. I like to add ingredients gradually and test with a small spoon to check the balance.
Improper Storage Methods
After making the sauce, let it cool completely before storing it in an airtight container. This prevents condensation from making the sauce watery. Store it in the refrigerator for up to 2 weeks – it actually improves with age as the flavors meld together. ❄️
Skipping the Straining Step
Don’t skip straining the sauce through a fine-mesh sieve after cooking. This removes the garlic and ginger solids, resulting in a smooth, professional-quality sauce. Press on the solids to extract all the flavorful liquid before discarding them.
Not Adjusting for Personal Taste
Everyone’s taste preferences are different, so don’t be afraid to customize the sauce. If you like it spicier, add a pinch of cayenne pepper. For a sweeter version, increase the brown sugar slightly. The beauty of homemade sauce is that you can tailor it to your liking.
Nutrition Facts
Frequently Asked Questions
How long does homemade katsu sauce last?
Homemade katsu sauce typically lasts up to 2 weeks when stored properly in an airtight container in the refrigerator. The flavors actually meld together and improve with age, making it perfect for meal prep.
Can I customize the sauce to my taste?
Absolutely! You can adjust the sauce to your liking by adding more brown sugar for sweetness or a pinch of cayenne pepper for heat. Taste as you go and modify the seasoning to suit your preferences. The recipe is quite versatile and forgiving.
Is it necessary to strain the sauce?
Yes, straining the sauce through a fine-mesh sieve is recommended to remove the garlic and ginger solids, resulting in a smooth, professional-quality sauce. Press on the solids to extract all the flavorful liquid before discarding them. This step makes a big difference in the final texture.
Can I make this sauce in advance?
Definitely! Making the sauce ahead of time allows the flavors to meld together beautifully. You can prepare it up to 2 weeks in advance and store it in the refrigerator. Simply give it a good stir before using. It’s perfect for busy meal prep or entertaining.

- Jollof Rice Sauce Recipe: West African Tomato and Spice Infusion - September 25, 2026
- Japanese Rice Soup Recipe: Umami-Rich Comfort in a Bowl - September 25, 2026
- Homemade Cream Of Rice Recipe: Silk-Smooth Breakfast in Minutes - September 25, 2026