
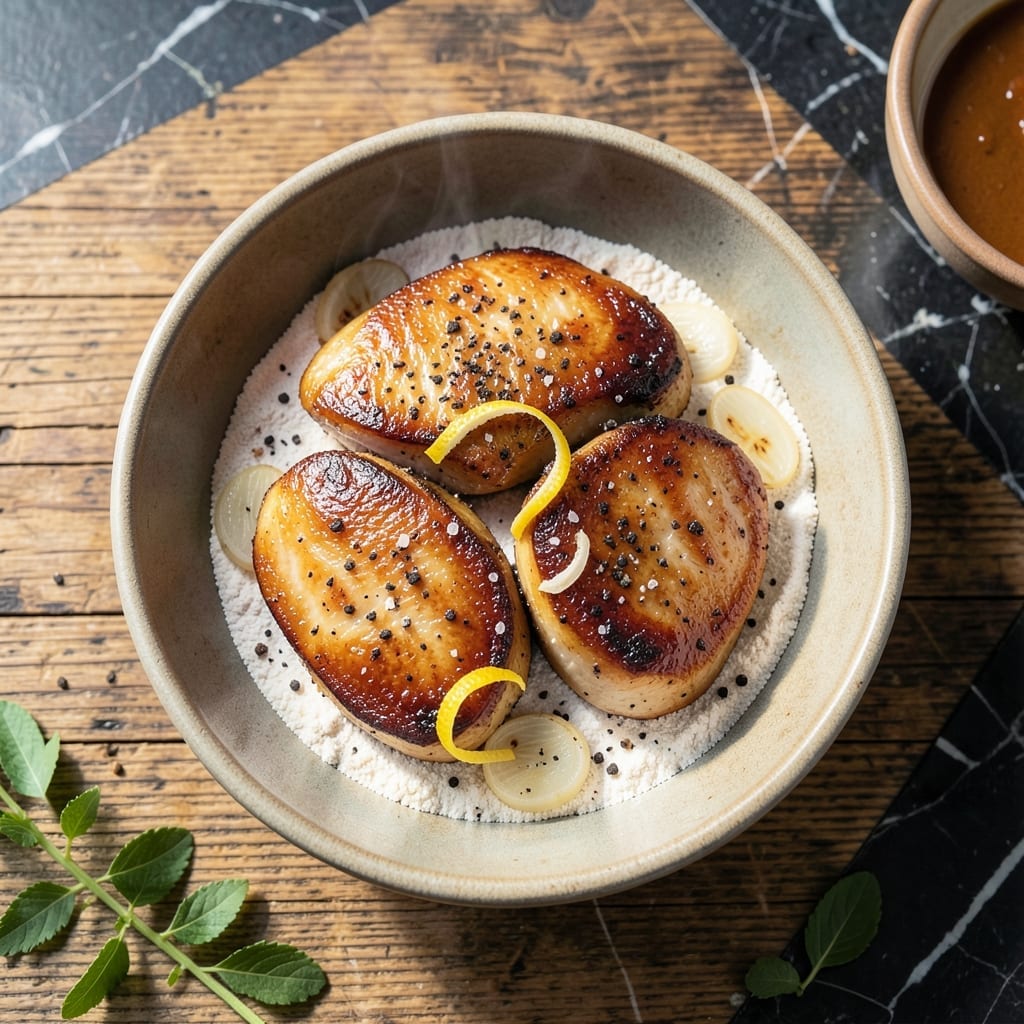
This chicken liver recipe transforms an often-overlooked ingredient into a rich, iron-packed delight that’s both nourishing and flavorful. The key lies in proper preparation and a balance of garlic and herbs to complement the liver’s deep, earthy taste.
I’ve perfected a simple method that ensures the livers stay tender and flavorful, never tough or bitter. A quick soak in milk before cooking removes any bitterness, while a hot pan creates a perfect sear on the outside.
What you’ll get is a dish with a velvety texture and robust flavor, elevated by the aromatic blend of garlic and fresh herbs. It’s a quick, nutrient-dense meal that’s as satisfying as it is wholesome.
Serve these bites as an appetizer or a main course with crusty bread or mashed potatoes to soak up every last bit of the savory sauce.
Ingredients for Chicken Liver
Rich, tender chicken livers need just a few quality ingredients for maximum flavor.
| Ingredient | Amount | Notes |
|---|---|---|
| Chicken Livers 🍗 | 1 ½ lb | Trimmed of connective tissue |
| Whole Milk 🥛 | 2 cups | For soaking livers |
| All-Purpose Flour 🌾 | ½ cup | For dredging livers |
| Salt 🧂 | 1 tsp | Kosher or sea salt |
| Black Pepper 🌶️ | ½ tsp | Freshly ground preferred |
| Garlic Cloves 🧄 | 4 cloves | Minced finely |
| Unsalted Butter 🧈 | 4 tbsp | Or olive oil for frying |
| Shallot 🧅 | 1 whole | Finely chopped |
| Fresh Thyme Leaves 🌿 | 2 tbsp | Stems removed |
| Fresh Rosemary 🌿 | 1 tbsp | Finely chopped |
| Chicken Stock 💧 | ½ cup | Low-sodium preferred |
| Fresh Parsley 🌿 | ¼ cup | Chopped, for garnish |
| Lemon Juice 🍋 | 1 tbsp | Freshly squeezed |
| Olive Oil 🫒 | 2 tbsp | For finishing sauce |
The livers are the star here. Optimal quality requires fresh, plump livers with no off-odors—Whole Foods or a trusted butcher are reliable sources. Look for vibrant color and smooth texture. Milk for soaking should be whole milk (the fat helps remove bitterness). Standard practice in professional kitchens is to trim any connective tissue before cooking.
No fresh herbs? Dried thyme or rosemary at one-third the amount works in a pinch. Short on chicken stock? Vegetable stock is an acceptable substitute. The flour can be gluten-free all-purpose if needed. For the butter, ghee offers a higher smoke point, or use avocado oil for a dairy-free option.
Livers keep in the fridge for 1-2 days max—cook them fresh. The finished dish is best served immediately but reheats gently. Store leftovers in an airtight container for up to 3 days. The fresh herbs? Wrap in damp paper towels to extend their life.
Why You’ll Love This Recipe
- 5-Minute Prep: I just rinse the livers, soak them in milk, and toss with flour—no fancy steps, no stress.
- Creamy Crisp Contrast: The milk soak mellows any bitterness, and the flour gives that golden crust with a melt-in-your-mouth center.
- Dinner or Appetizer: I serve these as a quick main with mashed potatoes or as bite-sized party snacks—both disappear fast.
- Budget Stretcher: A pound of livers costs less than steak but feels just as indulgent. Honestly, it’s my secret for fancy flavor on a shoestring.
Step-by-Step Instructions for Chicken Liver Bites
This method ensures tender, flavorful livers with a perfectly crisp exterior every time.
Step 1: Soak and Prepare the Chicken Livers
Begin by placing the 1.5 lb Chicken Livers in a bowl and covering them completely with the 2 cups Whole Milk. This soaking step is crucial—it removes any bitterness and mellows the strong flavor. Let them soak for 1-2 hours in the refrigerator.
After soaking, drain the livers and pat them thoroughly dry with paper towels. Trim away any remaining connective tissue with a sharp knife. The drier the livers, the better they’ll sear and develop that desirable crispy coating.
Step 2: Dredge and Season the Livers
In a shallow dish, combine the 0.5 cup All-Purpose Flour, 1 tsp Salt, and 0.5 tsp Black Pepper. Mix well to distribute the seasoning evenly. Dredge each liver piece in the flour mixture, pressing gently to ensure full coverage. Shake off any excess flour—too much will burn and create a bitter taste.
Set the dredged livers aside on a plate while you prepare the cooking fat. This resting period allows the flour to adhere better, creating a more uniform crust when fried.
Step 3: Sear the Livers to Perfection
Heat 4 tbsp Unsalted Butter in a large skillet over medium-high heat until it begins to foam. Add the dredged livers in a single layer, working in batches if necessary to avoid crowding the pan. Cook for 2-3 minutes per side until golden brown and crispy.
Don’t move the livers too soon—let them develop a deep golden crust before flipping. The livers are done when they’re browned on the outside but still slightly pink and tender inside. Transfer the cooked livers to a warm plate and tent with foil to keep them warm.
Step 4: Build the Aromatic Pan Sauce
In the same skillet, reduce the heat to medium and add the finely chopped Shallot. Sauté for 1-2 minutes until it softens and becomes translucent. Add the 4 cloves minced Garlic Cloves, 2 tbsp Fresh Thyme Leaves, and 1 tbsp Fresh Rosemary, stirring constantly for 30 seconds until fragrant.
Pour in the 0.5 cup Chicken Stock and deglaze the pan, scraping up any browned bits from the bottom. Let the liquid reduce by half, then stir in the 2 tbsp Olive Oil and 1 tbsp Lemon Juice. Taste and adjust seasoning if needed.
Step 5: Finish and Garnish
Return the cooked livers to the skillet and spoon the sauce over them to coat evenly. Let them warm through in the sauce for 1-2 minutes. This step infuses the livers with the aromatic flavors of the herbs and garlic.
Transfer the livers to a serving platter and garnish with the 0.25 cup Fresh Parsley. Serve immediately while hot—the contrast of the crispy exterior and tender interior is best enjoyed fresh from the pan.
Pro Tips For Making Chicken Liver
- Soak in Milk: Let the chicken livers soak in whole milk for at least 30 minutes—this draws out bitterness and mellows the flavor. I learned this the hard way after serving a batch that tasted too strong.
- Dry Thoroughly: After soaking, pat the livers completely dry with paper towels. Even a little moisture will keep the flour from sticking properly.
- High Heat Only: Use a screaming-hot pan and don’t overcrowd—cook in batches if needed. After burning a few early attempts, I finally realized medium heat just steams them.
- Season the Flour: Mix salt and pepper into the flour before dredging. Sounds obvious, but it makes a real difference in getting even seasoning on every bite.
Common Mistakes When Making Perfect Results
Skipping the Milk Soak
I know it’s tempting to skip the milk soak, but this step is non-negotiable for tender, non-bitter livers. Soak the 1.5 lb Chicken Livers in 2 cups Whole Milk for at least 1 hour to neutralize any strong flavors. Skipping this often results in a metallic or bitter taste. 💡
Overcrowding the Pan
Crowding the pan lowers the oil temperature, causing the livers to steam rather than sear. Cook in batches with 4 tbsp Unsalted Butter over medium-high heat. This ensures each piece gets that perfect golden crust without turning soggy.
Under-Drying the Livers
After soaking, pat the livers thoroughly dry with paper towels. Excess moisture creates steam, preventing a crispy exterior. I press each piece firmly between layers of towels to remove all traces of milk.
Overcooking the Livers
Chicken livers cook fast—just 2-3 minutes per side. Overcooking makes them tough and rubbery. Pull them off the heat when they’re still slightly pink inside; they’ll continue cooking from residual heat. 🔥
Using Cold Butter
Start with room-temperature butter to prevent burning. Cold butter can create hot spots in the pan. I let mine sit out for 15-20 minutes before cooking to ensure even browning.
Skipping the Pan Sauce
The pan sauce is where the magic happens. After searing, deglaze with 0.5 cup Chicken Stock to capture all the browned bits. This adds depth and ties the dish together beautifully.
Nutrition Facts
Frequently Asked Questions
Why soak the livers in milk first?
Soaking in whole milk for 1-2 hours removes bitterness and mellows the strong, earthy flavor. The milk’s fat also helps tenderize the meat, ensuring a more delicate texture.
How do I know when they’re done cooking?
Cook for 2-3 minutes per side over medium-high heat. They’re ready when golden brown outside but still slightly pink inside. Overcooking makes them tough.
Can I substitute another liquid for the milk?
Yes, but with limitations. Buttermilk works well, or try lemon water for acidity. Avoid plain water—it won’t remove bitterness as effectively.
What’s the best way to store leftovers?
Keep in an airtight container for up to 3 days. Reheat gently to avoid toughness. The sauce may thicken—add a splash of stock when reheating.

- Jollof Rice Sauce Recipe: West African Tomato and Spice Infusion - September 25, 2026
- Japanese Rice Soup Recipe: Umami-Rich Comfort in a Bowl - September 25, 2026
- Homemade Cream Of Rice Recipe: Silk-Smooth Breakfast in Minutes - September 25, 2026