
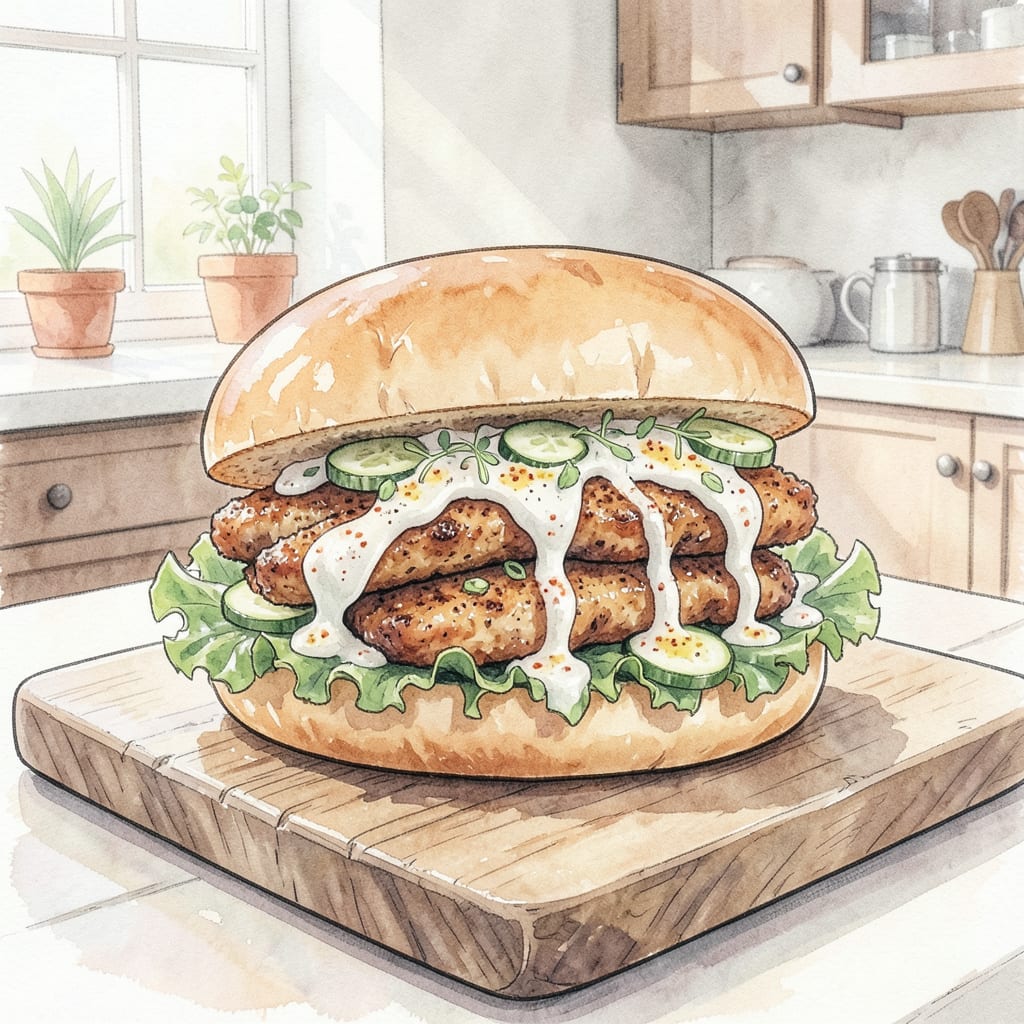
I’m sharing my secret for making irresistible chicken liver sandwiches that are crispy on the outside and tender within. The key is a light batter and precise frying temperature.
You’ll get perfectly golden chicken liver, crunchy on the outside and creamy inside, served on a soft bun. Let’s make this crispy delight!
Ingredients for Chicken Liver Sandwich
Crispy fried chicken liver requires just a few simple ingredients and precise technique.
| Ingredient | Amount | Notes |
|---|---|---|
| Chicken Livers 🍗 | 1 lb | Fresh, cleaned, and patted dry |
| All-Purpose Flour 🌾 | 1 cup | For dredging livers |
| Cornstarch 🌾 | ½ cup | For crispy coating |
| Paprika 🌶️ | 1 tsp | Smoked or sweet variety |
| Garlic Powder 🧄 | 1 tsp | For added flavor |
| Onion Powder 🧅 | 1 tsp | For depth of flavor |
| Salt 🧂 | 1 tsp | Kosher or sea salt |
| Black Pepper 🌶️ | ½ tsp | Freshly ground preferred |
| Eggs 🥚 | 2 whole | Beaten for egg wash |
| Buttermilk 🥛 | 1 cup | For marinating livers |
| Vegetable Oil 🫒 | 2 cups | For frying livers |
| Soft Buns 🍞 | 4 whole | Soft, preferably brioche |
For the crispiest coating, Pillsbury or Gold Medal all-purpose flour works well. Fresh chicken livers are a must—avoid frozen if possible. Most grocery stores carry them in the meat section, or ask your butcher to save some for you. I like to keep buttermilk on hand for marinades like this.
No buttermilk? Mix 1 cup milk with 1 tbsp white vinegar and let it sit for 5 minutes. For an extra crispy coating, try adding cornflakes crumbs to the flour mixture. If you can’t find chicken livers, you can substitute with calves’ liver, though the flavor will be slightly different. The key is to not over-marinate the livers.
These sandwiches are best served immediately, but you can prep the livers ahead and store them in an airtight container in the fridge for up to 1 day. Reheat in the oven at 350°F to regain crispiness. The fried livers can be frozen for up to 3 months—just thaw and reheat.
Step-by-Step Instructions for Chicken Liver Sandwich
Let’s create these mouth-watering chicken liver sandwiches with a perfectly crispy exterior and tender interior.
Step 1: Marinate the Chicken Livers
Start by marinating the 1 lb Chicken Livers in the 1 cup Buttermilk. I like to do this in a large bowl where the livers can lay flat. Make sure they’re fully submerged in the buttermilk – if necessary, you can weigh them down with a smaller bowl. Cover the bowl with plastic wrap and refrigerate for at least 2 hours or overnight for maximum tenderness.
The acidity in the buttermilk will break down the proteins in the livers, making them incredibly tender. You’ll notice they become more pliable and less dense after marinating.
Step 2: Prepare the Crispy Coating
In a shallow dish, mix together the 1 cup All-Purpose Flour, 0.5 cup Cornstarch, 1 tsp Paprika, 1 tsp Garlic Powder, 1 tsp Onion Powder, 1 tsp Salt, and 0.5 tsp Black Pepper. I use a fork to whisk these ingredients together until they’re evenly distributed. The cornstarch is key here – it creates an exceptionally crispy coating that stays crunchy even after the livers are assembled into sandwiches.
Having all your dry ingredients pre-mixed ensures consistent flavor in every bite. The combination of spices adds depth without overpowering the rich flavor of the livers.
Step 3: Dredge and Fry the Chicken Livers
Heat the 2 cups Vegetable Oil in a large, heavy-bottomed pot or deep fryer to 350°F. While the oil is heating, remove the chicken livers from the buttermilk marinade, letting any excess liquid drip off. Dip each liver first in the beaten 2 whole Eggs, making sure they’re fully coated, then roll them in the flour mixture to coat completely.
Carefully place the coated livers into the hot oil in batches – don’t overcrowd the pot. Fry for 3-4 minutes or until they reach a golden brown color and the internal temperature reaches 165°F. Use a slotted spoon to transfer the fried livers to a paper towel-lined plate to drain excess oil.
Step 4: Assemble the Sandwiches
While the livers are still warm, assemble the sandwiches. I like to place a generous portion of the crispy fried livers on each of the 4 whole Soft Buns. You can add your favorite toppings or condiments, but I find that the rich flavor of the livers is often enough on its own.
Serve immediately while the coating is still crispy. The contrast between the crunchy exterior and the tender, buttery interior of the livers is what makes these sandwiches truly special. For the best experience, enjoy them fresh – the crispy coating won’t last long once assembled.
Perfect Pairings for These Flavors
Classic Comfort Sides
These chicken liver sandwiches pair beautifully with simple comfort foods. I love serving them with crispy fries or a fresh green salad with light vinaigrette. The crunchy texture and mild flavor provide perfect contrast to the rich livers. For a heartier meal, try adding roasted vegetables like carrots or Brussels sprouts.
Elevated Pairings
For a more sophisticated presentation, consider serving with pickled vegetables like thinly sliced cucumbers or carrots. The tangy acidity cuts through the richness of the fried livers beautifully. Another great option is a side of creamy coleslaw made with shredded cabbage and a hint of vinegar. These contrasting flavors create a balanced meal.
Beverage Matches
A crisp craft lager or hoppy IPA complements the bold flavors of the chicken liver sandwiches nicely. For non-beer drinkers, a refreshing iced tea with lemon or a sparkling water with lime works well. The bitterness helps cut through the richness of the fried livers. If you prefer wine, a dry Pinot Grigio can be a good choice.
Condiment Options
While the chicken livers are flavorful on their own, adding a condiment can elevate the experience. I recommend keeping hot sauce on hand for those who like a little heat. A tangy remoulade or creamy aioli can add an extra layer of richness. For a lighter touch, a simple lemon wedge provides brightness. 🌶️
Regional Twists
To give your chicken liver sandwiches a regional flair, try adding some Southern-style bread and butter pickles on the side. Alternatively, a German-style braised red cabbage can add an interesting cultural twist. These regional pairings can transform the dish into a unique culinary experience. 🥗
Nutrition Facts
Frequently Asked Questions
What’s the best way to clean chicken livers?
Rinse the livers under cold water, removing any connective tissue or membranes. Pat dry with paper towels before marinating for best results. This step helps the coating adhere better during frying.
Can I make chicken liver sandwiches ahead of time?
While best served fresh, you can prepare components ahead. Marinate the livers up to 24 hours in advance and store fried livers in an airtight container at room temperature for up to 1 day. Reheat in a 350°F oven to regain crispiness.
What’s the ideal oil temperature for frying?
Heat the oil to 350°F for perfect frying. Maintain this temperature between batches to ensure crispy coating and fully cooked livers. Use a thermometer for best results.
How do I keep the coating from falling off?
Ensure livers are dry before coating, and don’t overcrowd the pot. Fry in batches at the correct temperature (350°F) for a crispy coating that sticks. Let excess egg wash drip off before dredging in flour mixture.

- Jollof Rice Sauce Recipe: West African Tomato and Spice Infusion - September 25, 2026
- Japanese Rice Soup Recipe: Umami-Rich Comfort in a Bowl - September 25, 2026
- Homemade Cream Of Rice Recipe: Silk-Smooth Breakfast in Minutes - September 25, 2026