
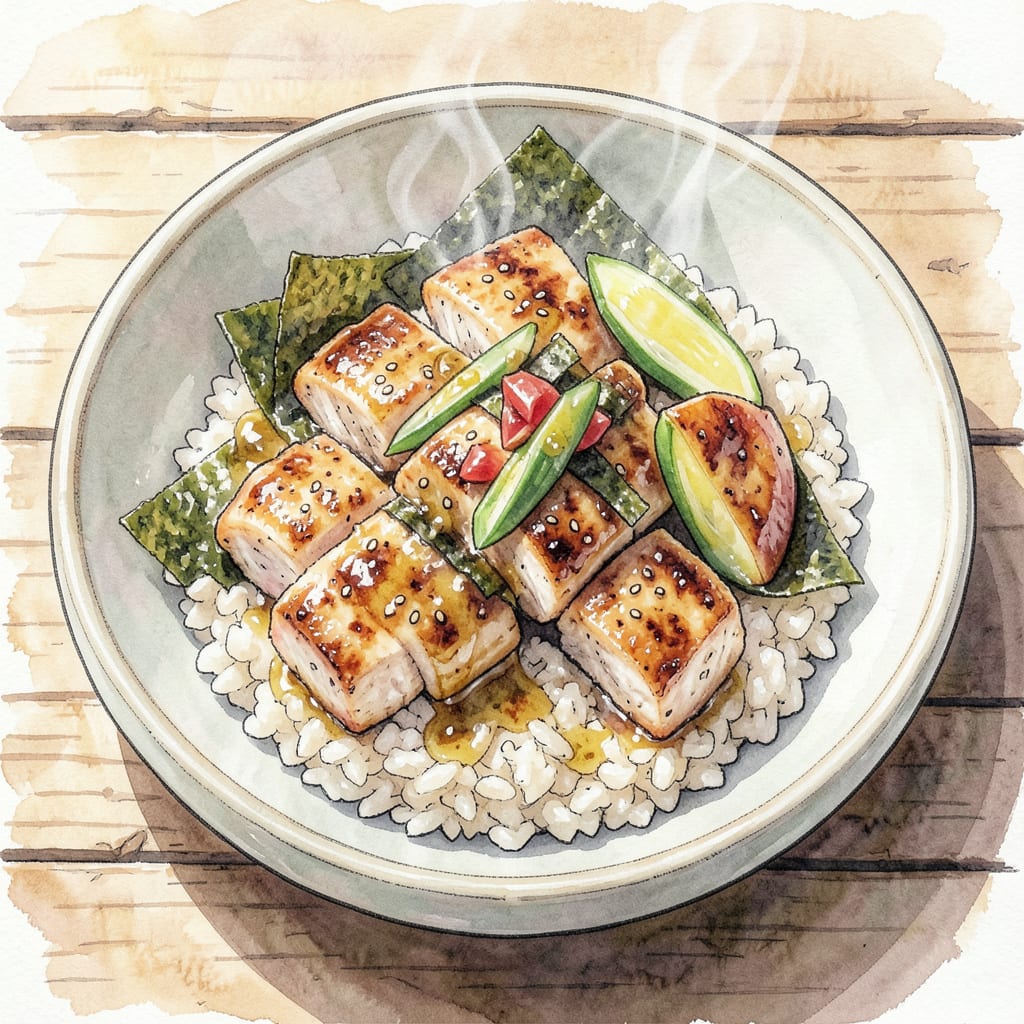
I’m excited to share my simple chicken onigiri recipe, a classic Japanese snack that’s both delicious and portable. These triangular rice balls are filled with tender chicken and wrapped in nori seaweed.
Making chicken onigiri is straightforward: cook Japanese rice, prepare a savory chicken filling, and assemble the triangles. With just a few ingredients and some practice, you’ll be creating these tasty snacks like a pro.
Ingredients for Chicken Onigiri
Simple ingredients make these Japanese snacks. Rice, chicken, and nori come together.
| Ingredient | Amount | Notes |
|---|---|---|
| Japanese Short-Grain Rice 🍚 | 2 cups | Uncooked, Japanese variety preferred |
| Water 💧 | 4 cups | For cooking rice |
| Chicken Breast 🍗 | 1 lb | Boneless, skinless, cooked and shredded |
| Soy Sauce 🧂 | 2 tbsp | For chicken flavoring |
| Sesame Oil 🫒 | 1 tbsp | For chicken flavor |
| Nori Sheets 🌿 | 4 sheets | Roasted seaweed sheets |
| Salt 🧂 | 1 tsp | For rice seasoning |
| Rice Vinegar 🍋 | 2 tbsp | For rice preparation |
| Sugar 🍮 | 1 tsp | For rice seasoning |
Japanese short-grain rice is essential—Koshihikari or Akita Komachi work well. Look for it at Asian markets or well-stocked supermarkets. For the chicken, use boneless, skinless breast and cook it until tender. Some stores sell pre-cooked chicken—worth the shortcut.
No Japanese rice vinegar? Apple cider vinegar with a pinch of sugar is a decent substitute. For the nori, roasted seaweed sheets are best—they have that perfect crispiness. If your chicken is dry, try adding a splash of chicken broth to moisten it.
These keep for 1 day at room temperature, 3 days in the fridge. Wrap individually in plastic wrap or store in an airtight container. To freeze, wrap tightly and freeze for up to 1 month.
Step-by-Step Instructions for Chicken Onigiri
Let’s create these delicious Japanese triangular snacks together, following a simple and tested method.
Step 1: Prepare the Japanese Short-Grain Rice
Rinse the 2 cups of Japanese Short-Grain Rice thoroughly until the water runs clear. This step removes excess starch, ensuring the rice doesn’t become too sticky or clumpy. I like to rinse it at least three times until the water is mostly clear.
Cook the rinsed rice with 4 cups of Water in a medium saucepan. Bring it to a boil over high heat, then reduce the heat to low, cover, and simmer for 15-20 minutes until the water is absorbed and the rice is tender. Once cooked, let it rest covered for 5 minutes before fluffing gently with a fork.
Step 2: Season the Cooked Rice
Transfer the cooked rice to a large mixing bowl. In a small bowl, mix together 2 tbsp of Rice Vinegar, 1 tsp of Sugar, and 1 tsp of Salt until the sugar and salt dissolve. Pour this seasoning mixture evenly over the warm rice.
Gently fold the rice with a wooden spatula, cutting through the rice rather than stirring it. This technique helps distribute the seasoning without mashing the grains. Continue until the rice is cooled to room temperature, which is crucial for making onigiri as it prevents sogginess.
Step 3: Prepare the Chicken Breast Filling
Take the 1 lb of cooked and shredded Chicken Breast and mix it with 2 tbsp of Soy Sauce and 1 tbsp of Sesame Oil in a separate bowl. The soy sauce adds a savory umami flavor, while the sesame oil provides a subtle nutty taste that complements the chicken beautifully.
Mix until the chicken is evenly coated with the soy sauce and sesame oil. Taste and adjust the seasoning if needed. Set this chicken mixture aside until you’re ready to assemble the onigiri.
Step 4: Assemble the Chicken Onigiri
Wet your hands with water to prevent the rice from sticking. Take a handful of the seasoned rice and make a small indentation in the center. Place a spoonful of the chicken mixture into this indentation.
Cover the filling with rice and gently shape it into a triangular form by pressing the rice together firmly but carefully. Make sure the filling is completely enclosed to prevent it from falling out. Repeat this process until you run out of rice and chicken mixture.
Step 5: Wrap with Nori Sheets
Once the onigiri are formed, wrap each one with a strip of Nori Sheet. You have 4 sheets of Nori Sheets, so you can cut them into appropriate sizes for wrapping. The nori adds a delightful crunch and a burst of umami flavor to each bite.
Serve the chicken onigiri immediately, or store them in an airtight container in the refrigerator for up to a day. They’re perfect as a snack or a light meal, and they make great additions to lunchboxes too.
Storing and Reheating This chicken onigiri
Refrigerator Storage Tips
Store chicken onigiri in an airtight container in the refrigerator for up to 3 days. I recommend wrapping each onigiri individually in plastic wrap before placing them in the container. This prevents them from drying out and absorbing other flavors.
Freezing for Longer Storage
For longer storage, freeze onigiri for up to 1 month. Wrap each piece tightly in plastic wrap, then place them in a freezer-safe bag or container. When you’re ready to eat them, thaw overnight in the refrigerator or at room temperature for a few hours.
Reheating Methods
To reheat, I recommend microwaving briefly. Wrap the onigiri in a damp paper towel and heat on medium power for 20-30 seconds. This helps restore moisture. Alternatively, you can reheat them by steaming for 2-3 minutes until warmed through.
Maintaining Texture
To keep the nori from getting soggy, store it separately from the onigiri. Wrap the nori sheets in a paper towel to absorb any moisture, then place them in an airtight container. Add the nori just before serving for the best texture.
Best Practices for Storage
Always store onigiri away from strong-smelling foods, as they can absorb odors easily. If you plan to store them for more than a day, consider freezing. Proper storage keeps your onigiri fresh and ready to enjoy whenever you need a quick snack. ❄️
Nutrition Facts
Frequently Asked Questions
What’s the best type of rice for making onigiri?
Japanese short-grain rice is essential for making onigiri. It has the right stickiness to hold its shape when formed into triangles. Look for varieties like Koshihikari or Akita Komachi for authentic results.
Can I use leftover cooked chicken for the filling?
Yes, leftover cooked chicken works perfectly for onigiri filling. Simply shred or chop it finely and mix with 2 tbsp of Soy Sauce and 1 tbsp of Sesame Oil to give it flavor. Make sure the chicken is moist—if it’s dry, add a splash of chicken broth.
How do I keep nori from getting soggy?
To keep nori crisp, store it separately from the onigiri. Wrap nori sheets in a paper towel to absorb moisture, then place in an airtight container. Add nori just before serving for the best texture. This simple step makes a big difference in the overall quality of your onigiri.
Can I make onigiri ahead of time?
Yes, you can make onigiri ahead of time. Store them in an airtight container in the refrigerator for up to 3 days, or freeze for up to 1 month. When freezing, wrap each onigiri tightly in plastic wrap first. They’re perfect for meal prep or quick snacks.

- Jollof Rice Sauce Recipe: West African Tomato and Spice Infusion - September 25, 2026
- Japanese Rice Soup Recipe: Umami-Rich Comfort in a Bowl - September 25, 2026
- Homemade Cream Of Rice Recipe: Silk-Smooth Breakfast in Minutes - September 25, 2026