
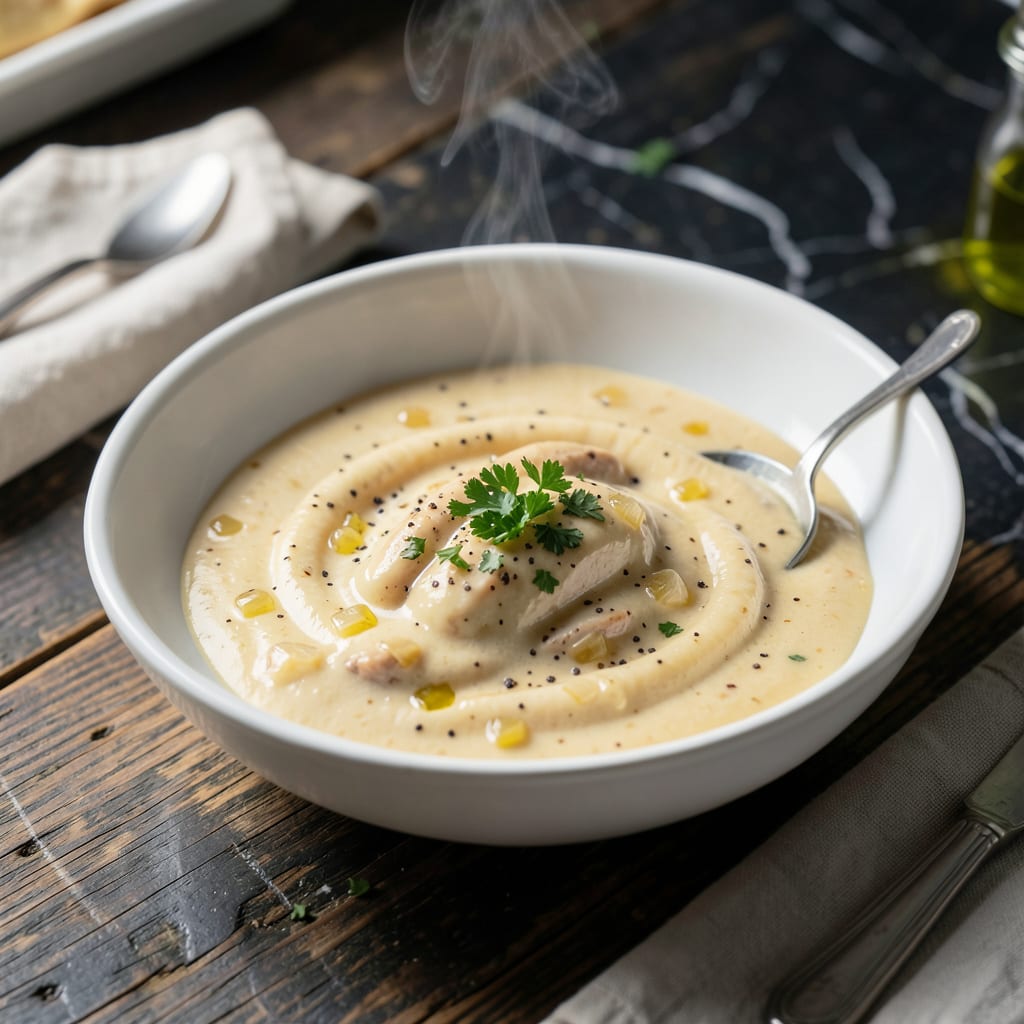
This rich, creamy base transforms any chicken pie into a restaurant-quality dish. The velvety texture comes from a precise roux and slow simmering technique.
With just a few pantry staples and 15 minutes of active prep, you’ll have a velvety sauce that pairs perfectly with flaky pastry layers. Store leftovers for up to 3 days.
Ingredients for Chicken Pie Sauce
Eleven ingredients transform into a velvety sauce base for pie filling.
| Ingredient | Amount | Notes |
|---|---|---|
| Unsalted Butter 🧈 | ½ cup | For roux, European style preferred |
| All-Purpose Flour 🌾 | ½ cup | Sifted for smooth roux |
| Whole Milk 🥛 | 2 cups | Full-fat for creaminess |
| Chicken Stock 🍲 | 2 cups | Low-sodium preferred |
| Heavy Cream 🥣 | ½ cup | Cold, for finishing |
| Yellow Onion 🧅 | 1 whole | Finely diced, about 1 cup |
| Garlic Cloves 🧄 | 2 cloves | Minced for aromatic base |
| Dijon Mustard 🟡 | 1 tbsp | Adds subtle tang |
| Dry White Wine 🍷 | ¼ cup | Deglazing liquid option |
| Fresh Thyme Leaves 🌿 | 1 tbsp | Stems removed, chopped |
| Kosher Salt 🧂 | 1 tsp | Adjust to taste |
| White Pepper 🌶️ | ½ tsp | Freshly ground preferred |
[recipeingredientscaler]
The butter and flour form the foundation—European-style butter with its higher fat content creates a richer roux. King Arthur Flour is ideal for all-purpose, but any unbleached variety works well. For the chicken stock, homemade or high-quality store-bought makes a noticeable difference in depth of flavor. I always keep Better Than Bouillon paste on hand for emergencies.
No white wine? Substitute with additional chicken stock plus a splash of lemon juice. Heavy cream can be replaced with half-and-half for a lighter version (though the texture won’t be quite as velvety). If avoiding alcohol entirely, skip the deglazing step and proceed with stock. The Dijon mustard adds subtle complexity—yellow mustard works in a pinch but lacks the same depth.
The sauce keeps in the fridge for 3 days as mentioned. For longer storage, freeze in airtight containers for up to 3 months. Reheat gently on the stove, stirring constantly, as the dairy can separate if microwaved. The roux base also works beautifully for other creamy sauces.
Why You’ll Love This Recipe
- One Pot Ease: I melt the butter, whisk in flour, then slowly add the milk and stock—no fancy steps, just simple stovetop magic.
- Rich and Velvety: The heavy cream turns this into a decadent sauce that clings to chicken and pie crust like a dream.
- Feeds the Freezer: Honestly, I double the batch and freeze half for those nights when I need comfort food in a hurry.
- Budget Stretcher: A little butter and flour go a long way, and it transforms basic chicken into something restaurant-worthy.
Step-by-Step Instructions for Chicken Pie Sauce
Master this technique for a rich, velvety foundation that elevates every pie.
Step 1: Create the Roux Base
In a heavy-bottomed saucepan, melt the 0.5 cup Unsalted Butter over medium heat until it foams but doesn’t brown. Add the 0.5 cup All-Purpose Flour all at once and whisk constantly for 2-3 minutes.
You’re looking for a golden, bubbling roux that smells nutty. This is your sauce’s backbone—the flour cooks out the raw taste while the butter adds richness. Keep the whisk moving to prevent lumps from forming.
Step 2: Develop the Aromatic Foundation
Add the finely diced Yellow Onion to the roux and cook for 3-4 minutes until softened and translucent. Stir in the minced 2 cloves Garlic Cloves, 1 tbsp Fresh Thyme Leaves, and 1 tbsp Dijon Mustard, cooking for an additional 1 minute until fragrant.
The onion should melt into the roux, creating a sweet base. The mustard adds depth without overpowering, while the thyme provides an earthy note. Watch carefully—garlic burns easily at this stage.
Step 3: Deglaze and Build the Sauce
Pour in the 0.25 cup Dry White Wine and scrape the bottom of the pan to release any browned bits. Let it simmer for 2 minutes until the liquid reduces by half. This step lifts all the flavor from the pan into your sauce.
Slowly whisk in the 2 cups Chicken Stock and 2 cups Whole Milk, a little at a time, ensuring each addition is fully incorporated before adding more. The mixture will thicken as it comes to a gentle simmer.
Step 4: Finish with Cream and Seasonings
Reduce the heat to low and stir in the 0.5 cup Heavy Cream. Let the sauce simmer for 5-7 minutes until it coats the back of a spoon. The cream adds a luxurious texture that makes this sauce perfect for pie filling.
Season with 1 tsp Kosher Salt and 0.5 tsp White Pepper, adjusting to taste. White pepper provides warmth without the visual speckles of black pepper, keeping your sauce perfectly smooth.
Remove from heat and use immediately for your pie, or let it cool slightly before assembling. The sauce should be thick enough to cling to the chicken and vegetables but still pourable.
Pro Tips For Making Chicken Pie Sauce
- Cook the Roux Longer: I learned this the hard way—let the butter and flour cook together for at least 2-3 minutes over medium heat to lose that raw flour taste. It makes a real difference in the final sauce.
- Warm Your Dairy: Take the whole milk and heavy cream out of the fridge 15 minutes before using, or microwave for 20 seconds. Cold dairy can cause the sauce to seize up when added to the hot roux.
- Skip the Boiling Stock: Resist the urge to use boiling chicken stock—it can break the sauce. Warm stock is fine, but too hot and you’ll end up with a lumpy, separated mess.
- Finish with Cream: Stir in the heavy cream at the very end, off the heat. This keeps it rich and silky instead of risking curdling from prolonged simmering.
Storing and Reheating This chicken pie sauce
Refrigerator Storage
Let the sauce cool for no more than 2 hours before transferring to an airtight container. I use glass jars with tight-fitting lids. Store in the fridge at 40°F or below for up to 3 days. The flavors deepen overnight as the herbs meld together. ❄️
Freezing Guidelines
For longer storage, freeze in quart-sized freezer bags laid flat to save space. Leave 1 inch of headspace for expansion. The sauce freezes well for up to 3 months without texture changes. I label mine with the date to track freshness.
Stovetop Reheating
My preferred method: pour sauce into a heavy-bottomed pot and heat over low-medium heat. Stir constantly with a wooden spoon for 5-7 minutes until warmed through. Add a splash of milk if it thickens too much during storage.
Microwave Method
Transfer a single portion to a microwave-safe bowl and cover with a damp paper towel. Heat on 50% power for 1-minute intervals, stirring between each, until reaching 165°F. This prevents separation and hot spots. 🔥
Thawing Tips
For frozen sauce, thaw overnight in the fridge for best results. In a rush? Submerge the sealed bag in cold water, changing the water every 30 minutes until thawed. Never thaw at room temperature.
Nutrition Facts
Frequently Asked Questions
Can I use cornstarch instead of flour for thickening?
Yes, but use 2 tablespoons cornstarch mixed with 2 tablespoons cold water per 1 cup liquid. Add it at the end and simmer for 1 minute to avoid a starchy taste.
Why does my sauce turn lumpy?
Lumps form when flour isn’t fully incorporated into the fat. Whisk constantly when adding flour to the melted butter, and keep heat at medium to prevent clumping. Strain if needed.
Can I make this sauce ahead of time?
Prepare up to 3 days ahead and refrigerate in an airtight container. Reheat gently on the stove, stirring often. The flavors deepen overnight.
What’s the best way to fix a too-thin sauce?
Mix 1 tablespoon cornstarch with 1 tablespoon cold water, then whisk into simmering sauce. Cook for 1-2 minutes until thickened. Avoid overcooking.

- Jollof Rice Sauce Recipe: West African Tomato and Spice Infusion - September 25, 2026
- Japanese Rice Soup Recipe: Umami-Rich Comfort in a Bowl - September 25, 2026
- Homemade Cream Of Rice Recipe: Silk-Smooth Breakfast in Minutes - September 25, 2026