
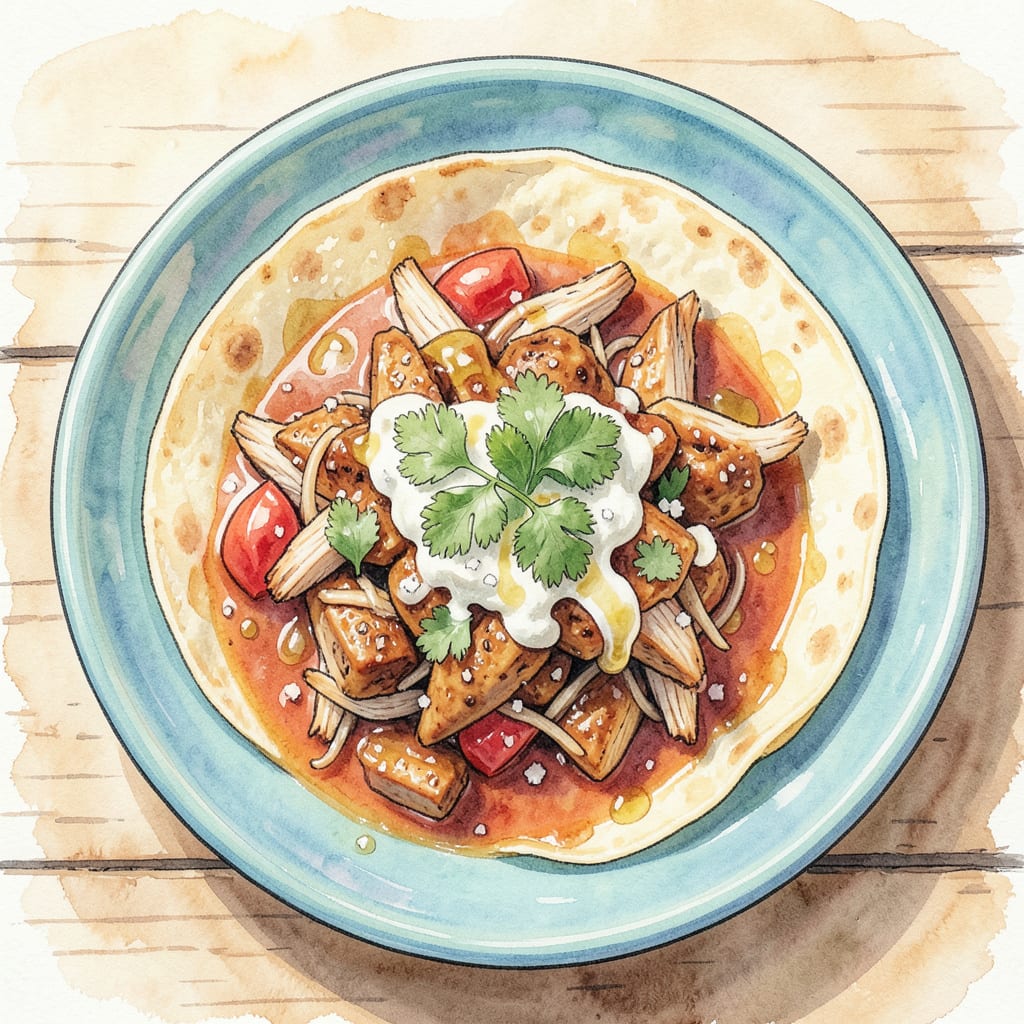
I’ve fallen in love with making Salvadoran-style chicken pupusas at home. These cornmeal pockets filled with tender chicken and cheese are a game-changer for weeknight dinners. The combination of crispy exterior and soft interior is irresistible.
To create this recipe, I start by preparing the masa harina dough, then fill it with a delicious mixture of shredded chicken and cheese. Cooking the pupusas on a griddle until they’re golden brown brings out their full flavor. Serve with curtido and salsa roja for an authentic experience.
Ingredients for Chicken Pupusas
Simple Salvadoran ingredients come together to create these delicious cornmeal pockets.
| Ingredient | Amount | Notes |
|---|---|---|
| Masa Harina 🌾 | 2 cups | Corn flour for dough |
| Warm Water 💧 | 1 cup | For dough hydration |
| Shredded Chicken 🍗 | 2 cups | Cooked, shredded chicken breast |
| Queso Fresco 🧀 | 1 cup | Crumbly Salvadoran cheese |
| Vegetable Oil 🫒 | 2 tbsp | For dough and griddle |
| Salt 🧂 | 1 tsp | For dough seasoning |
| Cilantro 🌿 | ¼ cup | Chopped, for garnish |
| Lime 🍋 | 1 whole | Cut into wedges |
| Curtido 🥒 | 1 cup | Salvadoran slaw |
| Salsa Roja 🍅 | 1 cup | Red salsa for serving |
| Ground Cumin 🌶️ | ½ tsp | For chicken seasoning |
| Black Pepper 🌶️ | ¼ tsp | Freshly ground |
For authentic Salvadoran flavor, look for Maseca masa harina at Latin markets or online. The cheese matters too—queso fresco gives that perfect crumbly texture. If you can’t find queso fresco, cottage cheese or farmer’s cheese makes a good substitute. For the chicken, use pre-cooked rotisserie chicken to save time.
No curtido? Make a quick version with shredded cabbage, carrots, and vinegar. For salsa roja, blend tomatoes, onion, garlic, and cilantro for an authentic touch. The cumin and black pepper in the chicken filling add depth—don’t skip them. If you prefer a spicier kick, add some diced jalapeño to the chicken mixture.
Pupusas freeze beautifully before cooking—just separate with parchment paper. Cook from frozen on a griddle with a bit more oil. The leftovers keep for 3-4 days in the fridge. Reheat on a griddle to crisp them up again.
Step-by-Step Instructions for Chicken Pupusas
Let’s make these delicious Salvadoran-style cornmeal delights together – easy and authentic.
Step 1: Prepare the Masa Harina Dough
In a large mixing bowl, combine the 2 cups Masa Harina and 1 tsp Salt. Gradually add the 1 cup Warm Water while stirring with a fork. The mixture should form a dough that is pliable but not sticky. If it’s too dry, add a little more water; if it’s too wet, add a bit more Masa Harina. I like to knead the dough for about 5 minutes until it feels smooth and consistent.
Cover the dough with plastic wrap or a damp cloth and let it rest for 30 minutes. This resting period allows the Masa Harina to fully hydrate, making the dough easier to work with.
Step 2: Prepare the Chicken Filling
In a separate bowl, mix together the 2 cups Shredded Chicken, 0.5 tsp Ground Cumin, and 0.25 tsp Black Pepper. Make sure the chicken is well coated with the spices. If you prefer a stronger flavor, you can add a bit more cumin or pepper to taste.
I always use freshly ground black pepper for the best flavor. The cumin adds a warm, earthy taste that complements the chicken perfectly.
Step 3: Assemble the Pupusas
Divide the rested dough into 8 equal pieces. Roll each piece into a ball and then flatten it into a disk using your hands. Place a tablespoon or two of the Shredded Chicken mixture and a bit of Queso Fresco in the center of each disk. Fold the dough over the filling to form a half-moon shape and press the edges together to seal the pupusa.
Make sure the edges are well sealed to prevent the filling from escaping during cooking. You can use a pupusa maker or a piece of plastic wrap to help shape them if needed.
Step 4: Cook the Pupusas
Heat a large griddle or skillet over medium-high heat and brush with a little Vegetable Oil. Cook the pupusas for 4-5 minutes on each side until they’re golden brown and slightly puffed. You may need to adjust the heat to prevent burning.
I find that cooking them on a cast-iron skillet gives the best results. The pupusas should have a nice char on the outside while being soft and warm on the inside.
Step 5: Serve with Curtido and Salsa Roja
Once cooked, serve the pupusas hot with 1 cup Curtido and 1 cup Salsa Roja on the side. Garnish with chopped Cilantro and a squeeze of fresh Lime juice. The curtido adds a tangy crunch, while the salsa roja provides a spicy kick that complements the savory pupusas perfectly.
Enjoy your delicious homemade chicken pupusas with all the traditional fixings!
Essential Equipment for This Recipe
Essential Cooking Tools
To make authentic chicken pupusas, you’ll need a few key pieces of equipment. First, a large mixing bowl is essential for combining the masa harina and water. I prefer a sturdy bowl that can handle vigorous mixing.
Griddle or Skillet
A cast-iron skillet or griddle is crucial for cooking pupusas. The even heat distribution helps achieve that perfect golden-brown crust. If you don’t have cast iron, a heavy-bottomed stainless steel pan works well too. Make sure it’s large enough to cook multiple pupusas at once.
Dough Preparation Tools
For preparing the dough, you’ll need a fork for mixing and your hands for kneading. Some cooks prefer using a dough scraper to handle the masa harina mixture. If you’re new to making pupusas, a pupusa maker can help shape them consistently.
Additional Helpful Tools
A plastic wrap or parchment paper helps when shaping pupusas, preventing the dough from sticking to your hands. For serving, have serving utensils like tongs ready to handle the hot pupusas. A spatula is also handy for flipping them during cooking.
Specialty Items
While not essential, a comal or griddle stone can enhance the cooking experience. These tools maintain consistent heat and can help achieve that authentic pupusa texture. Some cooks also appreciate a masa harina measuring cup for precise dough preparation.
Storage Containers
If you plan to make pupusas ahead or store leftovers, have airtight containers ready. These keep the pupusas fresh for later reheating. I often use glass containers with tight-fitting lids for storing both cooked and uncooked pupusas.
Nutrition Facts
Frequently Asked Questions
Can I make pupusas ahead of time?
Yes, you can prepare pupusas ahead of time. After assembling them, you can store them in an airtight container in the refrigerator for up to 24 hours before cooking. You can also freeze them on a baking sheet and then transfer to a freezer bag for up to 3 months. Cook frozen pupusas on a griddle with a bit more oil.
What’s the best way to keep pupusas warm for serving?
To keep pupusas warm, wrap them in a clean kitchen towel or aluminum foil and place them in a low-temperature oven (200°F) for up to 30 minutes. You can also use a thermos or insulated container to maintain their warmth. This helps keep them soft and ready to serve.
Can I use different fillings in pupusas?
Absolutely! While traditional fillings include cheese, chicharrón, and beans, you can experiment with various ingredients. Popular alternatives include shredded pork, caramelized onions, or roasted vegetables. Just ensure your filling is not too wet to prevent the pupusa from bursting during cooking.
Why are my pupusas breaking apart during cooking?
If your pupusas are breaking apart, it might be due to insufficient sealing of the edges or too much filling.

- Jollof Rice Sauce Recipe: West African Tomato and Spice Infusion - September 25, 2026
- Japanese Rice Soup Recipe: Umami-Rich Comfort in a Bowl - September 25, 2026
- Homemade Cream Of Rice Recipe: Silk-Smooth Breakfast in Minutes - September 25, 2026