
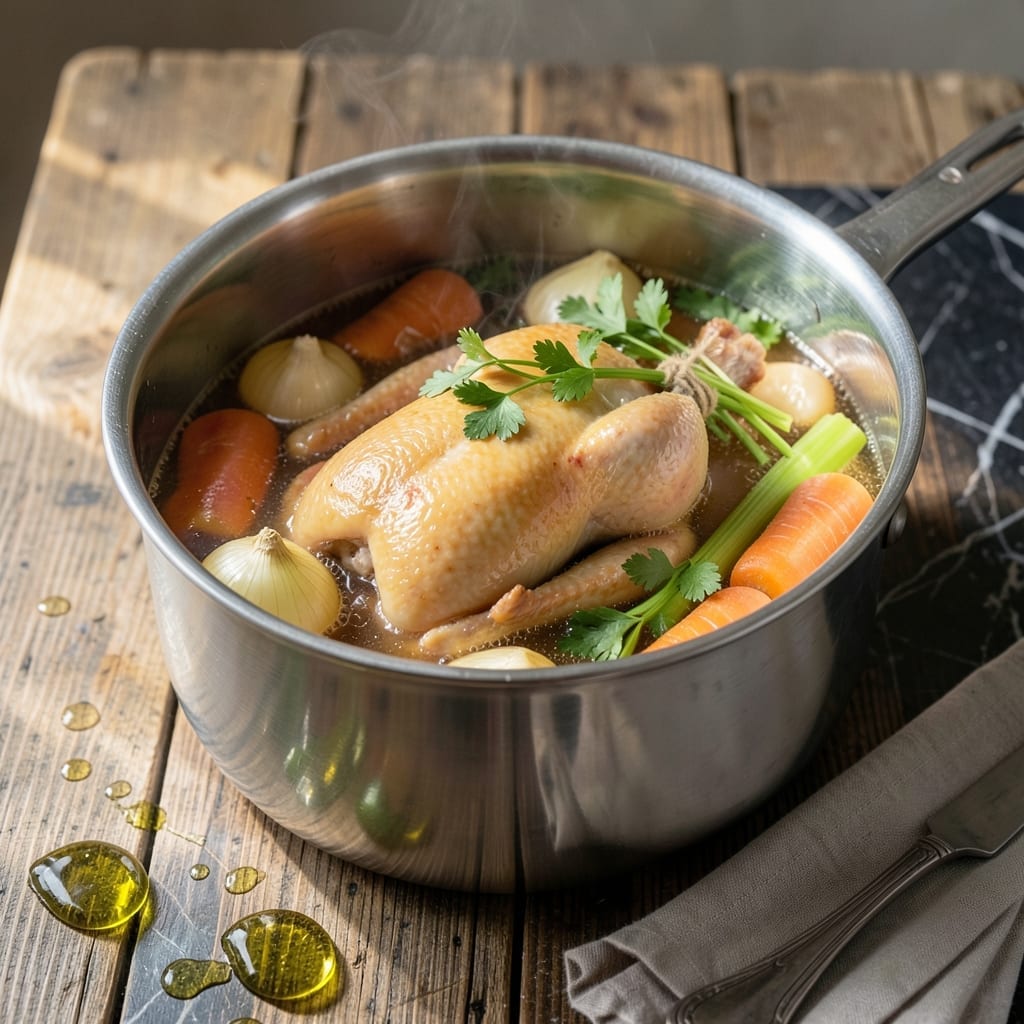
There’s nothing like homemade chicken stock to elevate your cooking from good to extraordinary. This one-pot method transforms a whole chicken into a rich, flavorful broth that forms the foundation of countless dishes.
By simmering the chicken with aromatic vegetables and herbs, you’ll extract maximum flavor while keeping the process simple. The slow cooking time ensures every drop of liquid is infused with deep, savory notes that store-bought versions simply can’t match.
The result is a clear, golden broth that’s perfect for soups, sauces, or sipping on its own. It freezes beautifully, so you can always have this restaurant-quality base on hand.
This technique has been perfected over generations and requires only patience and basic ingredients. Here’s how to make it right every time.
Ingredients for Chicken Stock Recipe Whole Chicken
Transform simple whole chicken and aromatics into restaurant-quality stock with these essential ingredients.
| Ingredient | Amount | Notes |
|---|---|---|
| Whole Chicken 🍗 | 3 lb | Including neck and giblets if available |
| Cold Water 💧 | 4 cup | Enough to cover chicken completely |
| Yellow Onions 🧅 | 2 whole | Quartered, skin on for color |
| Carrots 🥕 | 3 whole | Cut into large chunks |
| Celery Stalks 🌿 | 3 whole | Including leafy tops |
| Fresh Parsley Stems 🌿 | 1 cup | Tied with twine for easy removal |
| Fresh Thyme Sprigs 🍃 | 4 pieces | Bundle with parsley stems |
| Bay Leaves 🍃 | 2 pieces | Dried, whole leaves |
| Black Peppercorns 🌶️ | 1 tbsp | Whole, lightly crushed |
| Kosher Salt 🧂 | 1 tbsp | Diamond Crystal preferred |
| Garlic Cloves 🧄 | 6 cloves | Unpeeled, smashed |
| Apple Cider Vinegar 🍏 | 1 tbsp | For brightness in broth |
The chicken is the foundation. Opt for 3-4 lb whole chickens from Whole Foods or local butchers—look for birds labeled air-chilled, which yield clearer stock. Organic isn’t mandatory but does produce a cleaner flavor. The neck and giblets (if included) add depth, so don’t discard them. For vegetables, farmers market produce often has more pungent aromatics, but standard grocery store options work perfectly fine.
No whole chicken? Use 3 lb chicken backs, necks, and wings instead—they’re gelatinous and flavorful. Out of thyme? Rosemary or marjoram at equal amounts work well. The vinegar can be white wine vinegar or lemon juice. If using low-sodium broth as a base (not recommended), reduce added salt. The peppercorns are essential for subtle spice—don’t substitute pre-ground pepper.
Stock keeps 4-5 days refrigerated, but it’s best used within 3 days for peak flavor. Freeze in quart-sized containers for up to 6 months. Skim fat after chilling for clearest results. Always label with date—it’s easy to forget what’s in the freezer.
Why You’ll Love This Recipe
- Set and Forget: I just toss everything in the pot and let it simmer for hours—no babysitting required.
- Rich Golden Flavor: The slow-cooked chicken, carrots, and celery create a depth that store-bought can’t touch. Honestly, it’s night-and-day better.
- Meal Prep Magic: I use this as a base for soups, risottos, even cooking grains all week long.
- Penny Pincher: One whole chicken gives me quarts of stock for the price of a rotisserie dinner. I’ll be real: it’s my cheapest luxury.
Step-by-Step Instructions for Chicken Stock from Whole Chicken
Master this foundational technique for a deeply flavorful broth that elevates every dish it touches.
Step 1: Prepare the Chicken and Aromatics
Place the 3 lb Whole Chicken in a large stockpot. If your chicken includes the neck and giblets, add those as well—they contribute rich gelatin to the finished stock. Quarter the 2 whole Yellow Onions, leaving the skin on for a beautiful golden hue in the broth.
Cut the 3 whole Carrots into large chunks and trim the 3 whole Celery Stalks, keeping the leafy tops for added flavor. There’s no need for precise cutting here—large pieces prevent the vegetables from breaking down into a mushy pulp during the long simmer.
Step 2: Create the Aromatic Bundle
Tie the 1 cup Fresh Parsley Stems and 4 pieces Fresh Thyme Sprigs together with kitchen twine. This bundle, known as a bouquet garni, makes it easy to remove the herbs after cooking. Add the 2 pieces Bay Leaves to the bundle or place them directly in the pot.
Lightly crush the 1 tbsp Black Peppercorns to release their oils, but leave them whole to prevent a gritty texture in the finished stock. Smash the 6 cloves Garlic Cloves with the flat side of your knife—there’s no need to peel them as the skin will be strained out later.
Step 3: Add Liquids and Begin the Simmer
Pour in the 4 cup Cold Water, ensuring the chicken is completely submerged. Add the 1 tbsp Kosher Salt and 1 tbsp Apple Cider Vinegar. The vinegar helps extract minerals from the chicken bones, resulting in a more nutrient-rich broth with better gelatin extraction.
Bring the mixture to a gentle boil over medium-high heat, then immediately reduce to a low simmer. You should see small bubbles occasionally breaking the surface, but not a rolling boil. A vigorous boil will emulsify fat into the stock, making it cloudy rather than clear.
Step 4: Skim and Simmer for Depth of Flavor
As the stock heats, a foam will rise to the surface. Skim this off with a fine-mesh strainer or a large spoon for the first 20-30 minutes of simmering. This foam contains impurities that can make your stock bitter or cloudy if left in the pot.
Partially cover the pot and maintain a gentle simmer for 3-4 hours. During this time, the chicken will break down completely, releasing its collagen and creating a rich, golden liquid. The vegetables should be completely soft and the broth deeply aromatic.
Step 5: Strain and Finish
Carefully remove the chicken pieces with tongs and discard. Pour the stock through a fine-mesh strainer set over a large bowl or another pot, pressing lightly on the solids to extract all the liquid. Discard the vegetables and aromatics.
Let the stock cool slightly, then skim off any fat that rises to the surface with a spoon or a fat separator. For immediate use, the stock is now ready. For storage, cool completely before refrigerating for up to 5 days or freezing for up to 3 months.
Pro Tips For Making Chicken Stock Recipe Whole Chicken
- Start with Cold Water: I learned this the hard way—always cover the whole chicken with cold water and bring it to a simmer gradually. Hot water right away makes the meat seize up and cloud your stock.
- Skim the Foam: The first 15 minutes are crucial: skim off the scum that rises to the top with a fine-mesh strainer or spoon. It’s tedious, but skipping it leaves your stock bitter and murky.
- Skip the Seasoning: Resist the urge to salt or pepper the stock while it cooks. Reduce it later and season to taste—this way, you control the flavor in every dish you use it for.
- Roast the Chicken First: Sounds like extra work, but browning the whole chicken in a 400°F oven for 20 minutes before simmering adds a depth of flavor that’s worth the effort. I was skeptical until I tried it.
Storing and Reheating This chicken stock recipe whole chicken
Refrigerator Storage
Let your stock cool for no more than 2 hours at room temperature before transferring to containers. I use glass mason jars for easy portioning. Store in the fridge at 40°F or below for up to 5 days. The flavors will deepen as it rests. ❄️
Freezer Storage
For longer storage, pour cooled stock into quart-sized freezer bags or silicone ice cube trays for small portions. Lay bags flat to save space and freeze for up to 6 months. Leave 1 inch headspace to prevent bursting.
Thawing Methods
Thaw overnight in the fridge for even, safe defrosting. For quick use, submerge the sealed bag in a bowl of cold water, changing water every 30 minutes. Never thaw at room temperature—this promotes bacterial growth.
Reheating on Stovetop
Pour stock into a saucepan and warm over medium-low heat for 5-7 minutes, stirring occasionally. Avoid boiling to preserve delicate flavors. If using for soup, add ingredients once the stock reaches a gentle simmer. 🔥
Microwave Reheating
Microwave in 1-minute intervals at 70% power, stirring between each. Cover with a damp paper towel to prevent splattering. This works well for small portions but may unevenly heat larger quantities.
Reviving Flavor
If your stock tastes flat after storage, simmer with a splash of apple cider vinegar or a pinch of salt to brighten the flavor. This simple trick restores its depth without overpowering the original taste.
Nutrition Facts
Frequently Asked Questions
How long should I simmer the stock?
Simmer for 3-4 hours to extract maximum flavor and gelatin from the chicken. Longer cooking breaks down collagen but avoid boiling to keep the stock clear and clean-tasting.
Can I use a cooked chicken carcass instead?
Yes, a cooked carcass works well for a lighter stock. Reduce simmering time to 2-3 hours since the meat is already broken down. Add extra vegetables for depth.
Why is my stock cloudy?
Cloudiness usually comes from boiling too vigorously or not skimming the foam. Start with cold water and maintain a gentle simmer. Strain through a cheesecloth for extra clarity.
What’s the best way to use leftover chicken meat?
Shred the cooked chicken for soups, tacos, or sandwiches. It will be tender but mild—perfect for absorbing flavors. Store separately from the stock for 3-4 days.

- Jollof Rice Sauce Recipe: West African Tomato and Spice Infusion - September 25, 2026
- Japanese Rice Soup Recipe: Umami-Rich Comfort in a Bowl - September 25, 2026
- Homemade Cream Of Rice Recipe: Silk-Smooth Breakfast in Minutes - September 25, 2026