
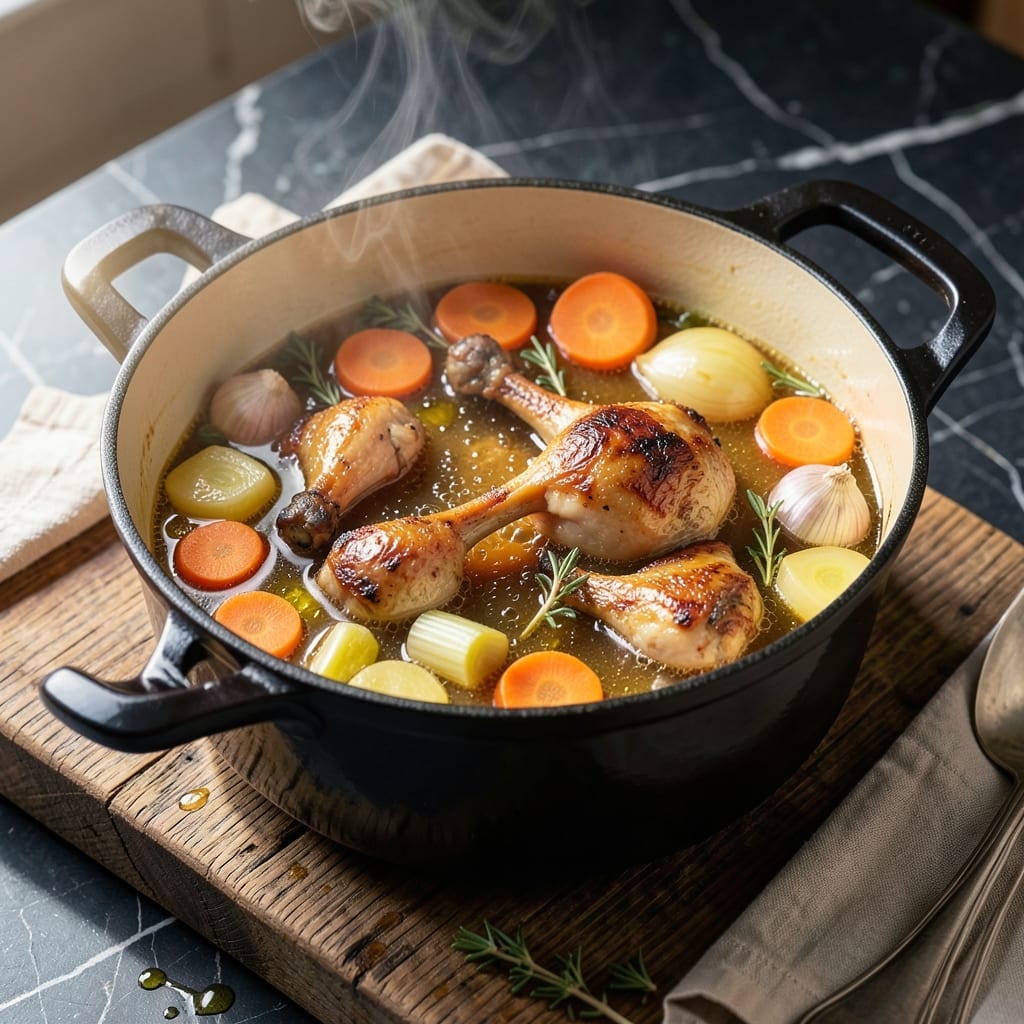
There’s a reason every great kitchen keeps homemade chicken stock on hand—it transforms the ordinary into extraordinary. This foundational recipe builds layers of rich, savory depth that store-bought versions simply can’t match.
I’ve refined this method over years of cooking, focusing on a simple ratio of bones, vegetables, and aromatics simmered just long enough to extract maximum flavor. The key is patience and a gentle, steady heat that coaxes out every bit of natural gelatin and richness.
What emerges is a golden liquid with body and complexity, perfect for soups, sauces, or braising. The aroma alone signals you’ve created something special. Every spoonful carries the essence of slow, careful cooking.
This stock keeps well in the freezer, so you’ll always have the building block for exceptional dishes ready to use.
Ingredients for Chicken Stock
Simple bones, veggies, and aromatics create this golden, flavorful liquid gold.
| Ingredient | Amount | Notes |
|---|---|---|
| Chicken Bones 🍗 | 3 lb | Backs, necks, or carcasses |
| Cold Water 💧 | 4 cups | Enough to cover bones |
| Yellow Onion 🧅 | 1 whole | Quartered, skin on |
| Carrots 🥕 | 2 whole | Roughly chopped |
| Celery Stalks 🌿 | 2 whole | Roughly chopped |
| Garlic Cloves 🧄 | 4 cloves | Smashed, skin on |
| Bay Leaves 🍃 | 2 whole | Dried |
| Black Peppercorns 🌶️ | 1 tbsp | Whole, not ground |
| Fresh Parsley Stems 🌿 | 1 cup | Or thyme sprigs |
| Apple Cider Vinegar 🍏 | 1 tbsp | For acidity |
| Kosher Salt 🧂 | 1 tsp | Adjust to taste later |
The bones are everything here. Chicken backs and necks give the richest gelatin, but a leftover carcass works too. Whole Foods or a local butcher often have them cheap or free—just ask. I always save bones in the freezer until I have enough. Don’t skip the skin-on parts; they add body and flavor that bare bones just can’t.
No carrots or celery? Parsnips or fennel add a nice sweetness. Missing bay leaves? A pinch of dried thyme or oregano gets you close. The vinegar helps extract minerals from the bones—lemon juice works too (use the same amount). If you’re in a hurry, an Instant Pot cuts the time way down, but the stovetop method tastes deeper.
Strain and cool before storing. Fridge for 4-5 days or freeze for 6 months. I use silicone molds for portions—perfect for soups or sauces. Label everything; stock looks the same after a while.
Why You’ll Love This Recipe
- Dump and Simmer: I just toss chicken bones, onion, carrots, and celery into a pot with cold water and let it do its thing—no fuss, no fancy steps.
- Rich Depth: The slow simmer pulls every bit of flavor from those bones and veggies into a broth that’s so savory, it makes everything taste better.
- Meal Prep Magic: I make a big batch on Sunday and use it all week for soups, risottos, or braising greens—it’s my kitchen’s secret shortcut.
- Zero Waste: Between us, I used to toss chicken bones until I realized they’re gold for stock. Now I save money and get two meals out of one bird.
Step-by-Step Instructions for Chicken Stock
Simple process, big flavor—here’s how I make stock that beats store-bought every time.
Step 1: Roast the Chicken Bones for Depth
Preheat your oven to 400°F. Spread the 3 lb Chicken Bones on a baking sheet and roast for 20-25 minutes until they turn deep golden brown. This step is non-negotiable—it caramelizes the natural juices, adding rich, complex flavor to your stock.
I always watch for the bones to develop a deep color but not burn. If they start to darken too quickly, give the pan a shake to rotate them. The aroma will fill your kitchen, and that’s your first sign you’re doing it right.
Step 2: Combine with Vegetables and Aromatics
Transfer the roasted bones to a large stockpot. Add the 4 cups Cold Water, ensuring it covers the bones completely. Toss in the 1 whole Yellow Onion (quarter it, skin on for color), 2 whole Carrots, 2 whole Celery Stalks, 4 cloves Garlic Cloves (smash them, skin and all), 2 whole Bay Leaves, 1 tbsp Black Peppercorns, and 1 cup Fresh Parsley Stems.
Don’t peel the onion or garlic—the skins add a beautiful amber hue to the stock. The parsley stems (or thyme sprigs) infuse a subtle herbal note. I avoid leafy parsley here because it can make the stock bitter if simmered too long.
Step 3: Add Vinegar and Salt, Then Simmer
Pour in the 1 tbsp Apple Cider Vinegar and 1 tsp Kosher Salt. The vinegar helps extract minerals and collagen from the bones, giving your stock a richer body. Bring everything to a boil over high heat, then immediately reduce to a gentle simmer.
Skimming is key here. As the stock heats, impurities rise to the surface as foam. Use a fine-mesh skimmer or spoon to remove this scum every 10-15 minutes for the first hour. This keeps your stock clear and clean-tasting.
Step 4: Simmer Low and Slow for Maximum Flavor
Partially cover the pot and let it simmer on low heat for 3-4 hours. You want tiny bubbles breaking the surface, not a rolling boil—that would make the stock cloudy and break down the flavors too quickly.
I check occasionally to ensure the water level stays above the bones, topping up with hot water if needed. The longer you simmer, the more gelatin you’ll extract, which gives the stock a silky mouthfeel when cooled. You’ll know it’s ready when the bones start to crumble slightly when pressed.
Step 5: Strain and Store for Later Use
Place a colander over a large bowl or another pot and line it with cheesecloth or a clean kitchen towel. Carefully ladle the stock through to remove all solids. Press gently on the bones and vegetables to extract every last bit of liquid, but don’t squeeze too hard—it can make the stock cloudy.
Let the stock cool to room temperature, then refrigerate. Once chilled, the fat will solidify on top—skim this off before using or storing. This stock keeps in the fridge for up to 5 days or in the freezer for 3 months. Use it as a base for soups, sauces, or risottos for depth that store-bought can’t match.
Pro Tips For Making Chicken Stock
- Start with Cold Water: I learned this the hard way—always cover the chicken bones with cold water before heating, otherwise the proteins will seize up and cloud your stock.
- Roast the Bones First: Sounds like extra work, but tossing the chicken bones in a 400°F oven for 20-30 minutes before simmering adds a depth of flavor that raw bones just can’t deliver.
- Skim the Foam: The first 10 minutes of simmering will bring scum to the surface—grab a fine mesh skimmer and remove it, or you’ll end up with a bitter, murky stock.
- Skip the Salt: Resist the urge to season while cooking—reducing the stock later concentrates the salt, and you’ll have no control over the final flavor.
Make-Ahead Tips for This Dish
Batch Cooking
I always make a double batch of this stock—it takes the same effort but gives you 6-8 quarts instead of 3-4 quarts. Just use a larger pot and scale up the ingredients proportionally. This way, you’ll have plenty on hand for soups, stews, and braising. 💡
Freezer Storage
For long-term storage, freeze your stock in silicone ice cube trays or quart-sized freezer bags. The ice cube method is great for small portions—each cube is about 1 oz, perfect for deglazing pans or making quick sauces. Lay bags flat to save space.
Portioning Tips
I prefer 16 oz mason jars for fridge storage—they hold about 2 cups each and stack neatly. For freezer storage, silicone molds with 1-cup portions work perfectly. Always leave 1-inch headspace in containers to allow for expansion.
Labeling System
Use freezer-safe labels and include the date—stock keeps for 3 months in the freezer. I also note the type (chicken, beef, veg) since they all look similar when frozen. A simple masking tape + Sharpie system works in a pinch.
Thawing Methods
For quick use, thaw stock overnight in the fridge. In a hurry? Submerge the sealed container in a bowl of cold water for 30-60 minutes. Never microwave frozen stock in glass—it can crack from thermal shock. 🔥
Skimming Fat
After chilling, the fat will solidify on top. Use a spoon to skim it off before reheating. I save this fat for cooking—it adds incredible chicken flavor to sautéed vegetables or rice dishes. Just render it gently over low heat first.
Nutrition Facts
Frequently Asked Questions
Can I use a raw chicken carcass instead of bones?
A leftover roasted carcass works perfectly and adds extra depth. Use about 3-4 lbs for this recipe.
Why do I need to skim the foam?
Skimming removes impurities that rise to the top during the first hour. This keeps your stock clear and ensures a clean flavor. Do it every 10-15 minutes initially.
How do I make it more gelatinous?
Include chicken feet or wings—they’re packed with collagen. Simmer for the full 4 hours on low heat to extract maximum gelatin.
What if my stock turns cloudy?
Cloudiness usually means it boiled too hard. Next time, maintain a gentle simmer. For now, strain through a coffee filter for clarity.

- Jollof Rice Sauce Recipe: West African Tomato and Spice Infusion - September 25, 2026
- Japanese Rice Soup Recipe: Umami-Rich Comfort in a Bowl - September 25, 2026
- Homemade Cream Of Rice Recipe: Silk-Smooth Breakfast in Minutes - September 25, 2026