
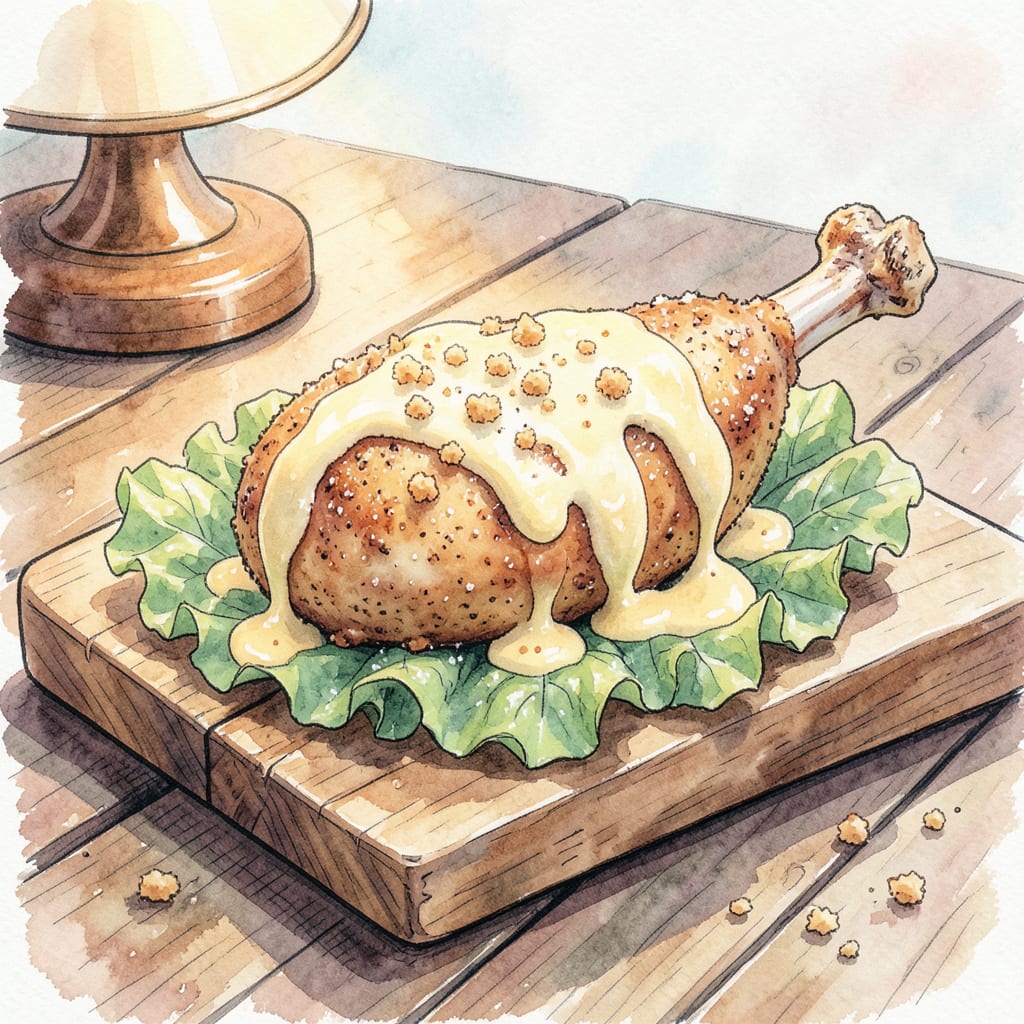
I’ve perfected a crispy chicken thigh sandwich recipe that’s both juicy and flavorful. By using bone-in, skin-on chicken thighs and a simple breading technique, you’ll achieve restaurant-quality results at home.
Cooking the chicken to an internal temperature of 165°F ensures it’s both safe and succulent. Assemble the sandwich with your favorite toppings and enjoy the perfect combination of crispy exterior and juicy interior.
Ingredients for Chicken Thigh Sandwich
Crispy chicken thigh sandwiches start with quality ingredients and simple preparation methods.
| Ingredient | Amount | Notes |
|---|---|---|
| Bone-in, Skin-on Chicken Thighs 🍗 | 4 whole | Fresh or thawed from frozen |
| All-purpose Flour 🌾 | 1 cup | For breading station |
| Panko Breadcrumbs 🍞 | 1 ½ cups | For crispy coating |
| Large Eggs 🥚 | 2 whole | Beaten for egg wash |
| Buttermilk 🥛 | 1 cup | For marinating chicken |
| Garlic Powder 🧄 | 1 tsp | For seasoning blend |
| Onion Powder 🧅 | 1 tsp | For flavor enhancement |
| Paprika 🌶️ | ½ tsp | Smoked or sweet variety |
| Salt 🧂 | 1 tsp | Kosher or sea salt preferred |
| Black Pepper 🌶️ | ½ tsp | Freshly ground for best flavor |
| Vegetable Oil 🫒 | 1 cup | For frying chicken |
| Brioche Buns 🍞 | 4 whole | Soft, lightly toasted |
The chicken thighs are the star here. Costco and Whole Foods usually have great quality bone-in, skin-on thighs. Look for pieces that are similar in size so they cook evenly. If you’re feeling fancy, try brining them for 30 minutes before breading for extra juiciness (trust me on this).
No buttermilk? Mix 1 cup milk with 1 tbsp white vinegar or lemon juice—let it sit 5-10 minutes to curdle. For the breading station, Panko breadcrumbs make all the difference in getting that crispy coating. If you want to level up, try grating some Parmesan into the breadcrumb mix for extra flavor. The garlic powder and onion powder add depth without the texture of fresh garlic and onion.
These sandwiches reheat beautifully in the oven at 350°F for about 10 minutes. Store leftover chicken in an airtight container in the fridge for up to 3 days. The breading station ingredients can be prepped ahead and stored separately for quick assembly next time. Just keep the wet and dry ingredients separate until you’re ready to coat the chicken.
Step-by-Step Instructions for Crispy Chicken Thigh Sandwiches
Follow these straightforward steps to create mouthwatering chicken thigh sandwiches that are both crispy and juicy.
Step 1: Marinate the Chicken Thighs
Begin by placing the 4 whole Bone-in, Skin-on Chicken Thighs in a large bowl. Pour in the 1 cup Buttermilk, ensuring the chicken is fully submerged. If necessary, add a little more buttermilk to cover them completely. Cover the bowl with plastic wrap and refrigerate for at least 2 hours or overnight for maximum tenderness. The acidity in the buttermilk will break down the proteins, resulting in tender and juicy chicken.
While the chicken is marinating, prepare the seasoning blend. In a small bowl, mix together the 1 tsp Garlic Powder, 1 tsp Onion Powder, 0.5 tsp Paprika, 1 tsp Salt, and 0.5 tsp Black Pepper. This blend will add depth and complexity to your chicken. Set it aside for later use.
Step 2: Prepare the Breading Station
In a shallow dish, place the 1 cup All-purpose Flour. In another dish, beat the 2 whole Large Eggs until they are well mixed. In a third dish, combine the 1.5 cups Panko Breadcrumbs with the prepared seasoning blend from Step 1. Mix well to ensure the seasonings are evenly distributed throughout the breadcrumbs. This three-part breading station is crucial for achieving a crispy exterior.
Having everything ready before you start breading the chicken will make the process smoother and more efficient. Make sure your workspace is clean and organized to prevent any cross-contamination or mistakes.
Step 3: Bread the Chicken Thighs
Remove the chicken thighs from the buttermilk marinade, allowing any excess to drip off. Dredge the chicken thighs in the flour, coating them evenly. Then, dip the floured chicken thighs into the beaten eggs, ensuring they are fully coated. Finally, roll the chicken thighs in the breadcrumb mixture, pressing the crumbs gently onto the chicken to ensure they adhere well. The Panko breadcrumbs will give your chicken a light and crispy coating.
Place the breaded chicken thighs on a plate or tray. At this point, you can refrigerate them for up to 30 minutes to set the coating before frying. This step helps the breading adhere better during frying.
Step 4: Fry the Chicken Thighs
Heat the 1 cup Vegetable Oil in a large skillet over medium-high heat until it reaches 350°F. Carefully place the breaded chicken thighs in the hot oil, skin side down. Fry for 8-10 minutes on each side or until the internal temperature reaches 165°F and the exterior is golden brown and crispy. Repeat with the remaining chicken thighs.
Once fried, transfer the chicken thighs to a paper towel-lined plate to drain any excess oil. Let them rest for a few minutes before assembling the sandwiches. This resting period allows the juices to redistribute, ensuring the chicken remains juicy.
Step 5: Assemble the Sandwiches
Lightly toast the 4 whole Brioche Buns on the grill or in a toaster. Place a fried chicken thigh on each bun. You can add your favorite toppings such as lettuce, tomato, pickles, or your preferred sauce. The brioche buns provide a soft and slightly sweet contrast to the crispy chicken.
Serve the chicken thigh sandwiches immediately while the chicken is still crispy and warm. Enjoy the combination of textures and flavors in this delicious sandwich.
Dietary Considerations for This Dish
Gluten-Free Adaptations
To make this chicken thigh sandwich recipe gluten-free, replace the all-purpose flour with 1:1 gluten-free flour like Bob’s Red Mill. Use gluten-free Panko breadcrumbs or make your own by processing gluten-free bread into crumbs.
Dairy-Free Options
For a dairy-free version, substitute the buttermilk with a non-dairy alternative like almond milk or soy milk mixed with 1 tbsp white vinegar. Let it sit for 5-10 minutes to curdle before using.
Low-Carb Variations
To reduce carbs, serve the crispy chicken thighs on a bed of lettuce instead of buns, or use low-carb buns. You can also make “buns” from portobello mushroom caps grilled until tender.
Keto-Friendly Modifications
For a keto version, use almond flour instead of regular flour for breading, and ensure your Panko breadcrumbs are low-carb. Serve on a low-carb bun or wrapped in lettuce leaves. Be mindful of sauces and toppings to keep it keto-friendly.
Other Dietary Considerations
For those with other dietary needs, consider using egg-free mayonnaise or vegan mayo alternatives for dressings. If you’re watching sodium intake, use low-sodium salt and be mindful of the salt content in your Panko breadcrumbs and sauces. Always check ingredient labels to ensure they meet your dietary requirements.
Nutrition Facts
Frequently Asked Questions
What’s the best way to keep chicken thigh sandwiches crispy?
To maintain crispiness, serve the sandwiches immediately after assembly. If you need to wait, keep the fried chicken thighs on a wire rack in a 200°F oven to stay warm without getting soggy.
Can I make the chicken thigh sandwiches ahead of time?
You can prepare components ahead: marinate chicken up to 24 hours in advance and bread the chicken thighs up to 30 minutes before frying. However, fry and assemble just before serving for best results.
How do I know when the chicken is fully cooked?
The chicken is done when it reaches an internal temperature of 165°F. Use a meat thermometer to check the thickest part of the thigh without touching the bone. This ensures food safety and perfect doneness.
Can I bake the chicken thighs instead of frying?
Yes, you can bake breaded chicken thighs at 400°F for about 25-30 minutes, flipping halfway through. While they won’t be as crispy as fried, they’ll still be delicious and a healthier alternative.

- Jollof Rice Sauce Recipe: West African Tomato and Spice Infusion - September 25, 2026
- Japanese Rice Soup Recipe: Umami-Rich Comfort in a Bowl - September 25, 2026
- Homemade Cream Of Rice Recipe: Silk-Smooth Breakfast in Minutes - September 25, 2026