
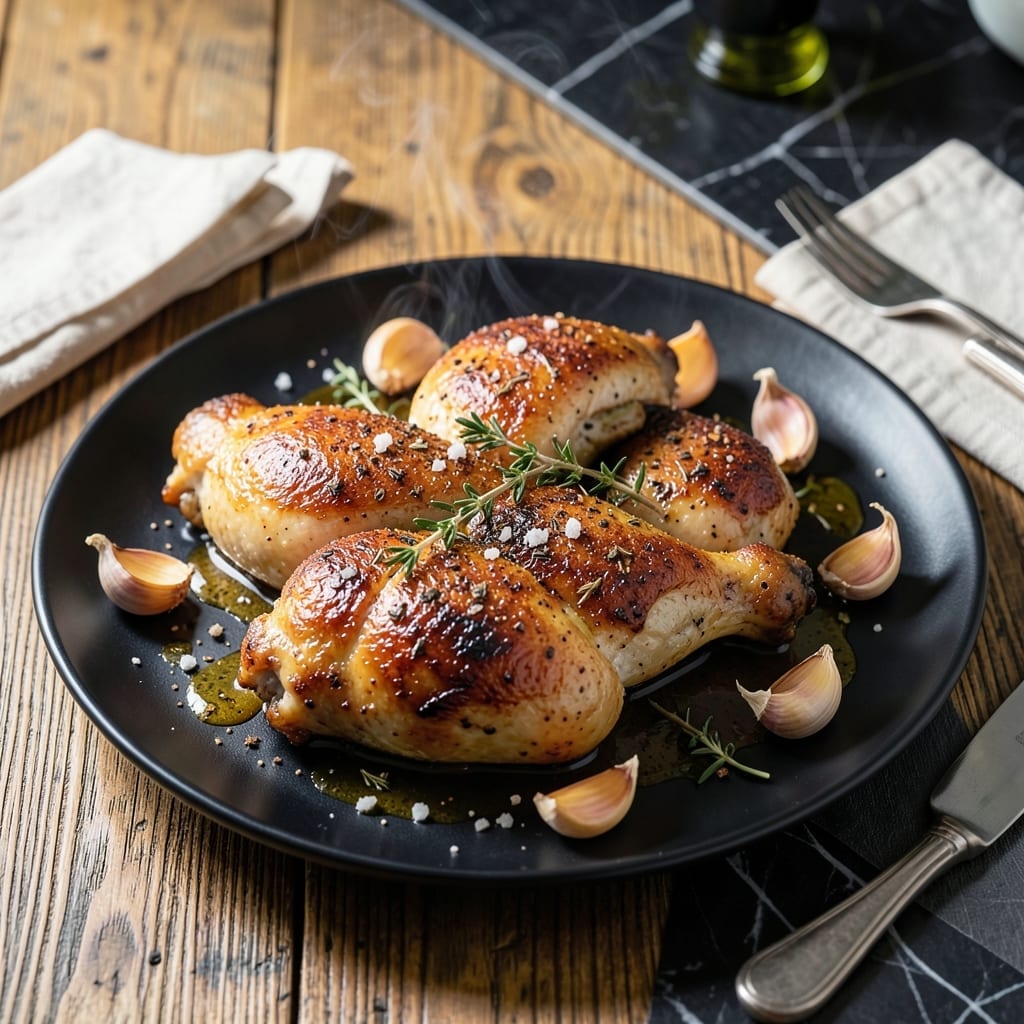
Achieving crispy skin while keeping the meat juicy is the hallmark of perfect chicken thighs. This method delivers both through precise technique and timing.
I developed this approach after years of testing, focusing on high heat and proper drying to ensure that signature crispy exterior. The meat stays tender and flavorful throughout the process.
The result is chicken with shatteringly crispy skin that gives way to succulent, well-seasoned meat. Each bite offers satisfying texture contrast without dryness.
This technique works reliably for both bone-in and boneless thighs. The process is straightforward but demands attention to detail for best results.
Ingredients for Chicken Thight
Bone-in thighs with skin deliver unmatched flavor and that coveted crispy texture everyone loves.
| Ingredient | Amount | Notes |
|---|---|---|
| Bone-In Chicken Thighs 🍗 | 2 lb | Skin-on, patted dry thoroughly |
| Kosher Salt 🧂 | 1 ½ tsp | Diamond Crystal preferred for even distribution |
| Black Pepper 🌶️ | 1 tsp | Freshly ground for maximum aroma |
| Garlic Powder 🧄 | 1 tsp | Not garlic salt for pure flavor |
| Smoked Paprika 🌶️ | 1 tsp | Adds depth and color to skin |
| Dried Thyme 🌿 | ½ tsp | Crushed between fingers to release oils |
| Dried Rosemary 🌿 | ½ tsp | Crushed to enhance flavor potency |
| Olive Oil 🫒 | 2 tbsp | High smoke point variety preferred |
| Unsalted Butter 🧈 | 2 tbsp | For basting final crisp |
| Fresh Thyme Sprigs 🌿 | 4 sprigs | For aromatic garnish optional |
| Lemon 🍋 | 1 whole | Sliced for serving optional |
The chicken thighs are non-negotiable here—bone-in, skin-on provides the fat and structure for that shatteringly crisp result. Whole Foods or Costco offer excellent quality, but any reputable grocer will have what you need. Look for thighs with smooth, unbroken skin and a healthy pink hue. Pat them extremely dry before seasoning; moisture is the enemy of crispiness (worth the extra minute).
No smoked paprika? Regular paprika plus a pinch of cayenne mimics the smokiness. Fresh herbs can replace dried at triple the amount, but dried concentrates flavor better for the skin. If avoiding dairy, swap butter for ghee or additional olive oil. The seasoning blend works on bone-in or boneless, though bone-in yields superior results (don’t skip this part).
Seasoned thighs keep uncovered in the fridge for 12-24 hours to dry the skin further. Cooked chicken stays fresh for 3-4 days sealed; reheat in a skillet to revive crispiness. Freeze raw thighs up to 9 months—thaw in the fridge overnight before cooking.
Why You’ll Love This Recipe
- One Pan Wonder: I toss the thighs with salt, pepper, garlic powder and smoked paprika, then let the oven do the work.
- That Crispy Edge: The skin gets impossibly crispy while the inside stays juicy, and the smoked paprika adds this deep, savory warmth.
- Feeds a Crowd: Bone-in thighs are cheap, and this recipe stretches easily for family dinners or meal prep.
- Leftovers? Yes, Please: Honestly, they taste even better the next day—cold or reheated, the flavor just deepens.
Step-by-Step Instructions for Chicken Thighs
Master the technique for delivering perfectly crispy skin and tender meat every time.
Step 1: Season and Marinate the Chicken
Pat the 2 lb Bone-In Chicken Thighs completely dry with paper towels—this is non-negotiable for achieving maximum crispiness. I press firmly to remove every trace of moisture from the skin and meat.
In a bowl, combine the 1.5 tsp Kosher Salt, 1 tsp Black Pepper, 1 tsp Garlic Powder, 1 tsp Smoked Paprika, 0.5 tsp Dried Thyme, and 0.5 tsp Dried Rosemary. Crush the dried herbs between your fingers to release their essential oils before mixing. Coat the chicken thighs evenly with this spice blend, pressing it into the skin and meat. Let them sit at room temperature for 30 minutes to allow the seasoning to penetrate.
Step 2: Sear for Initial Crisp and Color
Heat a large, heavy skillet (cast iron works best) over medium-high heat. Add the 2 tbsp Olive Oil and swirl to coat the pan evenly. When the oil shimmers, place the chicken thighs skin-side down in the pan. You should hear an immediate sizzle—if not, wait for the pan to get hotter.
Cook undisturbed for 8-10 minutes until the skin is deep golden brown and crispy. Resist the urge to move them—this is when the Maillard reaction creates that beautiful color and texture. The skin should release easily from the pan when it’s ready to flip.
Step 3: Finish Cooking with Butter Basting
Flip the chicken thighs and reduce heat to medium. Add the 2 tbsp Unsalted Butter to the pan along with the 4 sprigs Fresh Thyme Sprigs. Tilt the pan slightly and use a spoon to baste the chicken with the foaming butter continuously for 2-3 minutes.
This basting technique adds layers of flavor while ensuring the skin stays crispy. Cook until the chicken reaches an internal temperature of 165°F and the juices run clear. The thickest part of the thigh near the bone should read 175°F for optimal tenderness.
Step 4: Rest and Serve with Citrus Accent
Transfer the chicken to a wire rack set over a plate to keep the skin crispy. Let it rest for 10 minutes—this allows the juices to redistribute throughout the meat. If you cut into it immediately, all those delicious juices will end up on your cutting board instead of in the meat.
Serve the chicken thighs hot, garnished with slices from the 1 whole Lemon if desired. The acidity from the lemon cuts through the richness of the chicken and brightens up each bite. The skin should be shatteringly crisp while the meat remains juicy and flavorful.
Pro Tips For Making Chicken Thight
- Pat Thighs Dry: I learned this the hard way—wet skin steams instead of crisping. Blot those thighs with paper towels before seasoning, or you’ll miss that golden crust.
- Season Overnight: Sounds like a hassle, but a 12-hour rest with just salt, pepper, garlic powder, and smoked paprika lets the flavors sink deep into the meat.
- Start Skin-Side Down: Resist the urge to flip early. Let them sear undisturbed for 6-7 minutes on medium-high heat to render fat and lock in juices.
- Use a Meat Thermometer: After burning a few batches guessing, I now pull at 175°F for fall-off-the-bone tenderness—bone-in thighs can handle the extra heat.
Troubleshooting Great chicken thight
Skin Not Crispy
If your skin isn’t crispy, the chicken likely wasn’t dry enough before cooking. Pat the 2 lb Bone-In Chicken Thighs extremely dry with paper towels, pressing firmly. Also, ensure your pan is fully preheated to medium-high heat before adding the chicken. 💡
Sticking to Pan
Sticking usually means the skin isn’t ready to release. Be patient and wait for the 8-10 minutes of undisturbed cooking. If it still sticks, your pan may not be hot enough or you may need to use a heavier skillet like cast iron.
Undercooked Meat
If the skin is crispy but the meat is undercooked, finish in a 400°F oven for 5-10 minutes. Use a meat thermometer to check the thickest part near the bone reaches 175°F for perfect tenderness.
Dry Chicken
Overcooking is the usual culprit. Pull the thighs when they reach 165°F internally, then let them rest for 10 minutes. The temperature will rise to 170-175°F while resting, keeping the meat juicy.
Uneven Browning
Rotate your pan occasionally for even heat distribution. If using a gas stove, ensure the flame covers the pan bottom. For electric stoves, give the pan extra time to preheat fully.
Burnt Butter
If your 2 tbsp Unsalted Butter burns during basting, lower the heat to medium. Add the butter gradually and keep the pan moving. Burnt butter adds bitter flavors you want to avoid. 🔥
Nutrition Facts
Frequently Asked Questions
Can I use boneless thighs instead?
Boneless works, but bone-in yields better flavor and juiciness. If using boneless, reduce cooking time by 2-3 minutes per side. The bone helps conduct heat and keeps meat moist during cooking.
Why rest the chicken after cooking?
Resting for 10 minutes lets juices redistribute throughout the meat. Cutting too soon causes juices to spill out, leaving the chicken dry. The internal temperature also rises 5-10°F during this time.
What pan works best for crispy skin?
Use a heavy pan like cast iron for even heat retention. Avoid nonstick as it doesn’t get hot enough for proper browning. Ensure the pan is fully preheated to medium-high heat before adding chicken.

- Jollof Rice Sauce Recipe: West African Tomato and Spice Infusion - September 25, 2026
- Japanese Rice Soup Recipe: Umami-Rich Comfort in a Bowl - September 25, 2026
- Homemade Cream Of Rice Recipe: Silk-Smooth Breakfast in Minutes - September 25, 2026