
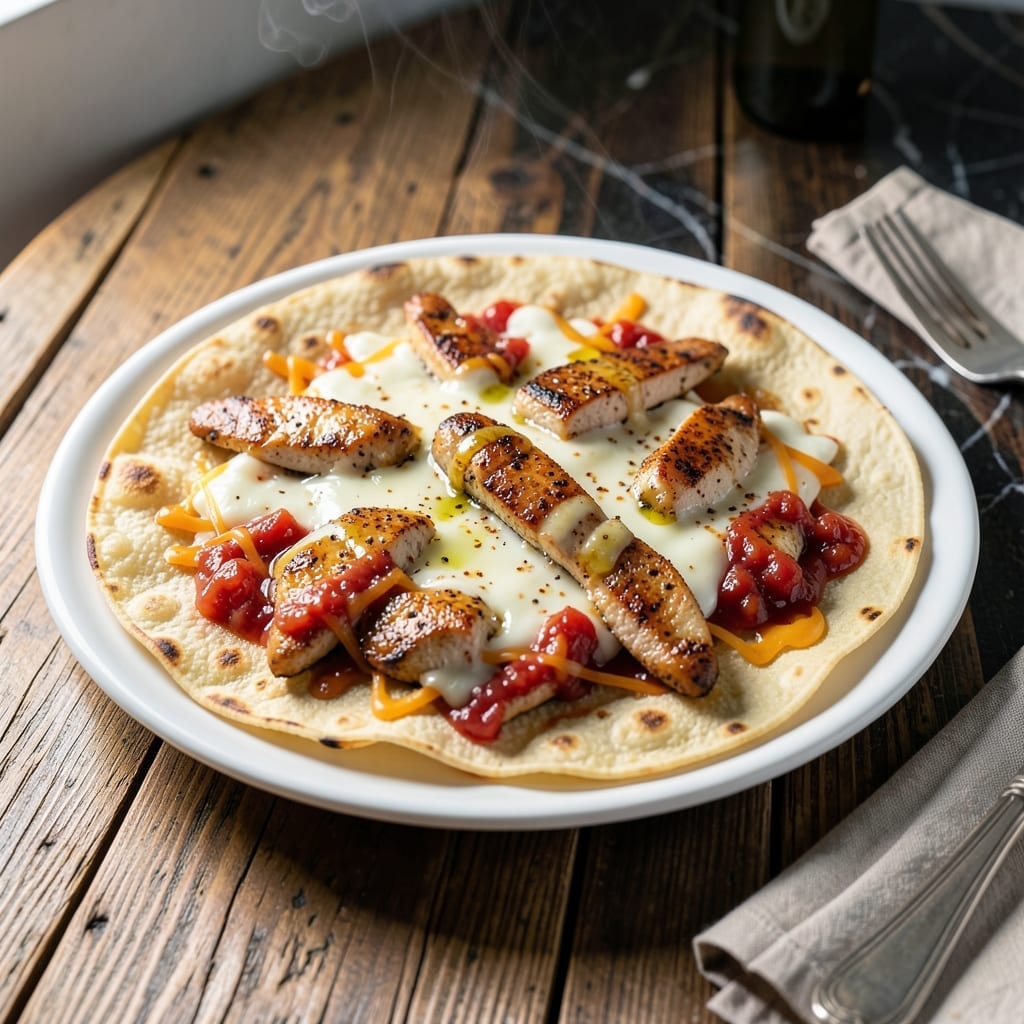
This recipe transforms simple ingredients into a crispy Southwestern masterpiece with minimal effort.
I developed this method after testing countless variations to achieve the perfect balance of textures—golden, crunchy exteriors with tender chicken inside. The key is using fresh tortillas and high heat to create that signature snap with every bite.
The filling combines seasoned chicken, melted cheese, and zesty salsa, all wrapped tightly before cooking. This ensures each portion holds together while developing a beautiful golden crust.
Serve with sour cream and guacamole for a complete meal that’s ready in 30 minutes.
Ingredients for Chicken Tortilla
Fresh tortillas and bold Southwestern flavors come together for this crispy delight.
| Ingredient | Amount | Notes |
|---|---|---|
| Boneless Skinless Chicken Breasts 🍗 | 1 ½ lb | Pounded to even thickness |
| Flour Tortillas 🌯 | 8 pieces | Large, burrito-sized preferred |
| Shredded Cheddar Cheese 🧀 | 2 cups | Sharp cheddar recommended |
| Salsa 🍅 | 1 cup | Zesty or medium heat |
| Taco Seasoning 🌶️ | 2 tbsp | Or homemade spice blend |
| Olive Oil 🫒 | ¼ cup | For cooking and brushing |
| Sour Cream 🥣 | ½ cup | For serving |
| Guacamole 🥑 | 1 cup | Fresh or store-bought |
| Red Bell Pepper 🌶️ | 1 whole | Diced for filling |
| Yellow Onion 🧅 | 1 whole | Finely chopped |
| Garlic Cloves 🧄 | 3 cloves | Minced for seasoning |
| Lime 🍋 | 1 whole | Juiced for brightness |
| Fresh Cilantro 🌿 | ¼ cup | Chopped, for garnish |
| Salt 🧂 | 1 tsp | Kosher or sea salt |
| Black Pepper 🌶️ | ½ tsp | Freshly ground preferred |
The tortillas are non-negotiable—fresh, high-quality flour tortillas make the difference between a wrap that bends and one that snaps. Burrito-sized is ideal for proper folding. For the chicken, Costco or Sam’s Club offer bulk boneless, skinless breasts that work perfectly. Look for cheddar with a sharp bite to cut through the richness of the filling.
Out of taco seasoning? Homemade blend of cumin, chili powder, and paprika at equal parts works beautifully. No salsa? Diced tomatoes plus a dash of hot sauce gets you there. Sour cream can be swapped for Greek yogurt (full-fat for best texture). The guacamole? Store-bought is fine, but fresh-made with lime and cilantro elevates the dish.
Assemble just before cooking to avoid soggy tortillas. Leftovers keep in the fridge for 2-3 days—reheat in a dry skillet to restore crispness. The filling can be prepped ahead and stored separately for 24 hours.
Why You’ll Love This Recipe
- One Pan Magic: I toss everything on a single baking sheet—chicken, tortillas, cheese—and let the oven do the work.
- Flavor Bomb: That combo of taco seasoning, melty cheddar, and salsa hits just right every time.
- Weeknight Hero: Honestly, it’s my go-to when I need dinner on the table fast but still crave something hearty.
- Budget Stretcher: A pound of chicken and a few tortillas feed my family for two meals, no sweat.
Step-by-Step Instructions for Chicken Tortilla Wraps
Master the technique that transforms simple ingredients into perfectly crispy, golden wrapped creations.
Step 1: Season and Cook the Chicken Filling
Heat 2 tablespoons of the olive oil in a large skillet over medium-high heat. Add the 1.5 lb boneless skinless chicken breasts, seasoned with 2 tbsp taco seasoning, 1 tsp salt, and 0.5 tsp black pepper. Cook for 6-7 minutes per side until fully cooked through and golden brown.
Remove the chicken from the skillet and let it rest for 5 minutes before shredding with two forks. In the same skillet, add the diced red bell pepper and finely chopped yellow onion. Sauté for 4-5 minutes until softened, then add the minced 3 cloves garlic cloves and cook for 30 seconds until fragrant.
Step 2: Assemble the Tortilla Wraps
Lay out the 8 pieces flour tortillas on a clean surface. Divide the shredded chicken evenly among them, placing it in the center of each. Top each with ¼ cup of the 2 cups shredded cheddar cheese, then spoon 2 tablespoons of the sautéed pepper-onion mixture over the cheese.
Drizzle 1 tablespoon of the 1 cup salsa over each portion. Fold the sides of the tortillas inward, then roll tightly from the bottom up, tucking in the filling as you go to create a secure wrap. The filling should be completely enclosed with no gaps.
Step 3: Crisp the Wraps to Perfection
Heat the remaining olive oil in a clean skillet over medium heat. Place the wraps seam-side down first and cook for 2-3 minutes per side until golden brown and crispy. Press down gently with a spatula to ensure even contact with the pan.
You’ll know they’re ready when the tortillas develop a deep golden crust and the cheese inside begins to melt. Transfer to a paper towel-lined plate to drain any excess oil while maintaining that coveted crisp texture.
Step 4: Serve with Fresh Accompaniments
Slice each wrap diagonally in half to reveal the colorful layers within. Arrange on a serving platter with the remaining salsa, 0.5 cup sour cream, and 1 cup guacamole on the side for dipping. The contrast of the crispy exterior with the warm, flavorful filling creates the perfect bite.
Garnish with chopped 0.25 cup fresh cilantro and a squeeze of lime juice for brightness. Serve immediately while the wraps are still hot and crisp. The lime juice adds a zesty finish that cuts through the richness of the cheese and chicken.
Pro Tips For Making Chicken Tortilla
- Shred While Warm: Toss the cooked chicken with a fork right away—it falls apart easier when hot, and the taco seasoning clings better to the strands.
- Toast Tortillas First: A quick 10-second dry toast in a hot pan prevents soggy tortillas later, even under all that cheese and salsa.
- Skip Raw Onions: I learned this the hard way—raw onions stay crunchy and harsh, so sauté them with the chicken or use pre-cooked salsa instead.
- Double the Cheese: Sounds indulgent, but a layer of cheese between the chicken and tortilla acts like glue and keeps everything from sliding out.
Troubleshooting This Recipe
Soggy Tortilla Fix
If your wrap turns out soft instead of crispy, the tortillas likely absorbed too much moisture. Pat the filling dry with paper towels before assembling. Use fresh tortillas straight from the package—stale ones won’t crisp up properly. 🔥
Filling Leakage
When filling spills out during cooking, you’ve overstuffed or didn’t fold tightly enough. Limit filling to 1 cup per wrap maximum. Fold sides in first, then roll tightly, tucking as you go to seal the edges completely.
Uneven Cooking
Hot spots in your pan cause some areas to brown faster. Use medium heat consistently and rotate the wraps every 30-45 seconds. A cast iron skillet distributes heat more evenly than non-stick.
Cheese Not Melting
Shred your own cheese from a block instead of pre-shredded—it melts better without anti-caking agents. Ensure your skillet isn’t too hot; medium heat allows cheese to melt before the exterior burns.
Wraps Falling Apart
If they unravel while eating, let them rest for 2 minutes after cooking. This allows the cheese to set and bind everything together. Use toothpicks to secure if needed.
Burnt Exterior
Your heat is likely too high. Reduce to medium-low and cook for 3-4 minutes per side instead. Brush with a tiny bit of oil instead of submerging in it to prevent over-browning. ⚡
Nutrition Facts
Frequently Asked Questions
Can I use corn tortillas instead of flour?
Yes, but they’re more prone to cracking when folded. Warm them first to increase flexibility. Corn tortillas also crisp faster, so reduce cooking time to 1-2 minutes per side.
How do I keep them crispy for a crowd?
Cook in batches and place on a wire rack in a 200°F oven. This prevents steam buildup that makes tortillas soggy. Serve within 30 minutes for best texture.
What’s the best way to reheat leftovers?
Use a dry skillet over medium heat for 2-3 minutes per side. The microwave will make them soft. Add fresh toppings to restore moisture.
Can I make these ahead of time?
Assemble and refrigerate uncooked wraps for up to 24 hours. Cook just before serving to maintain crispness. Store filling separately if longer storage is needed.

- Jollof Rice Sauce Recipe: West African Tomato and Spice Infusion - September 25, 2026
- Japanese Rice Soup Recipe: Umami-Rich Comfort in a Bowl - September 25, 2026
- Homemade Cream Of Rice Recipe: Silk-Smooth Breakfast in Minutes - September 25, 2026