
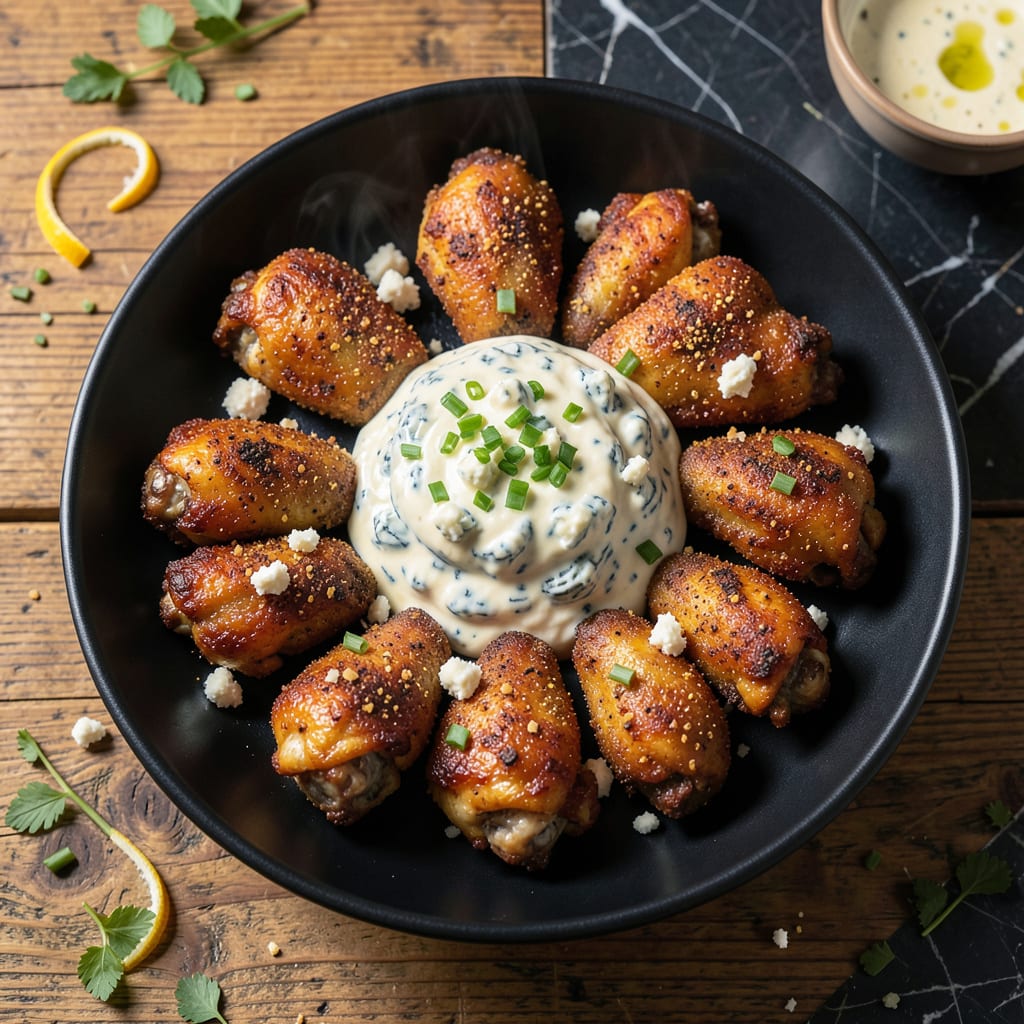
This recipe delivers crispy chicken wings paired with a bold, tangy blue cheese dip that steals the show. The wings achieve perfect crunch through a proven baking method that rivals frying.
Serve these with celery sticks for cooling contrast. The sauce comes together in minutes with simple ingredients, creating a creamy, pungent dip that complements every bite.
Ingredients for Chicken Wings Blue Cheese Sauce
Crispy wings and tangy blue cheese dip come together with these bold, simple ingredients.
| Ingredient | Amount | Notes |
|---|---|---|
| Chicken Wings 🍗 | 2 lb | Split into drumettes and flats |
| Baking Powder 🧂 | 2 tsp | For extra crispiness |
| Salt 🧂 | 1 tsp | Kosher or sea salt |
| Black Pepper 🌶️ | ½ tsp | Freshly ground preferred |
| Garlic Powder 🧄 | 1 tsp | Enhances flavor depth |
| Paprika 🌶️ | 1 tsp | Smoked or sweet variety |
| Mayonnaise 🥚 | ¾ cup | Full-fat for creaminess |
| Sour Cream 🥛 | ½ cup | Full-fat recommended |
| Blue Cheese 🧀 | 4 oz | Crumbled, high quality |
| Buttermilk 🥛 | 2 tbsp | For tangy depth |
| Lemon Juice 🍋 | 1 tbsp | Freshly squeezed |
| Worcestershire Sauce 💧 | 1 tsp | Adds umami complexity |
| Celery Sticks 🥬 | 8 pieces | Fresh, for serving |
[recipeingredientscaler]
The chicken wings are the star here. Look for fresh, plump wings at your butcher or Whole Foods—avoid pre-frozen if possible. Baking powder is the secret to that crispy skin without frying (just make sure it’s aluminum-free). For the blue cheese, Maytag or Rogue River are top-tier options, but any good-quality crumbled blue cheese will work. The butcher at Publix usually has great cuts.
No buttermilk? Plain yogurt thinned with water works in a pinch. Out of Worcestershire? Soy sauce with a dash of vinegar gets you close. If blue cheese isn’t your thing, Gorgonzola or feta can substitute (adjust saltiness to taste). The celery is non-negotiable though—its fresh crunch cuts through the richness perfectly.
Wings are best served fresh but can be reheated in the oven at 375°F for 10-12 minutes to recapture crispiness. The dip keeps in an airtight container for 3-4 days in the fridge. Don’t freeze the dip—it separates.
Why You’ll Love This Recipe
- One Pan Wonder: I toss the wings with baking powder, salt, and spices, bake them, and boom—crispy perfection with almost no cleanup.
- Flavor Bomb: That garlic powder crust with the tangy blue cheese dip? I’ll admit, I’ve eaten half the batch before it even hits the table.
- Party Starter: Game day, movie night, or just because—these wings disappear faster than I can make them. (Yes, even on a Tuesday night)
- Budget Hero: Chicken wings are cheap, the seasonings are pantry staples, and I stretch leftovers into sandwiches the next day.
Step-by-Step Instructions for Chicken Wings With Blue Cheese Sauce
This method ensures maximum crispiness and a tangy, creamy dip that perfectly complements each bite.
Step 1: Season and Prepare the Chicken Wings
Pat the 2 lb Chicken Wings completely dry with paper towels—this is critical for crispiness. In a large bowl, toss the wings with 2 tsp Baking Powder, 1 tsp Salt, 0.5 tsp Black Pepper, 1 tsp Garlic Powder, and 1 tsp Paprika until evenly coated.
The baking powder raises the pH of the skin, helping it break down proteins and render fat more efficiently. This results in extra-crispy skin without the need for deep frying. Arrange the wings on a wire rack set over a baking sheet, leaving space between each piece for air circulation.
Step 2: Bake the Wings to Perfection
Preheat your oven to 425°F. Bake the wings on the middle rack for 45 minutes, then flip each piece and bake for another 15-20 minutes. You want them deep golden brown with crispy edges—no soft spots.
This high-heat method renders the fat while drying out the skin. Don’t skip the flip; it ensures even browning on both sides. The wings are done when the skin sounds crisp when tapped and the internal temperature reaches 165°F.
Step 3: Prepare the Blue Cheese Sauce
In a medium bowl, whisk together the 0.75 cup Mayonnaise, 0.5 cup Sour Cream, 4 oz Blue Cheese, 2 tbsp Buttermilk, 1 tbsp Lemon Juice, and 1 tsp Worcestershire Sauce until smooth. The blue cheese should be crumbled finely for a consistent texture.
Taste and adjust seasoning if needed, though the blue cheese and Worcestershire provide plenty of saltiness. For a smoother sauce, press it through a fine-mesh sieve to remove any lumps. Chill for at least 30 minutes to let the flavors meld.
Step 4: Serve and Enjoy
Transfer the crispy wings to a serving platter and arrange the 8 pieces Celery Sticks alongside. Serve the blue cheese sauce in a small bowl for dipping. The contrast of the cool, tangy sauce with the hot, crispy wings is what makes this dish irresistible.
For best results, serve immediately while the wings are at their crispiest. If you must hold them, keep the wings on the wire rack to prevent steam from softening the skin.
Pro Tips For Making Chicken Wings Blue Cheese Sauce
- Dry the Wings: Pat the wings completely dry with paper towels before seasoning—I learned this the hard way after ending up with steamed instead of crispy skin.
- Use Baking Powder: A light dusting of baking powder (about 1 tsp per pound) on the wings before baking makes the skin extra crispy, even in the oven.
- Skip the Crowding: Spread the wings in a single layer on the baking sheet with space between each one, or they’ll steam instead of brown.
- Rest Before Saucing: Let the wings rest 5 minutes out of the oven before tossing in blue cheese sauce, so the coating clings instead of sliding off.
Essential Equipment for Great chicken wings blue cheese sauce
Wire Rack Essential
For maximum crispiness, invest in a sturdy wire rack to place over your baking sheet. I use the OXO Good Grips model—it allows air to circulate underneath the wings, preventing soggy bottoms. Without this, you’ll lose that all-over crunch that makes these wings special. 💡
Baking Sheet Quality
A heavy-duty half-sheet pan (like Nordic Ware) prevents warping at high temperatures. Thinner pans can buckle under 425°F heat, leading to uneven cooking. The dark finish also helps achieve that perfect golden-brown color.
Mixing Bowls
Use a large stainless steel mixing bowl (I prefer Winco’s 5-quart) for tossing the wings with seasonings. The smooth surface makes coating even, and the size gives you room to work. A rubber spatula helps scrape every bit of flavor onto the wings.
Measuring Tools
Precision matters for the baking powder and spices. I rely on OXO’s magnetic measuring cups and teaspoon set—they nest together and stay organized. For the 4 oz blue cheese, a kitchen scale ensures accuracy, as crumble sizes vary by brand.
Whisk for Sauce
A balloon whisk (like Cuisinox) blends the sauce ingredients smoothly without crushing the blue cheese too much. The curved shape gets into bowl corners easily. For extra smoothness, press the finished sauce through a fine-mesh sieve.
Serving Setup
Present your wings on a large wooden board or platter with small bowls for the sauce. I love Libbey’s 4-oz dipping bowls—they’re sturdy and the perfect size. Don’t forget a stack of napkins; this is messy, delicious eating. 🔥
Nutrition Facts
Frequently Asked Questions
Can I use ranch instead of blue cheese?
Ranch dressing makes a milder alternative. Use 1 cup ranch and add 1 tbsp crumbled blue cheese for a subtle tang. The flavor will be creamier but less bold.
Why do my wings get soggy?
Skip the wire rack or overcrowd the pan, and steam will ruin that crisp. Bake on 425°F with space between pieces. Never cover after baking.
Can I air fry the wings?
Yes! Air fry at 400°F for 20-25 minutes, shaking halfway. The results are just as crispy with less oil. Check for 165°F internal temp.
How far ahead can I make the sauce?
Prepare the dip up to 2 days ahead. Store in an airtight container in the fridge. Stir before serving as it thickens when chilled.

- Jollof Rice Sauce Recipe: West African Tomato and Spice Infusion - September 25, 2026
- Japanese Rice Soup Recipe: Umami-Rich Comfort in a Bowl - September 25, 2026
- Homemade Cream Of Rice Recipe: Silk-Smooth Breakfast in Minutes - September 25, 2026