
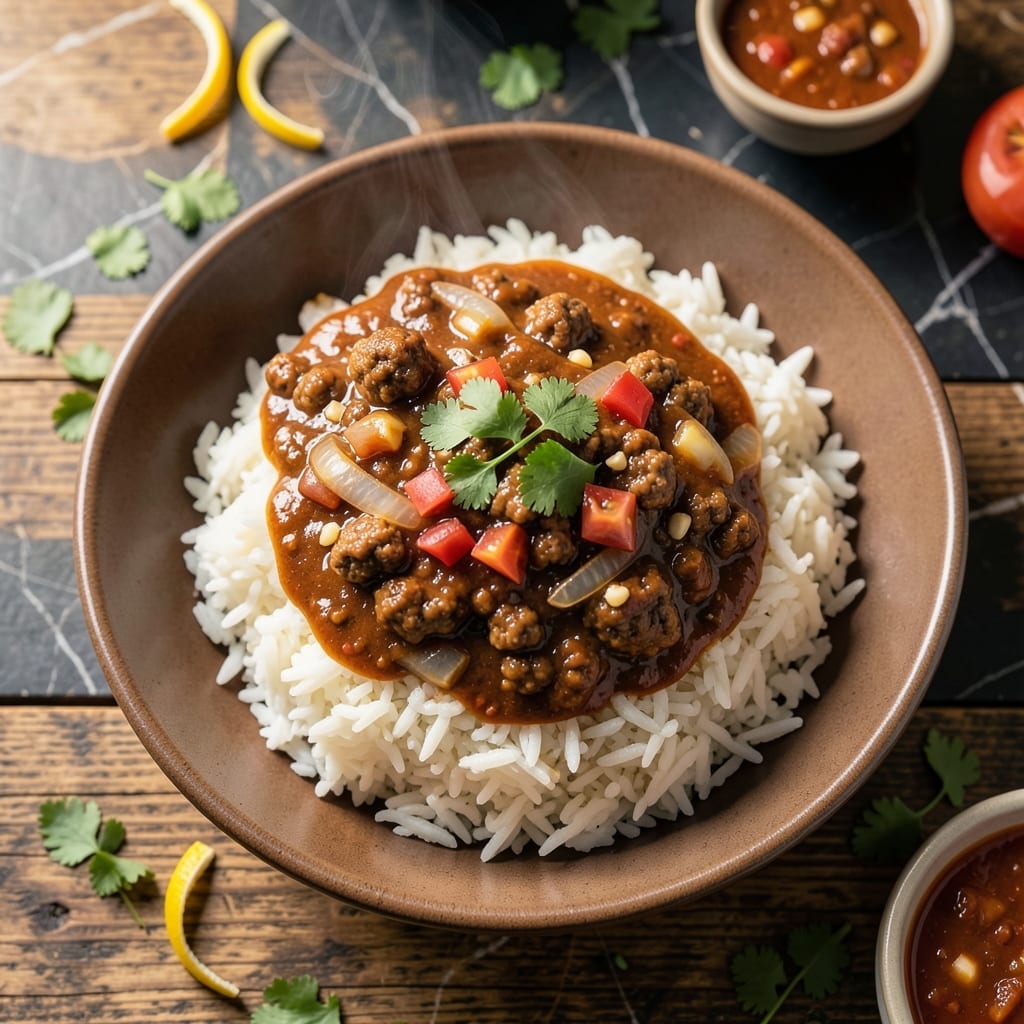
This hearty chili served over rice creates a satisfying Tex-Mex bowl that’s packed with bold flavors and simple ingredients. The combination of tender meat, rich spices, and fluffy rice makes it a complete meal in one dish.
I’ve perfected this recipe to ensure the chili is thick and flavorful, while the rice stays light and separate. It’s a no-fuss dinner that delivers restaurant-quality results at home.
Ingredients for Chili Over Rice
These bold spices and tender beef create a satisfying chili served over fluffy rice.
| Ingredient | Amount | Notes |
|---|---|---|
| Ground Beef 🥩 | 1 ½ lb | 80/20 lean-to-fat ratio preferred |
| White Onion 🧅 | 1 whole | Medium-sized, finely diced |
| Garlic Cloves 🧄 | 4 cloves | Minced for maximum flavor |
| Chili Powder 🌶️ | 2 tbsp | Mild or hot variety |
| Ground Cumin 🌿 | 1 tbsp | Toasted for deeper flavor |
| Dried Oregano 🍃 | 1 tsp | Mexican oregano if available |
| Smoked Paprika 🌶️ | 1 tsp | Adds depth and smokiness |
| Salt 🧂 | 1 tsp | Kosher or sea salt |
| Black Pepper 🌶️ | ½ tsp | Freshly ground preferred |
| Canned Diced Tomatoes 🍅 | 1 can | 14.5 oz, undrained |
| Tomato Paste 🍅 | 2 tbsp | For concentrated tomato flavor |
| Beef Broth 🥩 | 1 cup | Low-sodium preferred |
| Canned Kidney Beans 🫘 | 1 can | 15 oz, drained and rinsed |
| Long-Grain White Rice 🍚 | 1 cup | Uncooked, for fluffy texture |
| Vegetable Oil 🫒 | 2 tbsp | For browning beef |
The ground beef is the foundation here. Opt for 80/20 lean-to-fat ratio for the best flavor and texture. Whole Foods or Costco have excellent quality options. Look for bright red color and avoid anything with a grayish tint. The chili powder and cumin are essential—Penzeys has a great selection if you want to splurge.
No kidney beans? Black beans or pinto beans work just as well. Out of tomato paste? One additional can of diced tomatoes blended smooth can substitute. For a smokier flavor, add half a teaspoon of chipotle powder. If you prefer a thicker chili, let it simmer uncovered for an extra 10-15 minutes.
The chili tastes even better the next day—store in an airtight container for up to 5 days in the fridge or 3 months in the freezer. Cooked rice keeps for 3-4 days but is best served fresh.
Why You’ll Love This Recipe
- One Pot Meal: I brown the beef, toss in onion and garlic, then let the chili powder and cumin do their magic—minimal cleanup.
- Rich and Smoky: The cumin and chili powder give it that deep, warm flavor that makes every bite satisfying.
- Feeds the Crowd: Honestly, it’s my go-to for game nights—double the batch and everyone’s happy.
- Stretches for Days: Leftovers taste even better the next day, and it freezes like a dream for lazy nights.
Step-by-Step Instructions for Chili Over Rice
Here’s the method. Straightforward, tested, works every time.
Step 1: Brown the Ground Beef and Aromatics
Heat the 2 tbsp vegetable oil in a large pot over medium-high heat. Add the 1.5 lb ground beef and cook for 5-7 minutes, breaking it up with a wooden spoon as it browns. You want the meat to develop a deep color—this builds the rich flavor base.
Once the beef is no longer pink, stir in the finely diced 1 whole white onion. Cook for 3-4 minutes until the onion softens and becomes translucent. Add the minced 4 cloves garlic cloves and cook for 30 seconds until fragrant. Don’t let the garlic burn—it should smell aromatic, not bitter.
Step 2: Build the Spice Foundation
Sprinkle the 2 tbsp chili powder, 1 tbsp ground cumin, 1 tsp dried oregano, 1 tsp smoked paprika, 1 tsp salt, and 0.5 tsp black pepper over the beef mixture. Stir well to coat everything evenly with the spices.
This step is where the deep, bold Tex-Mex flavors develop. Cook for 1-2 minutes until the spices become fragrant and slightly toasted. You’ll notice the color darken slightly—that’s the spices blooming and releasing their essential oils.
Step 3: Simmer the Chili to Perfection
Pour in the 1 can canned diced tomatoes (undrained), 2 tbsp tomato paste, and 1 cup beef broth. Stir to combine, scraping up any browned bits from the bottom of the pot. These bits add incredible depth to the chili.
Add the drained and rinsed 1 can canned kidney beans. Bring the mixture to a boil, then reduce the heat to low and let it simmer uncovered for 20-25 minutes. Stir occasionally to prevent sticking. The chili is ready when it thickens slightly and the flavors meld together.
Step 4: Cook the Rice and Serve
While the chili simmers, cook the 1 cup long-grain white rice according to package instructions. Use a 2:1 ratio of water to rice for fluffy results. Once cooked, fluff the rice with a fork and let it sit covered for 5 minutes.
To serve, spoon a generous portion of rice into bowls and ladle the hot chili over the top. The rice soaks up the rich, spiced sauce beautifully. This hearty dish is best enjoyed immediately, while everything is hot and the flavors are at their peak.
Pro Tips For Making Chili Over Rice
- Brown the Beef Well: I learned this the hard way—don’t rush browning the ground beef. Let it sit undisturbed for 2-3 minutes to develop a deep crust before breaking it up, or your chili will taste flat.
- Bloom the Spices: After sautéing onions and garlic, push them aside and toast the chili powder and cumin in the hot pan for 30 seconds. Sounds weird, but it actually changes the outcome—way more flavor.
- Skip Raw Garlic: Resist the urge to toss in raw minced garlic with the beef. Cook it with the onions first until fragrant, or you’ll get harsh, bitter bites in your chili.
- Use Day-Old Rice: Fresh rice turns to mush under chili. Make your rice a day ahead and refrigerate it—this keeps the grains separate and firm. I skip this when I’m lazy, but the dish is noticeably better when I don’t.
Flavor Customization for These Flavors
Spice It Up
For extra heat, add ½ tsp cayenne pepper with the other spices. I love how it adds a slow-building warmth without overpowering the dish. If you prefer a smokier kick, swap in ½ tsp chipotle powder instead. 🌶️
Bean Variations
Swap the kidney beans for black beans or pinto beans for a different texture. I often use 1 can black beans for a creamier bite. For a meatier version, add ½ lb Italian sausage with the ground beef.
Tomato Boost
For deeper tomato flavor, add 1 tbsp tomato paste extra or stir in 2 tbsp ketchup at the end. I sometimes blend ½ can fire-roasted tomatoes for a smokier base. The acidity balances the richness beautifully.
Fresh Herb Finish
brighten the dish with fresh herbs just before serving. I sprinkle ¼ cup chopped cilantro on top for a citrusy note. For a different twist, try 2 tbsp chopped parsley or 1 tbsp fresh oregano.
Cheese & Toppings
Top with ½ cup shredded cheddar or ¼ cup crumbled cotija for extra richness. I also love adding diced avocado or sour cream for creaminess. These toppings add freshness and contrast.
Rice Upgrade
Use brown rice or jasmine rice for a nuttier flavor. I sometimes cook the rice in beef broth instead of water for added depth. Just adjust the liquid ratio accordingly. 💛
Nutrition Facts
Frequently Asked Questions
Can I use ground turkey instead of beef?
Swap 1.5 lb ground turkey for beef. It cooks the same way but may need an extra 1 tsp oil to prevent dryness. The flavor will be milder but still delicious.
How do I make this dish spicier?
Add ½ tsp cayenne or 1 chopped jalapeño with the onions. For smokier heat, try ½ tsp chipotle powder. Taste and adjust gradually.
What’s the best rice for this dish?
Long-grain white rice works perfectly, but brown rice or jasmine rice add nuttier flavors. Cook rice in beef broth for extra depth.
Can I make this ahead of time?
Yes! The chili tastes even better the next day. Store in an airtight container for up to 5 days in the fridge or 3 months in the freezer.

- Jollof Rice Sauce Recipe: West African Tomato and Spice Infusion - September 25, 2026
- Japanese Rice Soup Recipe: Umami-Rich Comfort in a Bowl - September 25, 2026
- Homemade Cream Of Rice Recipe: Silk-Smooth Breakfast in Minutes - September 25, 2026