
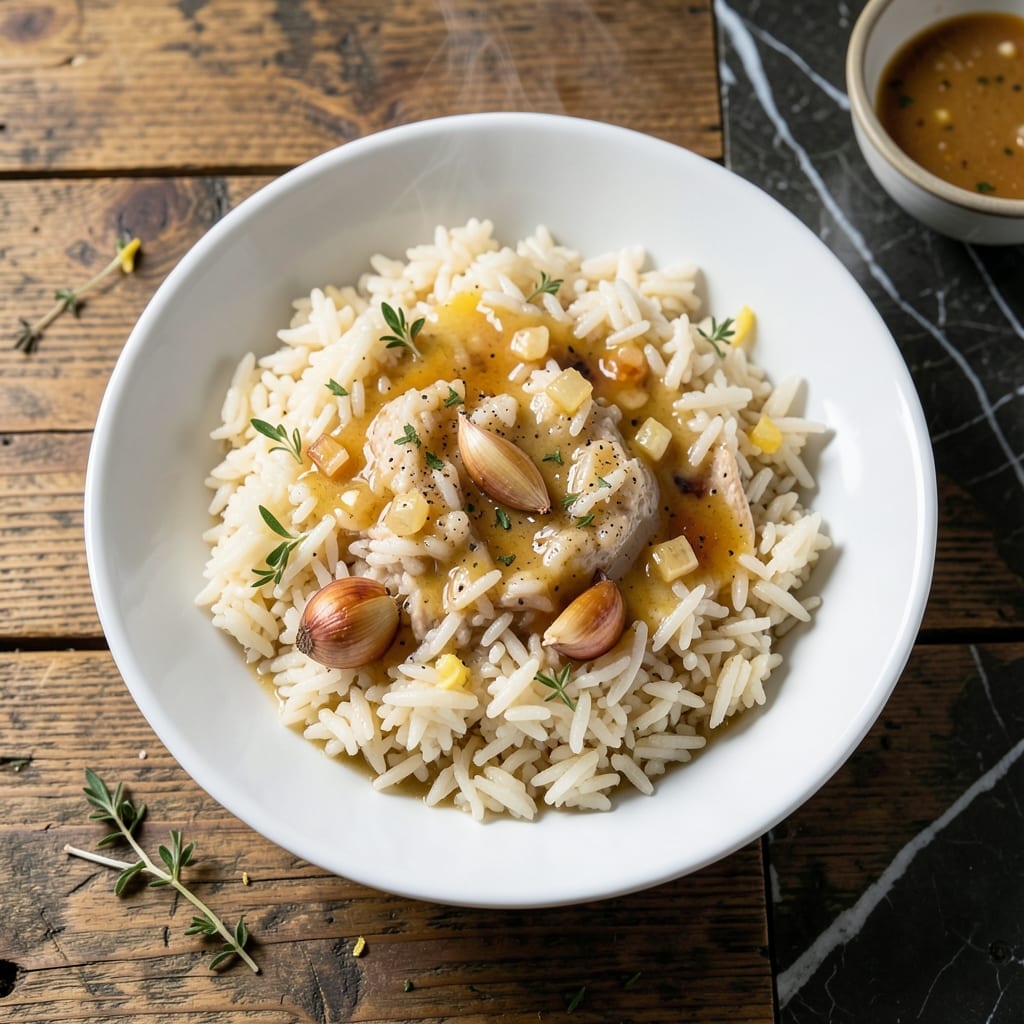
This side dish brings the familiar flavors of Chili’s straight to your kitchen. I’ve recreated their signature rice with simple ingredients and a foolproof method.
The secret lies in cooking the rice in a flavorful broth with a touch of garlic and onion. It’s a restaurant-style dish that pairs perfectly with any main course.
What you’ll get is light, fluffy grains with just the right amount of seasoning. It’s subtle enough to complement bold flavors but tasty enough to stand on its own.
Ready in under 30 minutes, this rice is a reliable go-to for weeknight dinners. Here’s how to make it at home.
Ingredients for Chili’s Rice
Simple pantry staples plus a few fresh touches create that signature restaurant taste at home.
| Ingredient | Amount | Notes |
|---|---|---|
| Long-Grain White Rice 🍚 | 2 cups | Uncooked, rinsed before use |
| Chicken Broth 🍲 | 3 ½ cups | Low-sodium preferred for control |
| Butter 🧈 | 2 tbsp | Unsalted for seasoning flexibility |
| Garlic Cloves 🧄 | 3 cloves | Minced for even distribution |
| Yellow Onion 🧅 | ½ whole | Finely diced for texture |
| Salt 🧂 | 1 tsp | Kosher or sea salt preferred |
| Black Pepper 🌶️ | ½ tsp | Freshly ground for best flavor |
| Dried Parsley 🌿 | 1 tsp | For subtle color and freshness |
| Garlic Powder 🧄 | ½ tsp | Enhances garlic depth without overpowering |
| Onion Powder 🧅 | ½ tsp | Balances the diced onion flavor |
| Water 💧 | ½ cup | Adjusts broth concentration if needed |
The broth is the foundation here. Swanson or Kitchen Basics are solid choices—go for low-sodium so you can control the seasoning. I grab mine at Walmart or Target in bulk. The rice should be basic long-grain white (like Mahatma or Carolina), nothing fancy. Rinse it well to remove excess starch—makes all the difference in texture.
No chicken broth? Vegetable broth works fine, though the flavor will be slightly different. Short on time? Better Than Bouillon paste mixed with hot water is a great hack (use 3.5 tsp paste for this amount). Fresh garlic and onion are ideal, but garlic powder and onion powder at half the amount can pinch-hit if needed. Skip the parsley if you don’t have it—this dish is forgiving.
Cooked rice keeps 4-5 days in the fridge, reheats like a dream. Freeze for up to 3 months in airtight bags (squeeze out the air first). I make a double batch—leftovers disappear fast, especially with kids around.
Why You’ll Love This Recipe
- Minimal Effort: Honestly, it’s just rice, broth, and a few aromatics—no fancy steps or hard-to-find ingredients.
- Buttery Garlic Richness: The butter and garlic turn plain rice into something crave-worthy, and the chicken broth adds a deep, savory note.
- Weeknight Hero: I throw this together on busy nights when I need a side that pairs with everything from grilled chicken to roasted veggies.
- Budget Stretch: Long-grain white rice is cheap, and this recipe makes it taste anything but. Leftovers? Even better the next day.
Step-by-Step Instructions for Restaurant-Style Rice
Here’s my tested method for nailing that signature fluffy texture and rich flavor every time.
Step 1: Sauté Aromatics in Butter
Melt the 2 tbsp Butter in a large pot over medium heat. Once it stops foaming, add the finely diced 0.5 whole Yellow Onion and cook for 3-4 minutes until it softens and turns translucent.
Stir in the minced 3 cloves Garlic Cloves and cook for another 30 seconds until fragrant. You’ll smell that sweet, nutty aroma—that’s your cue to move to the next step. The butter should be golden but not browned.
This base builds the foundation of flavor that makes this dish taste like it came straight from the restaurant kitchen.
Step 2: Toast the Rice for Nutty Depth
Add the 2 cups Long-Grain White Rice to the pot and stir to coat it in the buttery onion-garlic mixture. Toast it for 2 minutes, stirring constantly, until the grains turn slightly opaque and smell nutty.
This toasting step is crucial—it enhances the rice’s natural flavor and prevents it from turning mushy. Watch closely; you want the rice to look dry and separate, not clumping together.
Season with the 1 tsp Salt, 0.5 tsp Black Pepper, 1 tsp Dried Parsley, 0.5 tsp Garlic Powder, and 0.5 tsp Onion Powder, stirring to distribute evenly.
Step 3: Add Liquids and Bring to a Simmer
Pour in the 3.5 cups Chicken Broth and 0.5 cup Water, stirring to combine with the rice. The liquid should cover the rice by about ½ inch.
Increase heat to high and bring to a rolling boil. As soon as it reaches a boil, reduce heat to low, cover the pot with a tight-fitting lid, and let it simmer undisturbed. This is when the magic happens.
Step 4: Cook Until Tender and Fluffy
Let the rice cook for 18-20 minutes on low heat. Resist the urge to lift the lid—steam is essential for even cooking, and peeking releases heat and extends cooking time.
After 18 minutes, check for doneness. The rice should be tender but still slightly firm to the bite, and all liquid should be absorbed. If it’s still crunchy, cook for another 2 minutes and check again.
The surface should look dry with small steam holes where the liquid has evaporated. If it looks wet, cook for another minute or two with the lid on.
Step 5: Rest and Fluff for Perfect Texture
Remove the pot from heat and let it sit, covered, for 5 minutes. This resting period allows the rice to steam in its own heat, finishing the cooking process and ensuring every grain is perfectly tender.
After resting, fluff the rice gently with a fork, breaking up any clumps. The grains should be separate, light, and fluffy with a subtle sheen from the butter and broth.
Serve immediately while hot. The rice should have a rich, savory aroma and a texture that’s tender but not sticky—just like your favorite restaurant side dish.
Pro Tips For Making Chili’S Rice
- Toast the Rice: Cook the rice in butter for 2-3 minutes before adding liquid—it deepens the nutty flavor and prevents mushiness.
- Use Hot Broth: Pour in chicken broth straight from the stove, not cold from the fridge. The temperature shock can stall cooking and leave you with uneven grains.
- Mince the Garlic Fine: I learned this the hard way—big garlic chunks burn in the butter and turn bitter. Tiny pieces distribute evenly and sweeten as they cook.
- Skip the Rinse: Sounds weird, but it works: don’t rinse the long-grain rice. The starch helps create that slightly sticky texture Chili’s is known for.
Best Sauces and Condiments for This chilis rice
Classic Gravy Pairing
A rich, savory brown gravy takes this rice to the next level. I whisk 1 cup beef broth with 2 tbsp cornstarch and simmer until thickened. Drizzle ¼ cup over each serving for that comforting, home-style touch. 💛
Buttery Herb Sauce
Melt 3 tbsp butter with 1 tsp dried thyme and 1 tsp rubbed sage for a simple herb sauce. The butter enhances the rice’s richness while the herbs add fresh, earthy notes. Perfect for a quick weeknight upgrade.
Spicy Tomato Salsa
Mix 1 cup pico de gallo with 1 tbsp lime juice and ½ tsp cayenne for a zesty kick. The acidity cuts through the rice’s creaminess, adding brightness. I love this with grilled chicken or steak.
Creamy Garlic Dressing
Blend ½ cup mayo, ¼ cup sour cream, 1 minced garlic clove, and 1 tbsp lemon juice for a tangy, creamy drizzle. Thin with 2 tbsp milk if needed. This pairs wonderfully with roasted veggies.
Cheesy Queso Topping
Warm 1 cup shredded cheddar with ½ cup milk and 1 tbsp flour until smooth. Pour over rice for a decandent, cheesy twist. Add diced jalapeños if you like heat. 🔥
Fresh Herb Garnish
Chop 2 tbsp fresh parsley or cilantro and sprinkle over the top before serving. The vibrant color and fresh flavor elevate the dish instantly. A simple touch that makes it feel restaurant-worthy.
Nutrition Facts
Frequently Asked Questions
Can I use brown rice instead?
Yes, but increase liquid to 4.5 cups and cook for 40-45 minutes. Brown rice needs more time and liquid to soften properly.
Why rinse the rice first?
Rinsing removes excess starch that can make rice gummy. It ensures light, separate grains once cooked. Skip this step, and your rice may turn sticky.
Can I make this in a rice cooker?
Sauté aromatics in a pan first, then add everything to the cooker. Use the standard 1:2 rice-to-liquid ratio and cook as usual.
How do I fix mushy rice?
Spread it on a baking sheet and bake at 350°F for 10 minutes to dry out. Next time, toast the rice longer or use less liquid.

- Jollof Rice Sauce Recipe: West African Tomato and Spice Infusion - September 25, 2026
- Japanese Rice Soup Recipe: Umami-Rich Comfort in a Bowl - September 25, 2026
- Homemade Cream Of Rice Recipe: Silk-Smooth Breakfast in Minutes - September 25, 2026