
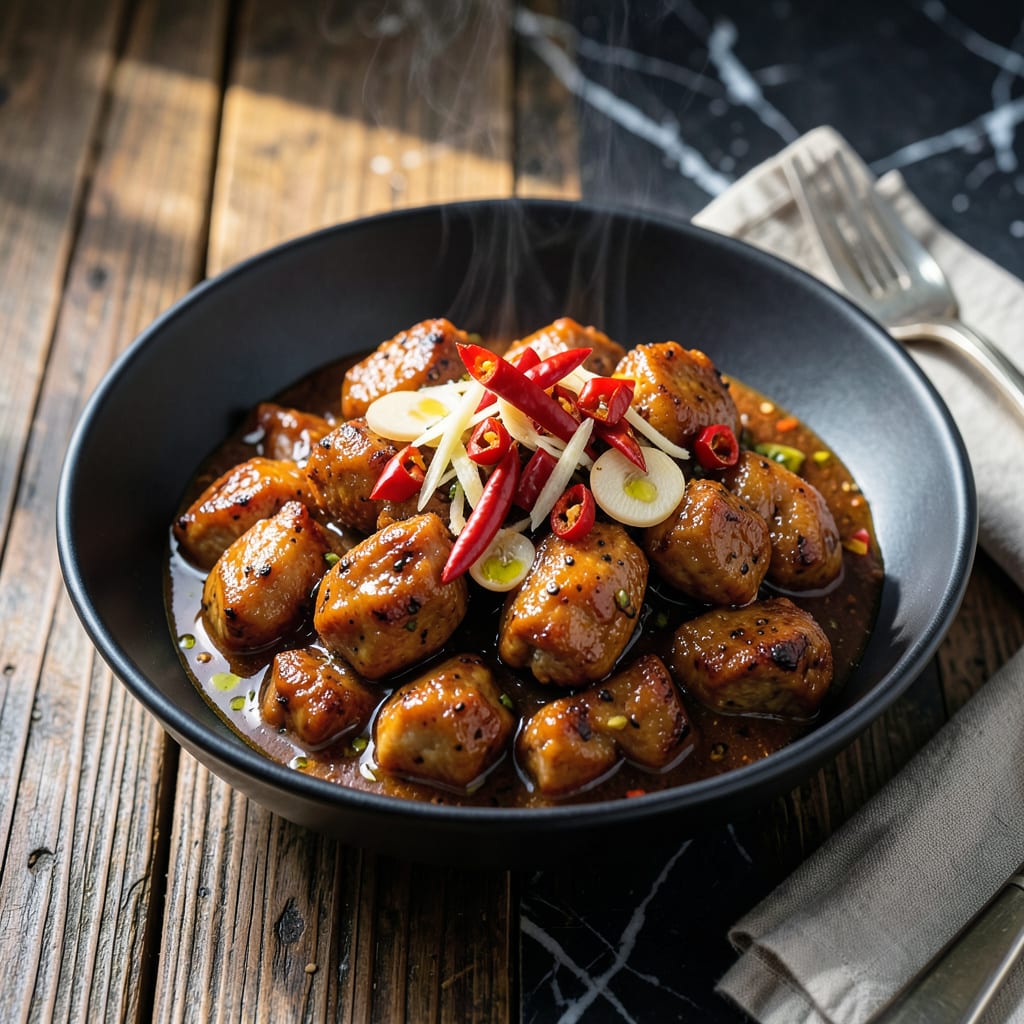
This bold, savory sauce transforms any dish with its complex blend of heat, umami, and depth. The wok-inspired method creates layers of flavor that store-bought versions can’t match.
Perfect for dipping, drizzling, or cooking, it delivers restaurant-quality results with simple ingredients. Make a batch and keep it on hand for instant flavor elevation.
Ingredients for Chilli Chicken Sauce
Bold flavors come from fresh chilies, garlic, and ginger in this wok-inspired sauce.
| Ingredient | Amount | Notes |
|---|---|---|
| Red Chili Peppers 🌶️ | 6 whole | Fresh, stemmed and seeded |
| Garlic Cloves 🧄 | 5 cloves | Peeled and minced |
| Fresh Ginger 🌿 | 1 tbsp | Peeled and grated |
| Soy Sauce 🍶 | ½ cup | Low-sodium preferred |
| Rice Vinegar 🍯 | ¼ cup | Unseasoned variety |
| Sesame Oil 🫒 | 1 tbsp | Toasted for depth |
| Honey 🍯 | 2 tbsp | For balancing heat |
| Chicken Stock 🍲 | ¼ cup | Low-sodium or homemade |
| Cornstarch 🌾 | 1 tbsp | Mixed with water for slurry |
| Green Onions 🧅 | 3 whole | Thinly sliced for garnish |
[recipeingredientscaler]
The chilies are non-negotiable for authentic heat and color. Asian markets often carry fresher, more varied options than standard grocers. Look for bright red, firm peppers without blemishes. Garlic and ginger should be fresh—avoid pre-minced versions, which lack the necessary punch. For soy sauce, Kikkoman or Pearl River Bridge are reliable brands for consistent quality and flavor depth.
Need to adjust the heat? Remove all seeds from the chilies or use fewer peppers. Substitute agave syrup at a 1:1 ratio if avoiding honey. For a gluten-free version, tamari replaces soy sauce seamlessly. If chicken stock isn’t available, vegetable stock works in a pinch, though the umami will be slightly less pronounced.
This sauce keeps well in an airtight container. Refrigerate for up to 1 week or freeze for 3 months. The flavors deepen over time, so making it a day ahead enhances the taste. Always stir before using, as the ingredients may separate.
Why You’ll Love This Recipe
- One Pot Wonder: I just toss the chili peppers, garlic, and ginger into a pan with the soy sauce—no fancy steps, no mess.
- Flavor Bomb: That first hit of garlic and ginger with the vinegar’s tang? Ridiculously good.
- Dinner Hero: I drizzle it over noodles one night, use it as a marinade the next. Between us, it’s my secret weapon.
- Budget Friendly: Five ingredients I always have on hand, and it stretches across multiple meals. Honestly, can’t beat that.
Step-by-Step Instructions for Chilli Chicken Sauce
Master this wok-inspired sauce with precise technique and balanced flavors.
Step 1: Prepare the Aromatic Base
Finely mince the 5 cloves Garlic Cloves and grate the 1 tbsp Fresh Ginger. Stem and seed the 6 whole Red Chili Peppers, then finely chop them to release their bold heat. I always keep my cutting board steady here—uneven pieces mean inconsistent flavor distribution.
Heat the 1 tbsp Sesame Oil in a wok or heavy skillet over medium-high heat until it shimmers. Add the garlic, ginger, and red chili peppers simultaneously. Stir constantly for 45-60 seconds until the mixture becomes fragrant but hasn’t browned—this prevents bitterness while extracting maximum flavor.
Step 2: Build the Sauce Foundation
Carefully pour in the 0.5 cup Soy Sauce and 0.25 cup Rice Vinegar. The mixture will sizzle as it hits the hot pan—stand back slightly to avoid steam. Stir to combine, scraping up any browned bits from the aromatics.
Add the 2 tbsp Honey and 0.25 cup Chicken Stock, then stir until the honey fully dissolves. Bring the mixture to a gentle boil, then reduce heat to maintain a steady simmer. Here’s the thing—this balance of sweet, salty, and tangy creates the sauce’s signature depth.
Step 3: Thicken to Perfection
In a small bowl, mix the 1 tbsp Cornstarch with 2 tablespoons of cold water to create a smooth slurry. Slowly pour this into the simmering sauce while stirring constantly with a whisk. The mixture will thicken almost immediately.
Continue cooking for 1-2 minutes until the sauce coats the back of a spoon and has reached your desired consistency. It should be glossy and just thick enough to cling to food. If it thickens too much, add a splash of water to adjust.
Step 4: Finish and Garnish
Remove the sauce from heat and let it sit for 2 minutes to cool slightly. This allows the flavors to meld together fully. Taste and adjust seasoning if needed—though the balance should be perfect with these proportions.
Thinly slice the 3 whole Green Onions and sprinkle them over the sauce just before serving. The green onions add a fresh, crisp contrast to the rich, savory sauce. Serve warm as a dip or drizzle over your favorite dishes.
Pro Tips For Making Chilli Chicken Sauce
- Bloom the Aromatics: Cook the minced garlic and ginger in oil for 30-45 seconds until fragrant but not brown—I learned this the hard way after burning three batches.
- Seed the Peppers: Remove seeds from red chili peppers unless you want serious heat, then finely chop for even flavor distribution.
- Balance the Vinegar: Add rice vinegar slowly and taste as you go; too much early on can make the sauce one-note sharp.
- Reduce the Sauce: Simmer the soy-based mixture for 5-7 minutes until it thickens slightly—this concentrates the flavors without drying it out.
Essential Equipment for Great chilli chicken sauce
Wok Essentials
A carbon steel wok is non-negotiable for authentic flavor development. I use a 14-inch flat-bottom wok from Made In—it heats evenly on my gas stove. The high sides prevent splatters when tossing ingredients.
Precision Thermometer
Track your sauce temperature with a ThermoWorks Instant Read. I aim for 225°F during simmering to prevent scorching. This ensures the honey caramelizes without burning, preserving the balance of flavors.
Quality Knives
Sharp knives make prep safer and faster. I swear by my Wüsthof 8-inch chef’s knife for mincing garlic and ginger. A paring knife handles the chili peppers with precision, avoiding wasted bits.
Slurry Tools
Whisk your cornstarch slurry in a small Pyrex measuring cup for easy pouring. I use a OXO silicone whisk—it won’t scratch your cookware and reaches corners perfectly. 💡
Serving Vessels
Serve your sauce in a small ceramic bowl with ahandle for easy pouring. I love Le Creuset stoneware—it retains heat and looks beautiful on the table. Pair with a bamboo brush for drizzling.
Safety Gear
Handling chilies requires nitrile gloves to protect your hands. I keep a pair near my prep station. Also, a splatter screen prevents hot oil from reaching your skin during the initial stir-fry.
Nutrition Facts
Frequently Asked Questions
Can I use dried chilies instead of fresh?
Yes, but soak 6 dried chilies in warm water for 20 minutes first to rehydrate. Use the soaking liquid in place of some chicken stock for extra depth.
How do I adjust the heat level?
Remove all chili seeds for milder sauce. For extra heat, add 1 tsp chili flakes or a dash of hot sauce at the end. Always taste before final adjustments.
What if my sauce is too thin?
Mix 1 tsp cornstarch with 1 tbsp water and stir into simmering sauce. Cook for 1-2 minutes until thickened. Avoid over-thickening—it will set more as it cools.
Can I make this gluten-free?
Swap soy sauce for tamari or coconut aminos. Check all labels to ensure no hidden gluten. The flavor remains just as bold.

- Jollof Rice Sauce Recipe: West African Tomato and Spice Infusion - September 25, 2026
- Japanese Rice Soup Recipe: Umami-Rich Comfort in a Bowl - September 25, 2026
- Homemade Cream Of Rice Recipe: Silk-Smooth Breakfast in Minutes - September 25, 2026