
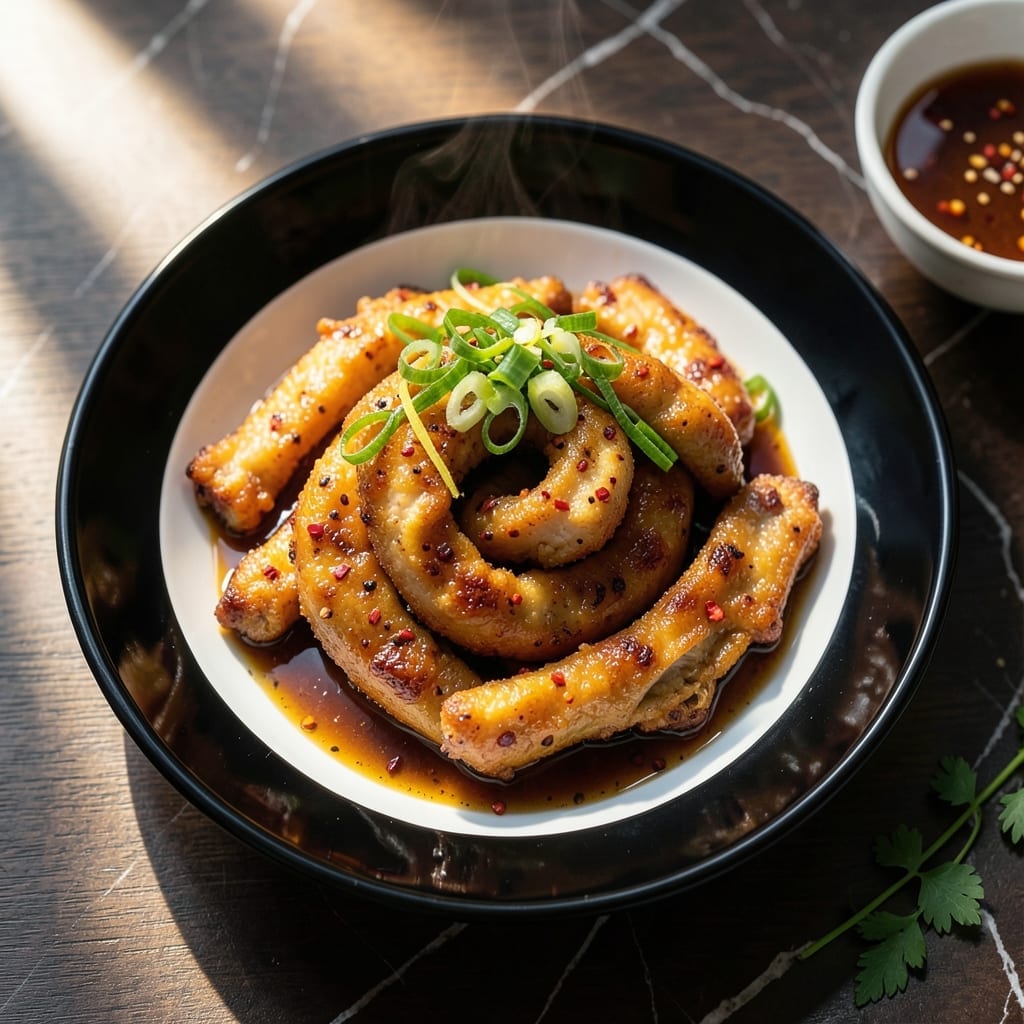
This recipe delivers perfectly crispy chicken strips with authentic wok-tossed texture every time.
I’ve refined this method to achieve restaurant-quality results using simple ingredients and standard kitchen tools. The key is in the velveting technique, which ensures tender meat inside a shatteringly crispy exterior.
The strips absorb the rich, savory sauce without becoming soggy, creating a balance of flavors and textures that’s hard to resist.
Ready in under 30 minutes, this dish brings takeout flavor to your home kitchen with minimal effort.
Ingredients for Chinese Chicken Strips
Standard kitchen tools and simple ingredients deliver restaurant-quality wok-tossed chicken strips at home.
| Ingredient | Amount | Notes |
|---|---|---|
| Boneless Skinless Chicken Breasts 🍗 | 1 ½ lb | Cut into 1-inch strips |
| Cornstarch 🌾 | ½ cup | For velveting coating |
| Large Egg 🥚 | 1 whole | Lightly beaten |
| Soy Sauce 🫒 | 3 tbsp | Low-sodium preferred |
| Rice Wine 🍶 | 2 tbsp | Shaoxing or dry sherry |
| Sesame Oil 🫒 | 1 tsp | Toasted for aroma |
| Garlic Cloves 🧄 | 4 cloves | Minced finely |
| Fresh Ginger 🌿 | 1 tbsp | Grated or minced |
| Green Onions 🧅 | 4 whole | Sliced thinly, white and green parts separated |
| Vegetable Oil 🫒 | 2 cups | Neutral flavor, for frying |
| Granulated Sugar 🍚 | 1 tsp | Balances savory flavors |
| Oyster Sauce 🫒 | 1 tbsp | Or vegetarian oyster sauce |
| Red Pepper Flakes 🌶️ | ½ tsp | Adjust to taste |
| Salt 🧂 | ½ tsp | Kosher or sea salt |
The chicken quality is paramount. Boneless, skinless breasts from a trusted butcher or Whole Foods ensure consistent texture and size. For velveting, cornstarch is non-negotiable—it creates the signature tender interior. Shaoxing wine is traditional, but dry sherry works in a pinch. Always use toasted sesame oil for depth; the untoasted variety lacks complexity.
No Shaoxing wine? Dry sherry or pale dry vermouth are acceptable substitutes. For a gluten-free version, tamari replaces soy sauce at a 1:1 ratio. The oyster sauce can be omitted, but add 1 additional tbsp soy sauce to compensate. Fresh ginger is ideal, but ground ginger at one-quarter the amount works if necessary. The red pepper flakes can be replaced with Sichuan peppercorns for authentic heat.
Prepped chicken can marinate for up to 24 hours in the fridge. The sauce components keep for 1 week refrigerated. For best results, fry the strips just before serving—reheating reduces crispiness. Leftover sauce freezes well for 3 months.
Why You’ll Love This Recipe
- 20-Minute Meal: I can get these on the table faster than ordering takeout—just slice, coat, and pan-fry.
- Umami Bomb: The soy sauce and rice wine create that deep, savory flavor I crave in every bite.
- Feeds a Crowd: Honestly, it’s my go-to for potlucks since everyone loves crispy chicken strips.
- Budget Stretcher: One pound of chicken breasts turns into a filling meal that even tastes great the next day.
Step-by-Step Instructions for Chinese Chicken Strips
Master the velveting technique for restaurant-quality texture and flavor in every bite.
Step 1: Velvet the Chicken for Maximum Tenderness
Cut the 1.5 lb Boneless Skinless Chicken Breasts into 1-inch strips. In a bowl, whisk together the 1 whole Large Egg, 3 tbsp Soy Sauce, 2 tbsp Rice Wine, 1 tsp Sesame Oil, 1 tsp Granulated Sugar, 0.5 tsp Salt, and 0.5 tsp Red Pepper Flakes until fully combined.
Add the chicken strips to this marinade and mix thoroughly to ensure every piece is coated. Stir in the 0.5 cup Cornstarch until the mixture becomes thick and slightly sticky. Let it rest for 15 minutes—this velveting process ensures the chicken stays tender and juicy despite the high-heat cooking.
Step 2: Deep-Fry the Chicken to Golden Perfection
Heat the 2 cups Vegetable Oil in a wok or deep skillet over medium-high heat until it reaches 350-375°F. To test, drop a small piece of chicken into the oil—it should sizzle vigorously and rise to the surface immediately.
Working in batches to avoid overcrowding, carefully add the chicken strips to the hot oil. Fry for 2-3 minutes until they turn light golden brown and float to the top. Remove with a slotted spoon and drain on a wire rack or paper towels. The exterior should be crisp while the inside remains moist.
Step 3: Stir-Fry Aromatics for Layered Flavor
In a clean wok or large skillet, heat 1 tbsp of the reserved Vegetable Oil over high heat. Add the 4 cloves Garlic Cloves and 1 tbsp Fresh Ginger, stir-frying for 30 seconds until fragrant but not browned. Be vigilant—garlic burns quickly at high temperatures.
Add the white parts of the 4 whole Green Onions and cook for another 30 seconds until just softened. The aroma should be intense and inviting, signaling the base flavors are ready for the next step.
Step 4: Combine and Toss for Even Coating
Return the fried chicken to the wok along with the 1 tbsp Oyster Sauce. Toss everything together over high heat for 1-2 minutes until the chicken is evenly coated and the sauce has thickened slightly, clinging to each piece.
Add the green onion tops and toss once more to distribute them throughout the dish. The final result should glisten with a glossy, slightly sticky coating, and each strip should maintain its crispness while absorbing the rich, savory flavors.
Pro Tips For Making Chinese Chicken Strips
- Velvet the Chicken: Toss the chicken strips in cornstarch and a beaten egg with a splash of rice wine for 20 minutes before cooking. I learned this the hard way—skipping this step means tough, chewy strips instead of that tender, restaurant-style texture.
- High Heat Only: Crank the wok or pan to smoking hot before adding the chicken. After burning three batches, I finally figured out that medium heat just steams the strips rather than searing them.
- Skip the Overcrowding: Cook the chicken in batches, even if it feels tedious. My grandmother swore by this, and she was right: overcrowding drops the temperature and turns your crispy strips into sad, soggy ones.
- Double Coat for Crisp: Sounds weird, but it works: dust the marinated chicken with an extra light coat of cornstarch right before frying. This isn’t the prettiest method, but it’s the tastiest—guarantees that perfect crunch every time.
Essential Equipment for This Dish
Wok Essentials
A carbon steel wok is non-negotiable for authentic results—I recommend Made In or Joyce Chen for home cooks. Its high heat capacity and sloped sides make tossing easy. A 14-inch diameter gives enough space for proper stir-frying without overcrowding. 🔥
Thermometer Precision
An instant-read thermometer ensures perfect oil temperature between 350-375°F. I use the ThermoWorks ThermoPop for its accuracy and 2-second read time. This prevents undercooked or burnt chicken strips every time.
Frying Setup
A deep fry/candy thermometer with a high heat rating (up to 400°F) is ideal for monitoring oil. Pair it with a slotted metal spoon or spider strainer for safe chicken retrieval. Never use plastic utensils with hot oil.
Prep Tools
Invest in a sharp chef’s knife (I love Wüsthof) for clean chicken strip cuts. A microplane makes quick work of ginger, while a garlic press saves time on mincing. These small tools make a big difference in prep efficiency.
Safety Gear
Hot oil requires protection. Use heat-resistant silicone gloves and keep a fire extinguisher rated for grease fires nearby. I also recommend a splatter screen to contain oil pops during frying.
A well-ventilated kitchen or range hood helps clear frying smoke quickly. 💡
Nutrition Facts
Frequently Asked Questions
Can I bake these instead of frying?
Yes, but texture differs. Toss velveted strips with 1 tbsp oil and bake at 400°F for 15-18 minutes, flipping halfway. They won’t be as crispy but will still be flavorful.
What if I don’t have cornstarch?
Potato starch works as a 1:1 substitute. Arrowroot can also be used, but avoid wheat flour—it won’t create the same tender texture. The velveting effect is key here.
How do I keep them crispy after cooking?
Drain on a wire rack, not paper towels, to prevent steam buildup. Serve immediately or keep warm in a 200°F oven for up to 10 minutes. Avoid stacking.
Can I make this gluten-free?
Easily! Use tamari instead of soy sauce and ensure oyster sauce is gluten-free. The cornstarch coating is naturally gluten-free. Always check labels.

- Jollof Rice Sauce Recipe: West African Tomato and Spice Infusion - September 25, 2026
- Japanese Rice Soup Recipe: Umami-Rich Comfort in a Bowl - September 25, 2026
- Homemade Cream Of Rice Recipe: Silk-Smooth Breakfast in Minutes - September 25, 2026