
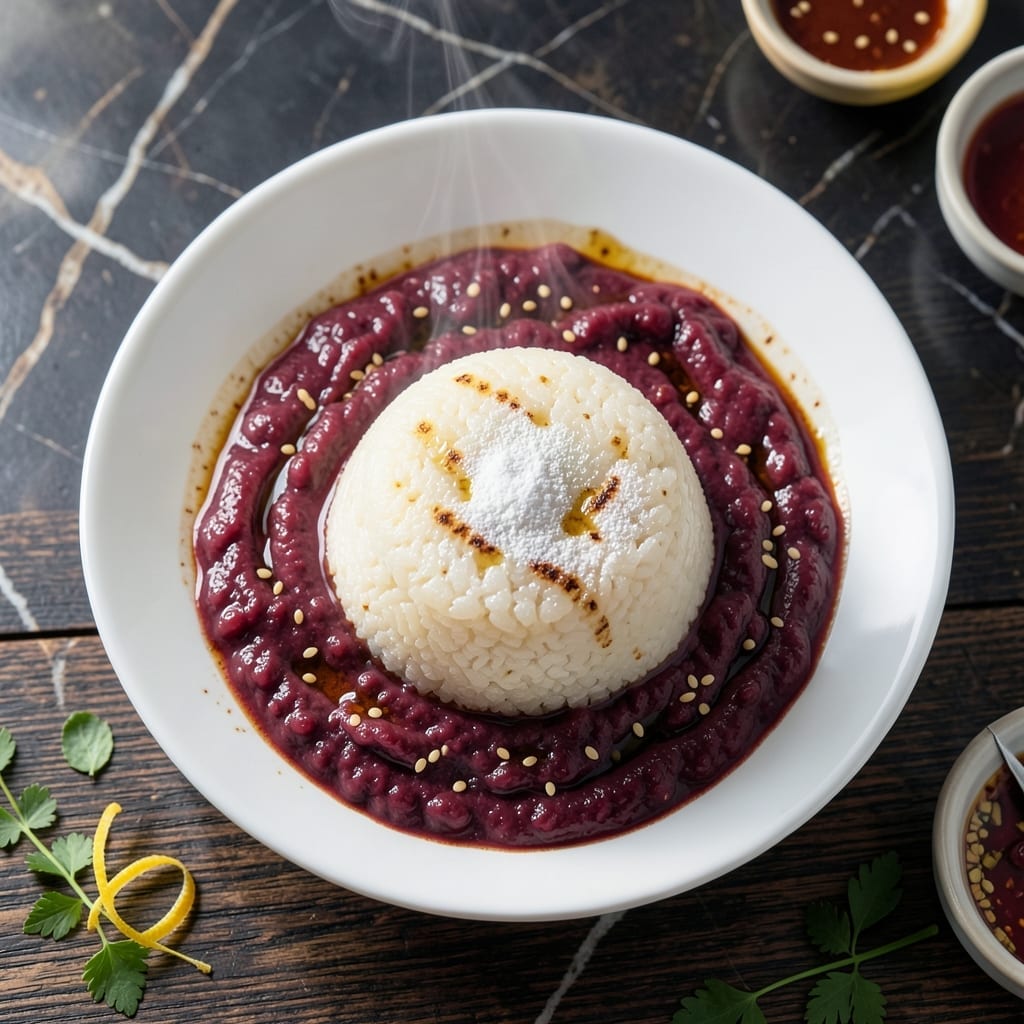
This traditional Chinese dessert brings chewy texture and nutty depth to your table. The combination of red beans and glutinous rice flour creates a satisfying bite that’s both sweet and subtly earthy.
I’ve perfected this version to stay true to its roots while ensuring a foolproof process. The result is a treat that’s as rewarding to make as it is to eat.
Ingredients for Chinese Red Bean Rice Cake
These authentic ingredients deliver chewy texture and nutty depth in every bite.
| Ingredient | Amount | Notes |
|---|---|---|
| Glutinous Rice Flour 🌾 | 2 cups | Also called sweet rice flour |
| Red Bean Paste 🫘 | 1 ½ cups | Sweet or unsweetened variety |
| Granulated Sugar 🍚 | ½ cup | Adjust to taste preference |
| Water 💧 | 1 ¼ cups | Warm for better dissolution |
| Vegetable Oil 🫒 | 2 tbsp | Neutral flavor for greasing |
| Cornstarch 🌾 | 2 tbsp | For dusting work surface |
| Toasted Sesame Seeds 🌰 | 1 tbsp | Optional for garnish |
| Coconut Milk 🥥 | ¼ cup | Full-fat for richness |
| Vanilla Extract 🌿 | 1 tsp | Pure extract preferred |
| Salt 🧂 | ¼ tsp | Balances sweetness |
The glutinous rice flour is non-negotiable here—look for it in Asian markets or the international aisle. Brands like Bob’s Red Mill or Erawan work well. The red bean paste comes in sweet or unsweetened (I prefer unsweetened to control the sugar level). If you’re making your own paste, adzuki beans are the traditional choice (frozen works in a pinch).
No red bean paste? Sweet potato puree can work in a pinch, though the flavor differs. Out of glutinous rice flour? Mochiko flour is the same thing. The coconut milk adds richness but almond milk works if you want it lighter. For the cornstarch, arrowroot powder is a direct swap at the same ratio.
Store the flour in an airtight container for up to 6 months. The rice cakes keep 3-4 days at room temperature in a sealed container, or freeze for 1 month. Bring to room temp before serving for best texture.
Why You’ll Love This Recipe
- No Fuss Mixing: I just dump glutinous rice flour, sugar, and water together—no fancy steps, and the batter comes out smooth every time.
- Sweet-Savory Balance: That rich red bean paste against the soft, slightly chewy rice cake? Honestly, it’s the kind of bite I crave all day.
- Party or Snack: I serve these warm for Chinese New Year, but they’re just as good cold from the fridge for a midnight treat.
- Stretches Far: One batch makes a full 9×13 pan, and leftovers keep for days—my wallet and my sweet tooth both thank me.
Step-by-Step Instructions for Chinese Red Bean Rice Cake
Here’s the method. Straightforward, tested, works every time.
Step 1: Prepare the Rice Cake Batter
In a large mixing bowl, whisk together the 2 cups Glutinous Rice Flour, 0.5 cup Granulated Sugar, and 0.25 tsp Salt until fully combined. I like to sift the glutinous rice flour first to prevent lumps—this ensures an ultra-smooth batter.
Gradually pour in the 1.25 cups Water and 0.25 cup Coconut Milk while whisking continuously. Then add the 1 tsp Vanilla Extract and 2 tbsp Vegetable Oil, mixing until you have a silky, lump-free batter that resembles thin pancake batter. Let it rest for 10 minutes to allow the flour to fully hydrate.
Step 2: Steam the Rice Cake Base
Lightly grease an 8-inch round cake pan with a bit of the vegetable oil and line the bottom with parchment paper. Pour in the batter, smoothing the top with a spatula. Place the pan in a steamer with boiling water, ensuring the water doesn’t touch the pan.
Cover and steam over high heat for 25-30 minutes until the surface looks set and a toothpick inserted in the center comes out clean. You’ll notice the cake pulls slightly away from the edges when it’s done. Remove from the steamer and let it cool completely—this prevents it from collapsing.
Step 3: Add the Red Bean Paste Layer
Once the rice cake base is cool to the touch, spread the 1.5 cups Red Bean Paste evenly over the top, leaving a ½-inch border around the edge. I use a spatula dipped in warm water to help spread it smoothly without tearing the cake.
For a marbled effect, you can gently swirl the red bean paste into the top layer of the cake with a butter knife. This adds visual appeal and distributes the flavor more evenly throughout each bite. The paste should be thick enough to hold its shape but still spreadable.
Step 4: Steam Again to Set the Layers
Return the cake to the steamer and steam for another 15-20 minutes over medium-high heat. This second steaming ensures the red bean paste melts slightly into the cake, creating a harmonious blend of flavors and textures.
You’ll know it’s ready when the red bean paste looks glossy and slightly set. Remove from the steamer and let it cool for 10 minutes before proceeding. This cooling period helps the layers firm up, making it easier to handle.
Step 5: Cut and Garnish the Rice Cake
Dust your work surface with the 2 tbsp Cornstarch to prevent sticking. Carefully invert the cake onto the surface and peel off the parchment paper. Use a sharp knife to cut the cake into 8 equal wedges or 16 small squares, wiping the blade with a damp cloth between cuts for clean edges.
Arrange the pieces on a serving plate and sprinkle with the 1 tbsp Toasted Sesame Seeds for a nutty finish. Serve warm or at room temperature—each piece should have a slightly chewy texture with a sweet, earthy red bean flavor that’s perfectly balanced by the coconut and vanilla notes.
Pro Tips For Making Chinese Red Bean Rice Cake
- Steam Evenly: Cover the steamer with a damp cloth to trap steam—I learned this the hard way after my first few cakes came out dense and gummy.
- Sift the Flour: Always sift your glutinous rice flour before mixing. Sounds tedious, but it prevents lumps that ruin the texture.
- Skip Cold Paste: Bring your red bean paste to room temperature before spreading; cold paste makes it harder to work with and can create uneven layers.
- Oil the Mold: Grease your cake mold thoroughly with vegetable oil, even if it’s nonstick—my grandmother swore by this, and it guarantees easy release every time.
Make-Ahead Tips for This Dish
Prep the Night Before
Mix your batter the evening before and let it rest in the fridge. The glutinous rice flour hydrates fully overnight, improving texture. Just whisk in 1.25 cups warm water and 0.25 cup coconut milk the next morning before steaming. 💡
Steam in Batches
If hosting, steam the base up to 1 day ahead and store at room temp. Add the red bean paste layer and re-steam 20 minutes before serving. This keeps the cake fresh without last-minute stress.
Freeze for Later
Cut into portions and freeze in a single layer on a tray first. Once solid, transfer to a bag with parchment between layers. Thaw overnight in the fridge and steam 10 minutes to revive. ❄️
Room Temp Storage
Keep in an airtight container with parchment between layers for 3-4 days. The texture stays chewy best at room temperature, not refrigerated.
Re-Steam for Freshness
If the cake dries out, steam for 5-7 minutes to restore moisture. Spritz with water before steaming for extra softness. Works like magic!
Garnish Last
Add toasted sesame seeds just before serving to keep them crisp. Store seeds separately in a cool, dry place for up to 3 months.
Nutrition Facts
Frequently Asked Questions
Can I use regular rice flour instead?
No, glutinous rice flour is essential for the chewy texture. Regular rice flour won’t provide the same stretchy, elastic quality. Look for labels marked “sweet rice flour” or “mochiko flour” as substitutes.
Why did my cake turn out dense?
This usually happens from overmixing the batter or steaming at too low a temperature. Ensure you use high heat during the first 25-30 minutes of steaming and whisk just until smooth.
Can I make it without a steamer?
Yes! Use a large pot with a rack or inverted bowl inside. Add 2 inches of water, bring to a boil, then place your pan on the rack. Cover tightly with a lid and steam as directed.
How can I make it less sweet?
Reduce the 0.5 cup sugar by half or use unsweetened red bean paste. You can also add a pinch of salt to balance the flavors without sacrificing the dessert’s character.

- Jollof Rice Sauce Recipe: West African Tomato and Spice Infusion - September 25, 2026
- Japanese Rice Soup Recipe: Umami-Rich Comfort in a Bowl - September 25, 2026
- Homemade Cream Of Rice Recipe: Silk-Smooth Breakfast in Minutes - September 25, 2026