
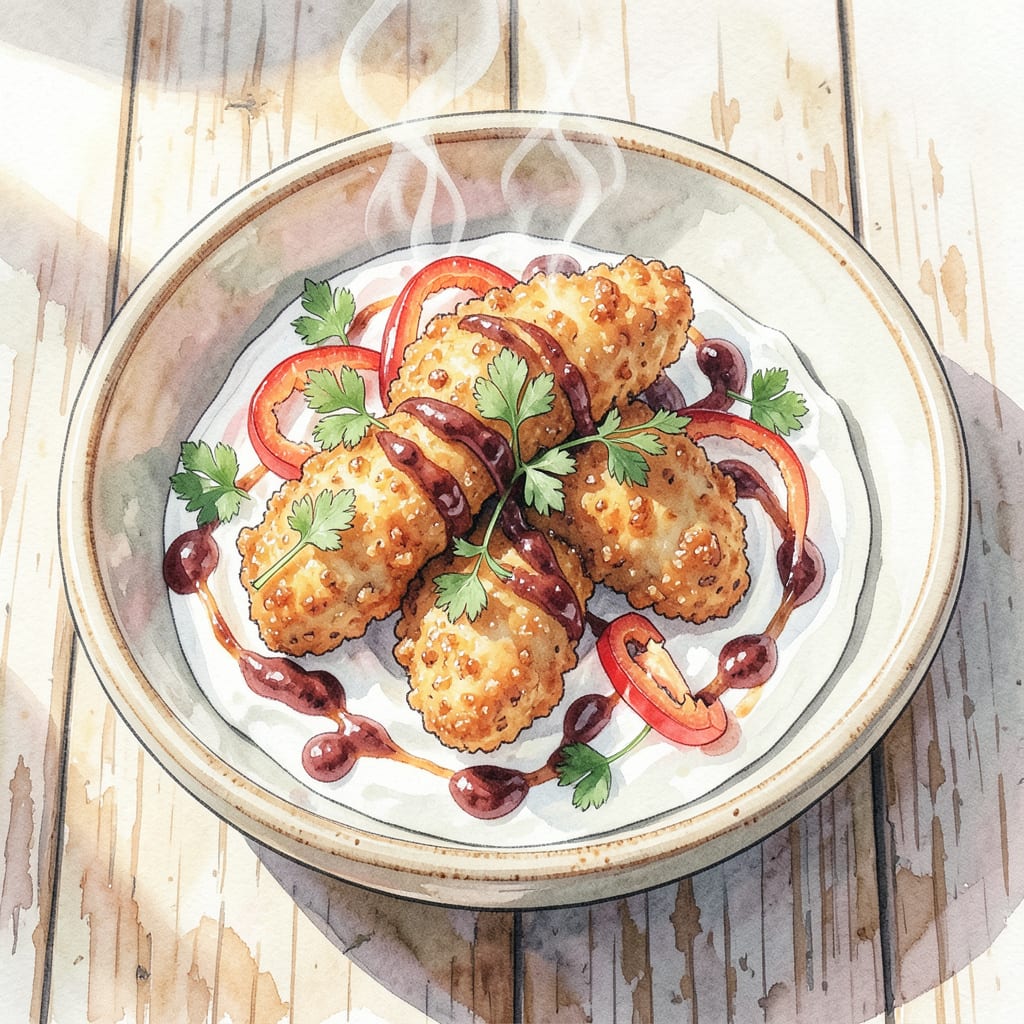
Achieve perfectly crispy chicken tenders without buttermilk using this straightforward recipe. The secret lies in a simple marinade and a double coating technique that ensures a crunchy exterior every time.
Cooked to tender perfection at 375°F, these chicken tenders make a great main course. Serve with your favorite sides, such as mashed potatoes or a fresh salad, for a well-rounded meal that’s sure to please.
Ingredients for Crispy Chicken Tender Recipe Without Buttermilk
These essential ingredients create crispy chicken tenders without buttermilk, perfect for a family meal.
| Ingredient | Amount | Notes |
|---|---|---|
| Chicken Breast Tenders 🍗 | 1 ½ lb | Fresh, never frozen preferred |
| Plain Greek Yogurt 🥛 | 1 cup | Substitute for buttermilk marinade |
| All-Purpose Flour 🌾 | 1 ½ cups | For coating chicken |
| Cornstarch 🌾 | ½ cup | For crispy coating |
| Paprika 🌶️ | 1 tsp | Smoked or sweet variety |
| Garlic Powder 🧄 | 1 tsp | For flavor enhancement |
| Onion Powder 🧅 | 1 tsp | Adds depth to coating |
| Salt 🧂 | 1 tsp | Kosher salt preferred |
| Black Pepper 🌶️ | ½ tsp | Freshly ground preferred |
| Eggs 🥚 | 2 whole | For egg wash |
| Panko Breadcrumbs 🍞 | 2 cups | For crunchy coating |
| Vegetable Oil 🫒 | 1 cup | For frying |
For the crispiest coating, Panko breadcrumbs are essential. Look for them in the international section of most supermarkets or at Asian markets for the best selection. The quality of chicken breast tenders matters—fresh, never frozen gives the best results. I prefer using local butcher or Whole Foods for the best quality.
No Greek yogurt? Plain regular yogurt works as a substitute, though the tanginess might vary slightly. For an extra crispy coating, try adding cornflakes crumbs to the Panko mixture. If you’re out of paprika, chili powder can add a similar depth with a bit of heat. The eggs should be at room temperature for better coating adhesion.
These chicken tenders reheat beautifully in the oven at 350°F. Store leftovers in an airtight container for up to 3 days. Freeze cooked tenders on a baking sheet, then transfer to a freezer bag for up to 3 months. Reheat directly from frozen.
Step-by-Step Instructions for Crispy Chicken Tenders
Follow these precise steps to achieve perfectly crispy chicken tenders every time.
Step 1: Marinate Chicken Tenders in Greek Yogurt Mixture
In a large bowl, whisk together the 1 cup Plain Greek Yogurt, 1 tsp Garlic Powder, 1 tsp Onion Powder, 1 tsp Salt, and 0.5 tsp Black Pepper until smooth. Add the 1.5 lb Chicken Breast Tenders and mix until they’re fully coated in the marinade. Cover the bowl with plastic wrap and refrigerate for at least 30 minutes or up to 2 hours for maximum tenderness.
The acidity in the Greek yogurt effectively tenderizes the chicken while adding moisture. I’ve found that this marinade creates a superior texture compared to traditional buttermilk.
Step 2: Prepare the Crispy Coating Mixture
In a separate large bowl, combine the 1.5 cups All-Purpose Flour, 0.5 cup Cornstarch, 1 tsp Paprika, and a pinch of salt. Whisk until the mixture is evenly distributed and there are no lumps. The cornstarch is crucial for achieving that extra crispy coating, as it absorbs excess moisture and creates a lighter texture.
On a separate plate or tray, spread out the 2 cups Panko Breadcrumbs in an even layer. Having everything ready in separate stations streamlines the coating process and prevents cross-contamination of the coating ingredients.
Step 3: Coat the Chicken Tenders
Remove the chicken tenders from the marinade, allowing any excess to drip off. Dredge them in the flour mixture, shaking off any excess. Then dip them in the beaten 2 whole Eggs, making sure they’re fully coated. Finally, roll them in the Panko breadcrumbs, pressing gently to ensure the crumbs adhere well. Place the coated tenders on a clean plate or tray.
The triple coating process—flour, egg wash, then breadcrumbs—creates multiple layers that result in a crunchy exterior. Pressing the crumbs onto the chicken helps them stick better during frying.
Step 4: Fry the Chicken Tenders to Perfection
Heat the 1 cup Vegetable Oil in a large heavy-bottomed pot or deep fryer to 350°F. Use a thermometer to maintain the correct temperature, as this is crucial for achieving crispy results. When the oil is ready, carefully add a few chicken tenders to the hot oil—don’t overcrowd the pot.
Fry for 5-7 minutes until the coating is golden brown and the internal temperature reaches 165°F. Use a slotted spoon to transfer the cooked tenders to a paper towel-lined plate to drain excess oil. Repeat with the remaining chicken tenders, maintaining the oil temperature between 325°F and 350°F.
Step 5: Serve Immediately for Maximum Crispiness
Serve the crispy chicken tenders immediately while they’re still hot and crunchy. If you need to keep them warm for a short period, place them on a wire rack set over a baking sheet in a 200°F oven. This helps maintain crispiness by allowing air circulation around the tenders.
For the best experience, serve with your favorite dipping sauces within 10-15 minutes of frying. The contrast between the crunchy exterior and juicy interior makes these chicken tenders irresistible.
Essential Equipment for This Recipe
Essential Cooking Equipment
For making crispy chicken tenders, you’ll need a few key pieces of equipment. First, a large heavy-bottomed pot or deep fryer is crucial for maintaining the proper oil temperature. I recommend using a Cast Iron Dutch Oven or a dedicated deep fryer for best results. 🔥
Thermometer for Precision
A deep-fry thermometer is essential for monitoring oil temperature accurately. This ensures your oil stays between 325°F and 350°F, which is critical for achieving crispy coating without overcooking the chicken. I prefer using a digital thermometer for its precision and ease of use.
Tongs and Slotted Spoon
For safe and efficient frying, you’ll need long-handled tongs to add and remove chicken tenders from the hot oil. A slotted spoon is also helpful for draining excess oil from the cooked tenders. Look for heat-resistant silicone-coated handles for better grip and safety.
Wire Rack for Draining
After frying, place the cooked chicken tenders on a wire rack set over a baking sheet to drain excess oil. This helps maintain crispiness by allowing air to circulate around the tenders. Avoid using paper towels directly on the tenders as they can make the coating soggy.
Additional Tools
Other helpful tools include a large bowl for marinating, a plate or tray for coating, and a clean work surface for preparing the coating station. Having all your equipment ready before starting makes the cooking process smoother and more efficient.
Nutrition Facts
Frequently Asked Questions
Can I use regular yogurt instead of Greek yogurt?
Yes, you can substitute regular yogurt for Greek yogurt, but the marinade might be slightly thinner. The tanginess will still help tenderize the chicken, though Greek yogurt provides a thicker coating. For best results, strain regular yogurt through cheesecloth for 10 minutes to thicken it.
How do I prevent the coating from falling off?
To keep the coating intact,
Can I bake instead of frying? Yes, you can bake the chicken tenders for a healthier alternative. Preheat your oven to 400°F and bake on a wire rack set over a baking sheet for 15-20 minutes, or until the internal temperature reaches 165°F. The coating won’t be as crispy as fried, but it will still be delicious.
How do I store leftover chicken tenders?
Store leftover chicken tenders in an airtight container in the refrigerator for up to 3 days. To reheat, bake in a 350°F oven until crispy and heated through. You can also freeze cooked tenders on a baking sheet, then transfer them to a freezer bag for up to 3 months.

- Jollof Rice Sauce Recipe: West African Tomato and Spice Infusion - September 25, 2026
- Japanese Rice Soup Recipe: Umami-Rich Comfort in a Bowl - September 25, 2026
- Homemade Cream Of Rice Recipe: Silk-Smooth Breakfast in Minutes - September 25, 2026