
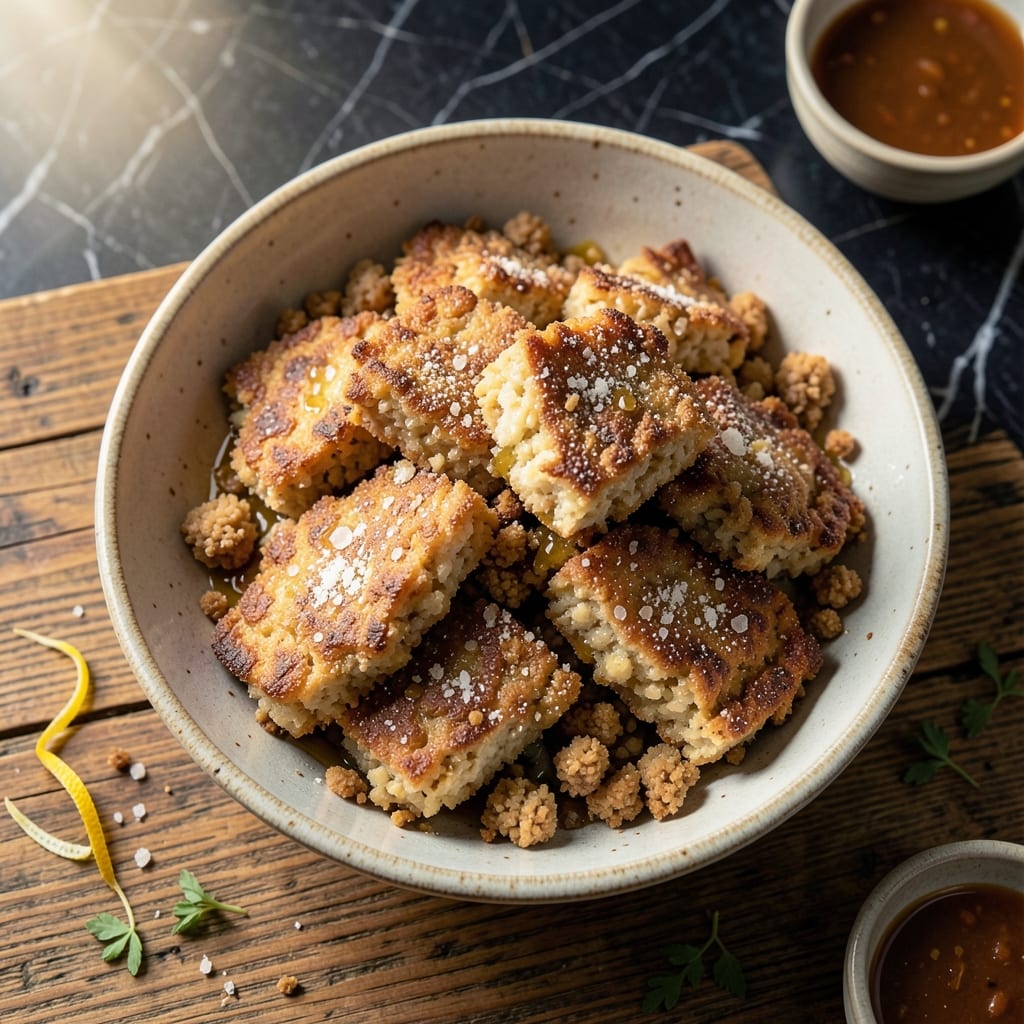
This Korean street food favorite brings together the best of both worlds with its crispy exterior and chewy center. I’ve refined this method to ensure perfect texture every time.
With just a few simple ingredients and precise timing, you’ll create a snack that’s addictively satisfying. The key is achieving that ideal balance between crunch and softness in each bite.
Ingredients for Crushed Rice Cake
Simple pantry staples transform into this addictively crispy and chewy Korean treat.
| Ingredient | Amount | Notes |
|---|---|---|
| Glutinous Rice Flour 🌾 | 2 cups | Also called sweet rice flour |
| Water 💧 | ¾ cup | Warm, for mixing dough |
| Salt 🧂 | ½ tsp | Fine sea salt preferred |
| Sugar 🍚 | 1 tbsp | Granulated, balances flavors |
| Vegetable Oil 🫒 | ½ cup | For frying, neutral flavor |
| Garlic Powder 🧄 | 1 tsp | Adds savory depth |
| Onion Powder 🧅 | 1 tsp | Complements garlic flavor |
| Soy Sauce 🥢 | 1 tbsp | For seasoning finished cakes |
| Sesame Oil 🫒 | 1 tsp | For aromatic finish |
| Green Onions 🧅 | 2 whole | Thinly sliced, for garnish |
| Sesame Seeds 🌰 | 1 tbsp | Toasted, for garnish |
Glutinous rice flour is non-negotiable here—regular rice flour won’t give you the right chew. Look for it in the Asian aisle at H Mart or Kroger (often labeled as sweet rice flour). Brands like Bob’s Red Mill work, but Korean brands like Sajo or Mung are ideal for authentic texture. The dough should feel slightly sticky but smooth when properly mixed.
No glutinous rice flour? Mochiko flour is the exact same thing—just a different name. Out of soy sauce? Tamari or coconut aminos work in a pinch. The sugar can be swapped for honey if you prefer, but keep the amount the same. For extra flavor, add a pinch of gochugaru (Korean chili flakes) to the dough.
These keep best fresh but can be reheated in a 350°F oven for 5-10 minutes to restore crispness. Store cooled rice cakes in an airtight container at room temperature for up to 2 days. For longer storage, freeze for up to 1 month (reheat from frozen).
Why You’ll Love This Recipe
- Five Ingredients Only: I love that this needs just glutinous rice flour, water, salt, sugar, and oil—no shopping spree required.
- Sweet-Salty Crunch: The sugar and salt combo gives that addictive balance, and the oil makes it crispy yet tender.
- Snack or Dessert: Honestly, I serve it as a sweet treat or a savory bite—just tweak the sugar to suit the moment.
- Budget Stretch: A pound of rice flour makes a mountain of these, and leftovers keep well in an airtight container.
Step-by-Step Instructions for Crushed Rice Cake
Here is the method to achieve crispy, chewy texture with every batch.
Step 1: Make the Rice Cake Dough
In a large bowl, combine the 2 cups Glutinous Rice Flour, 0.5 tsp Salt, 1 tbsp Sugar, 1 tsp Garlic Powder, and 1 tsp Onion Powder. Whisk these dry ingredients together until evenly distributed.
Gradually pour in the 0.75 cup Water while stirring with a wooden spoon or silicone spatula. The mixture will start thick and lumpy, then smooth into a soft, pliable dough. Knead it in the bowl for 3-4 minutes until it becomes elastic and slightly sticky to the touch.
Step 2: Shape and Steam the Rice Cakes
Divide the dough into 1-inch balls and flatten each into a disc about ¼-inch thick. Place these on a heatproof plate or steamer basket lined with parchment paper, leaving ½ inch between each piece to prevent sticking.
Bring a pot of water to a rolling boil, then place the steamer basket inside. Cover and steam for 15-18 minutes until the rice cakes turn translucent and feel firm when pressed. Remove from the steamer and let cool for 10 minutes before handling.
Step 3: Pan-Fry to Crispy Perfection
Heat the 0.5 cup Vegetable Oil in a large skillet over medium-high heat until it shimmers. Working in batches to avoid crowding, carefully place the steamed rice cakes in the hot oil. Fry for 2-3 minutes per side until deeply golden brown and crisp.
Use a slotted spoon to transfer the fried cakes to a paper towel-lined plate to drain excess oil. The exterior should be blistered and crisp while the inside remains chewy.
Step 4: Season and Garnish
While still warm, drizzle the rice cakes with 1 tbsp Soy Sauce and 1 tsp Sesame Oil. Toss gently to ensure even coating. The soy sauce adds saltiness and depth, while the sesame oil imparts a nutty aroma.
Immediately sprinkle with the 2 whole Green Onions, thinly sliced, and 1 tbsp Sesame Seeds. The green onions add freshness and color, while the sesame seeds provide a subtle crunch. Serve warm for the best texture contrast.
Pro Tips For Making Crushed Rice Cake
- Steam Evenly: Use a bamboo steamer lined with cheesecloth—glutinous rice flour sticks like crazy to bare wood. I learned this the hard way after scraping ruined cakes off my steamer for 20 minutes.
- Warm the Oil: Heat the vegetable oil to 180°C before frying the crushed pieces—it makes a real difference in getting that puffy, golden crust without greasy results.
- Don’t Overmix: Stir the batter just until combined, about 30 seconds. Overmixing develops gluten in the rice flour, turning your cakes dense instead of light and airy.
- Sweeten the Water: Dissolve the sugar in the water before mixing with flour—it distributes evenly and prevents grainy texture in the finished cakes.
Common Mistakes When Making This Recipe
Overworking the Dough
Kneading the dough for too long develops excessive gluten, making your rice cakes tough instead of chewy. I stop at 3-4 minutes once it feels smooth and elastic. The dough should still be slightly sticky—that’s perfect. 💪
Skipping the Steaming Step
Steaming is non-negotiable—it fully cooks the rice cakes through before frying. Without this, you’ll end up with raw centers and burnt outsides. I use a bamboo steamer with a tight lid to trap all the steam.
Overcrowding the Pan
Frying too many at once lowers the oil temperature, resulting in greasy, soggy rice cakes. I fry in batches with ½ inch between each piece, keeping oil at medium-high heat. This ensures that crispy texture we all love.
Insufficient Oil
Using too little oil causes uneven cooking and sticking. I use ½ cup vegetable oil in my 12-inch skillet—enough to come about ¼ inch up the sides. This creates the perfect shallow-fry environment.
Premature Seasoning
Seasoning while the rice cakes are still in the oil causes the soy sauce to burn. I always transfer them to a paper towel first, then drizzle with 1 tbsp soy sauce and 1 tsp sesame oil while they’re still warm but out of the pan.
Skipping the Cooling Step
Trying to fry rice cakes straight from the steamer leads to splattering oil and uneven cooking. I always let them cool for 10 minutes after steaming. This makes them easier to handle and ensures even frying. 🔥
Nutrition Facts
Frequently Asked Questions
Can I use regular rice flour instead?
No, regular rice flour won’t give the right chewy texture. Glutinous rice flour is essential for that signature stretchy, bounce-back consistency. Mochiko flour works as a perfect substitute if you can’t find it labeled as glutinous.
How do I make them extra crispy?
Fry in medium-high heat oil and avoid crowding the pan. Press down lightly with a spatula during frying to maximize surface contact. The 15-18 minutes steaming step is also crucial for the right internal texture before frying.
Can I bake instead of frying?
Yes, but the texture will differ. Brush with oil and bake at 400°F for 15-20 minutes, flipping halfway. They’ll be less crispy than pan-fried but still delicious with a slightly softer exterior.
Why did my rice cakes turn out tough?
Over-kneading the dough develops too much gluten. Stop at 3-4 minutes once smooth. Also, ensure you’re using glutinous rice flour—other flours will create a different, often tougher, result.

- Jollof Rice Sauce Recipe: West African Tomato and Spice Infusion - September 25, 2026
- Japanese Rice Soup Recipe: Umami-Rich Comfort in a Bowl - September 25, 2026
- Homemade Cream Of Rice Recipe: Silk-Smooth Breakfast in Minutes - September 25, 2026