
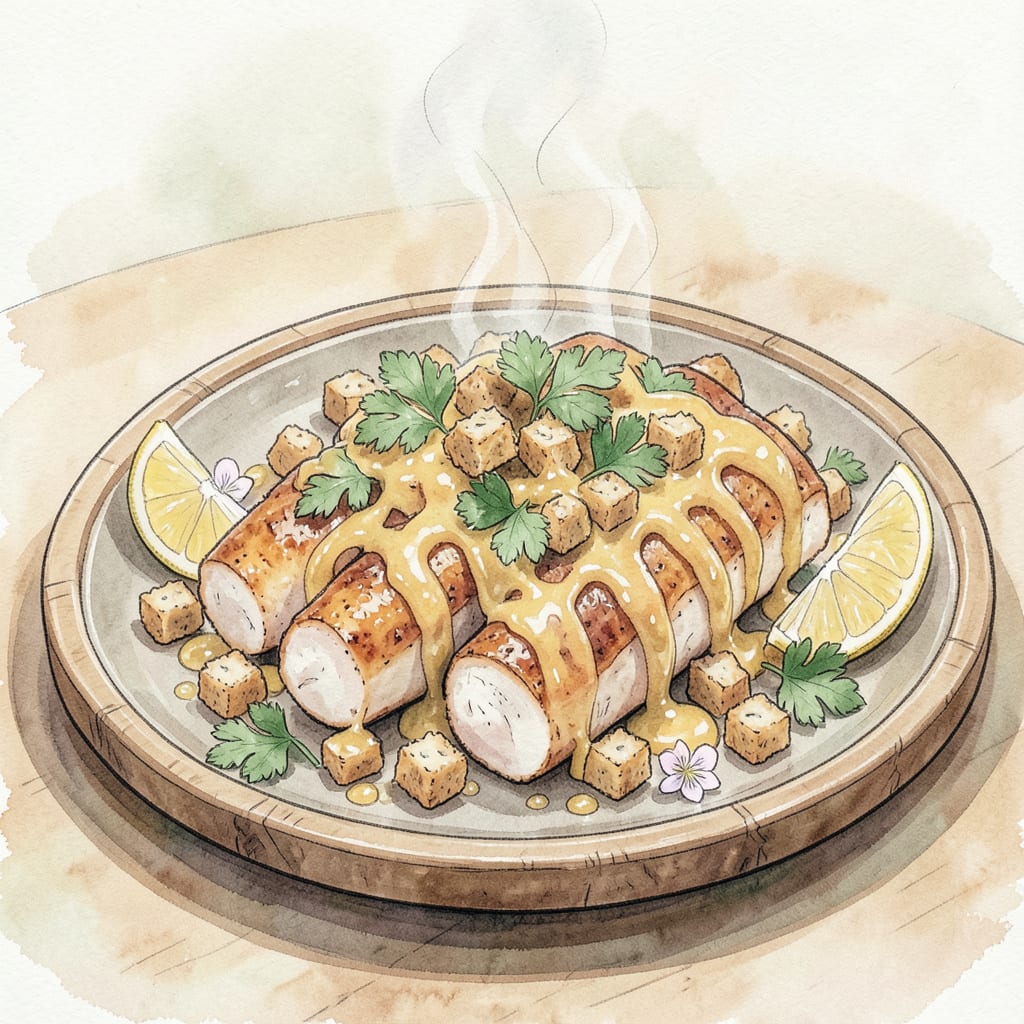
I’ve perfected a Culver’s chicken tenders recipe that delivers crispy perfection every time. This copycat version captures the signature flavor and texture that makes Culver’s famous.
With simple ingredients and precise cooking techniques, you’ll achieve tender and crispy results that rival the original. Cooking at 375°F for 8-10 minutes ensures golden-brown perfection.
Ingredients for Culver’s Chicken Tenders
Simple ingredients come together to create this crispy Culver’s chicken tenders copycat recipe.
| Ingredient | Amount | Notes |
|---|---|---|
| Chicken Breast Tenderloins 🍗 | 1 ½ lb | Fresh, not frozen, for best texture |
| All-Purpose Flour 🌾 | 1 ½ cups | Unbleached, all-purpose variety |
| Cornstarch 🌽 | ½ cup | For extra crispiness |
| Paprika 🌶️ | 2 tsp | Smoked or sweet variety |
| Garlic Powder 🧄 | 1 tsp | Not garlic salt |
| Onion Powder 🧅 | 1 tsp | Fresh ground preferred |
| Salt 🧂 | 1 tsp | Kosher or sea salt |
| Black Pepper 🌶️ | ½ tsp | Freshly ground preferred |
| Buttermilk 🥛 | 1 cup | Full-fat for best results |
| Vegetable Oil 🫒 | 2 cups | For frying, can reuse |
| Egg Whites 🥚 | 2 whole | For egg wash |
| Water 💧 | 2 tbsp | For egg wash |
For the crispiest coating, Pillsbury unbleached all-purpose flour works best. The cornstarch is non-negotiable—it makes the coating light and crunchy. Most grocery stores carry it in the baking aisle. If you’re feeling fancy, try Bob’s Red Mill cornstarch for an extra-crispy coating. For the chicken, look for fresh, never frozen tenders at your local butcher or Whole Foods for the best texture.
No buttermilk? Make a substitute by mixing 1 cup milk with 1 tbsp white vinegar—let it sit 5-10 minutes to thicken. For an extra-crispy coating, try chilling the breaded tenders for 30 minutes before frying. If you don’t have smoked paprika, regular paprika works in a pinch, but the smoky flavor is worth the extra ingredient. For a lighter coating, you can reduce the flour to 1 cup and cornstarch to 1/4 cup.
Leftover tenders keep in an airtight container in the fridge for up to 3 days. Reheat in a 375°F oven for about 10 minutes to regain crispiness. The frying oil can be strained and reused 2-3 times if stored properly in a cool, dark place. For best results, fry immediately after breading for maximum crispiness.
Step-by-Step Instructions for Culver’s Chicken Tenders
Follow my detailed guide to achieve perfectly crispy and tender chicken strips every time.
Step 1: Prepare the Breading Mixture
In a large shallow dish, combine the 1.5 cups All-Purpose Flour, 0.5 cup Cornstarch, 2 tsp Paprika, 1 tsp Garlic Powder, 1 tsp Onion Powder, 1 tsp Salt, and 0.5 tsp Black Pepper. I whisk these ingredients together until they’re evenly distributed, ensuring consistent flavor in every piece.
The cornstarch is crucial here—it adds an extra layer of crispiness that makes these tenders truly special. Make sure your spices are fresh for the best flavor.
Step 2: Marinate in Buttermilk
Pour the 1 cup Buttermilk into a separate large bowl. Add the 1.5 lb Chicken Breast Tenderloins and make sure they’re fully submerged. If necessary, you can gently press them down or turn them to ensure complete coverage.
Let the chicken marinate for at least 30 minutes, though 1-2 hours is even better if you have the time. The acidity in the buttermilk will tenderize the chicken and help the coating adhere.
Step 3: Dredge and Double-Dip for Maximum Crispiness
Remove the chicken tenders from the buttermilk, letting any excess drip off. Dredge them in the flour mixture, shaking off any excess. Then, dip them back into the buttermilk briefly, followed by a second coating in the flour mixture. I press the coating onto the chicken gently to ensure it adheres well.
For the crispiest coating, it’s essential to keep the chicken cold before frying. If you’re preparing multiple batches, you can refrigerate the breaded tenders for up to 30 minutes before frying.
Step 4: Fry to Golden Perfection
Heat the 2 cups Vegetable Oil in a deep fryer or large heavy pot to 350°F. While the oil is heating, prepare an egg wash by whisking together the 2 whole Egg Whites and 2 tbsp Water until frothy. For an extra crispy coating, you can dip the flour-coated tenders in this egg wash before their final fry.
Carefully add the coated chicken tenders to the hot oil in batches, being careful not to overcrowd the pot. Fry for 5-7 minutes or until they reach a golden brown color and the internal temperature hits 165°F. Drain on paper towels.
Step 5: Serve Immediately
Serve the chicken tenders hot and fresh, ideally within 10-15 minutes of frying. If you need to keep them warm, place them on a wire rack in a 200°F oven. This maintains their crispiness while keeping them warm for serving.
The result should be chicken tenders with a beautifully golden, crispy exterior giving way to juicy, tender meat inside. Enjoy your perfectly cooked Culver’s-style chicken tenders!
Dietary Considerations for This culvers chicken tenders
Gluten-Free Adaptation
To make this Culver’s chicken tenders recipe gluten-free, replace the 1.5 cups all-purpose flour with 1:1 gluten-free flour blend containing rice flour or almond flour. Add 1 teaspoon xanthan gum to help with coating adhesion. The cornstarch remains essential for crispiness.
Keto Considerations
For a keto version, use almond flour instead of regular flour and eliminate the cornstarch. The buttermilk marinade works well, but consider adding 1 tablespoon lemon juice to enhance flavor. Be mindful of the vegetable oil used for frying—choose one with a high smoke point like avocado oil.
Dairy-Free Modifications
Replace the buttermilk with a dairy-free alternative by mixing 1 cup non-dairy milk (such as almond or soy milk) with 1 tablespoon white vinegar. Let it sit for 5-10 minutes to thicken before using. For the egg wash, use flax egg or simply omit it for a lighter coating.
Low-Sodium Version
Reduce sodium by using low-sodium salt or herbal seasonings in place of regular salt. Be aware that some spice blends contain hidden sodium, so check labels carefully. The buttermilk already contains some salt, so additional reduction may be necessary in the seasoning mix.
Other Dietary Considerations
For those avoiding egg products, the egg wash can be omitted or replaced with buttermilk alone for the second dip. To make the recipe more allergen-friendly, use dedicated gluten-free and dairy-free preparation surfaces to avoid cross-contamination. Always check ingredient labels for potential allergens. 🔥
Nutrition Facts
Frequently Asked Questions
What’s the secret to making Culver’s-style chicken tenders crispy?
The key to achieving that signature crispiness is double-dipping the chicken tenders in the flour mixture after marinating them in buttermilk. This creates a thick, crunchy coating that stays intact during frying.
Can I bake these chicken tenders instead of frying?
While you can bake them, the result won’t be as crispy as deep-frying. If you choose to bake, preheat your oven to 400°F and cook for 15-20 minutes, flipping halfway through. For best results, use a wire rack on a baking sheet to promote air circulation.
How do I keep the breading from falling off during frying?
To prevent the breading from falling off,
Can I make this recipe in advance? You can prepare the breaded chicken tenders ahead of time and store them in the refrigerator for up to 24 hours before frying. This can actually help the coating adhere better. Just be sure to fry them at 350°F for the best results.

- Jollof Rice Sauce Recipe: West African Tomato and Spice Infusion - September 25, 2026
- Japanese Rice Soup Recipe: Umami-Rich Comfort in a Bowl - September 25, 2026
- Homemade Cream Of Rice Recipe: Silk-Smooth Breakfast in Minutes - September 25, 2026