
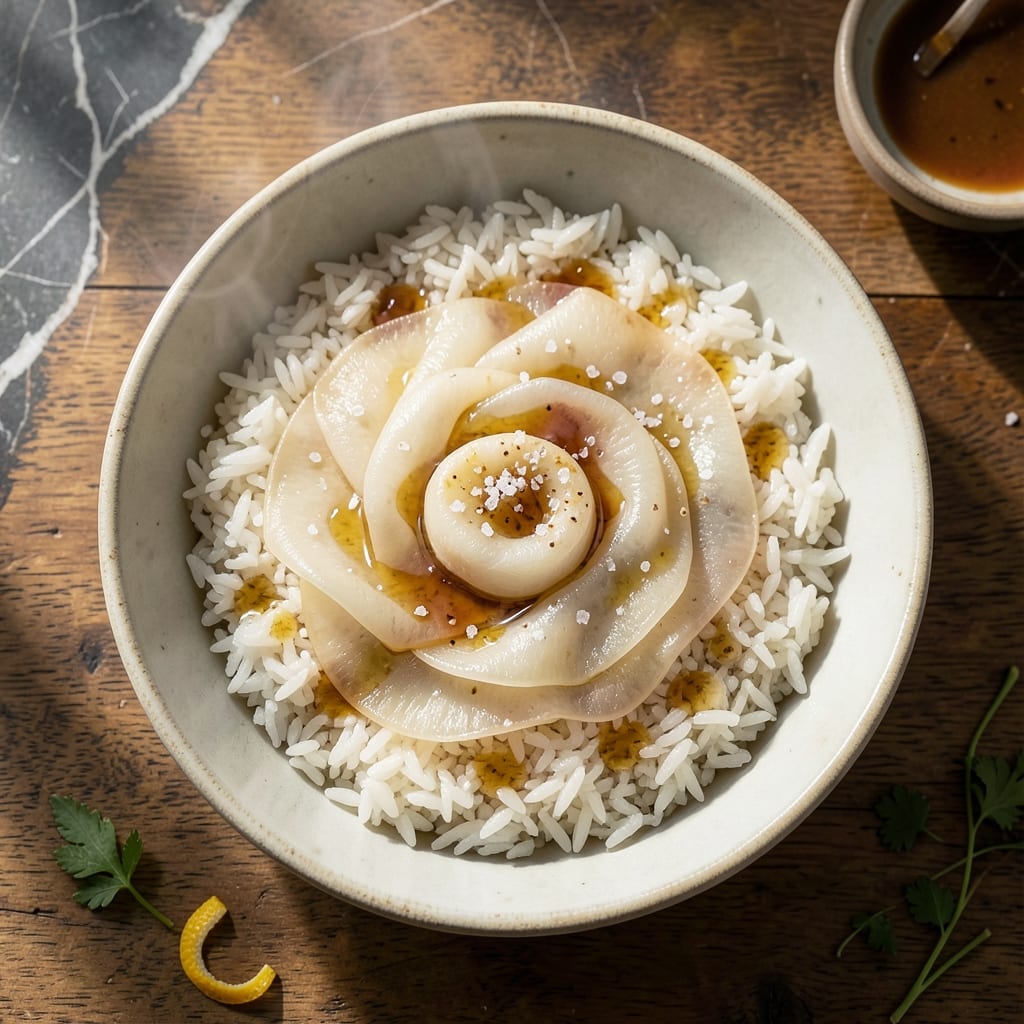
This method transforms simple rice into a traditional treat with crispy edges and perfectly chewy centers.
I’ve refined the process to ensure consistent texture without specialized equipment. The drying step is what makes all the difference.
Ingredients for Dried Rice Cake
Transform simple rice into this textured treat with crisp edges and chewy centers.
| Ingredient | Amount | Notes |
|---|---|---|
| Short-Grain White Rice 🍚 | 2 cups | Sushi rice or calrose variety |
| Water 💧 | 2 ½ cups | For cooking rice |
| Kosher Salt 🧂 | ½ tsp | Diamond Crystal preferred |
| Neutral Oil 🫒 | 2 tbsp | Avocado or vegetable oil |
| Sesame Oil 🫒 | 1 tsp | Toasted for aroma |
| Rice Vinegar 💧 | 1 tbsp | Unseasoned variety |
| Sugar 🍚 | 1 tsp | Optional, for balance |
| Nori Sheets 🍱 | 2 sheets | Cut into thin strips |
| Sesame Seeds 🌰 | 1 tbsp | Toasted for garnish |
| Scallions 🧅 | 2 whole | Thinly sliced for topping |
| Soy Sauce 💧 | 1 tbsp | Low-sodium preferred |
The rice selection is critical. Short-grain varieties like sushi or calrose provide the necessary stickiness for proper texture. Avoid long-grain rice, as it lacks the starch content required. Whole Foods or Asian markets typically carry the best short-grain options. For optimal results, rinse the rice thoroughly before cooking to remove excess starch (worth the extra minute).
No sesame oil? Perilla oil offers a similar nutty depth, though the flavor profile differs slightly. For a gluten-free option, tamari instead of soy sauce works perfectly. The nori can be omitted for a simpler version, but it adds authentic umami. If you lack rice vinegar, apple cider vinegar at half the amount is an acceptable substitute (trust me on this one).
Store cooked rice in the refrigerator for up to 24 hours before drying to achieve the best texture. Once crisped, these keep in an airtight container for 3-4 days, though they’re best enjoyed fresh. Re-crisp in a dry pan if needed (don’t skip this part).
Why You’ll Love This Recipe
- Only uses what I already have: rice, oil, salt. No extra shopping trips.
- 5-Minute Prep: I just mix rice, water, and a pinch of salt—no fancy steps, no stress.
- Nutty Crunch: That sesame oil finish gives it a rich, toasty flavor that’s ridiculously good.
- Snack or Side: Honestly, I pack these for lunchboxes or serve them with tea—so versatile.
Step-by-Step Instructions for Dried Rice Cake
Master the technique for achieving that ideal contrast of textures with every bite.
Step 1: Prepare and Cook the Sushi Rice Base
Rinse the 2 cups Short-Grain White Rice in a fine-mesh strainer under cold water until the water runs clear. This removes excess starch and prevents gummy rice cakes. I find 3-4 rinses usually does the trick for sushi or calrose varieties.
Combine the rinsed rice with 2.5 cups Water and 0.5 tsp Kosher Salt in a rice cooker or heavy pot. Cook according to standard sushi rice methods until tender. The grains should be sticky yet distinct when done.
Step 2: Season the Rice with Aromatic Components
Transfer the warm rice to a large bowl. Drizzle with 1 tbsp Rice Vinegar, 1 tsp Sugar, 1 tsp Sesame Oil, and 1 tbsp Soy Sauce. Gently fold with a rice paddle or silicone spatula using a cutting motion to distribute evenly without mashing the grains.
Let the seasoned rice cool to room temperature. This step is crucial—hot rice will make shaping difficult and can lead to uneven drying. The mixture should have a subtle sheen from the oils and a balanced sweet-savory aroma.
Step 3: Shape and Press the Rice Cakes
Lightly oil your hands with 2 tbsp Neutral Oil to prevent sticking. Divide the rice into 8 equal portions (about ½ cup each) and shape into round cakes approximately ¾-inch thick. Press firmly but gently to compact the grains without squeezing out moisture.
Arrange the cakes on a parchment-lined baking sheet. For best results, let them sit at room temperature for 15-20 minutes to form a slight skin on the surface, which helps maintain shape during drying.
Step 4: Dry the Rice Cakes for Optimal Texture
Preheat your oven to its lowest setting, ideally around 170-180°F. Place the rice cakes on the middle rack and prop the door open slightly with a wooden spoon to allow moisture to escape. This low-and-slow method is key for even drying.
Dry for 2-3 hours, flipping halfway through, until the edges are crisp and the centers yield slightly to pressure. You’re looking for a matte, dry exterior with no sticky spots. The cakes should feel light for their size when properly dehydrated.
For extra crispness, increase the oven temperature to 200°F for the final 30 minutes, watching closely to prevent over-browning.
Step 5: Add Finishing Touches and Serve
Once cooled completely, brush the cakes lightly with additional neutral oil if desired. Cut the 2 sheets Nori Sheets into thin strips and press them decoratively onto the cakes. The nori will soften slightly from the residual warmth.
Just before serving, sprinkle with 1 tbsp Sesame Seeds and 2 whole Scallions, thinly sliced. The contrast of the crispy edges, chewy centers, and fresh toppings creates the perfect bite. Serve at room temperature for the best texture experience.
Pro Tips For Making Dried Rice Cake
- Soak the Rice: I learned this the hard way—skip soaking and your rice cakes will crack. Give short-grain rice a 4-hour soak in cold water before steaming; it softens the starches just enough.
- Steam, Don’t Boil: After burning two batches, I finally figured out that boiling the rice turns it mushy. Use a bamboo steamer over simmering water for 20 minutes to keep the texture firm and chewy.
- Salt the Water: Sounds weird, but it works: add 1 teaspoon of kosher salt to the soaking water. It seasons the rice from the inside out, so your cakes won’t taste bland.
- Finish with Sesame: My grandmother swore by this, and she was right: brush the cakes with sesame oil while still warm. It adds a nutty depth that neutral oil just can’t match.
Best Sauces and Condiments for This Recipe
Savory Dipping Sauces
I love serving these with a classic soy-ginger dipping sauce. Mix ¼ cup soy sauce, 1 tbsp rice vinegar, 1 tsp sesame oil, and ½ tsp grated ginger. The acidity cuts through the richness beautifully. 💫
Spicy Kick Options
For heat lovers, try gochujang sauce—combine 2 tbsp gochujang, 1 tbsp honey, and 1 tsp toasted sesame oil. Thin with 1-2 tsp warm water if needed. This Korean staple adds depth and a bit of sweetness.
Creamy Pairings
A simple spicy mayo works wonders. Mix ½ cup mayonnaise with 1 tbsp sriracha and 1 tsp lime juice. The cool creaminess balances the crispy texture perfectly. I always keep Kewpie mayo on hand for this.
Herb-Infused Oils
Drizzle with chili oil for an aromatic finish. Heat ½ cup neutral oil with 1 tbsp crushed red pepper and 1 star anise pod until fragrant. Strain and cool before serving. The warmth enhances the chewy centers.
Sweet Glaze
For a sweet-savory twist, brush with a honey-soy glaze. Simmer 3 tbsp honey, 2 tbsp soy sauce, and 1 tsp grated garlic until slightly thickened. Apply while cakes are still warm for maximum absorption.
Fresh Garnishes
Top with a mix of toasted sesame seeds and thinly sliced scallions. The freshness adds brightness that contrasts the dried texture. I often add a sprinkle of furikake for extra umami and color.
Nutrition Facts
Frequently Asked Questions
Can I use long-grain rice instead?
No, long-grain rice lacks the sticky starch needed for proper texture. Short-grain varieties like sushi or calrose are essential for chewy centers. The wrong rice will crumble during shaping.
How do I know when they’re fully dried?
The edges should be crisp and centers yield slightly when pressed. Look for a matte, dry exterior with no sticky spots. Properly dried cakes feel light for their size.
What if my cakes brown too quickly?
Lower the oven temperature to 170-180°F and prop the door open. This slow drying prevents over-browning while ensuring even dehydration. Watch closely during the final 30 minutes.
Can I skip the seasoning step?
You can, but the flavor will be bland. The rice vinegar, soy sauce, and sesame oil add depth that balances the texture. At minimum, use salt for basic seasoning.

- Jollof Rice Sauce Recipe: West African Tomato and Spice Infusion - September 25, 2026
- Japanese Rice Soup Recipe: Umami-Rich Comfort in a Bowl - September 25, 2026
- Homemade Cream Of Rice Recipe: Silk-Smooth Breakfast in Minutes - September 25, 2026