
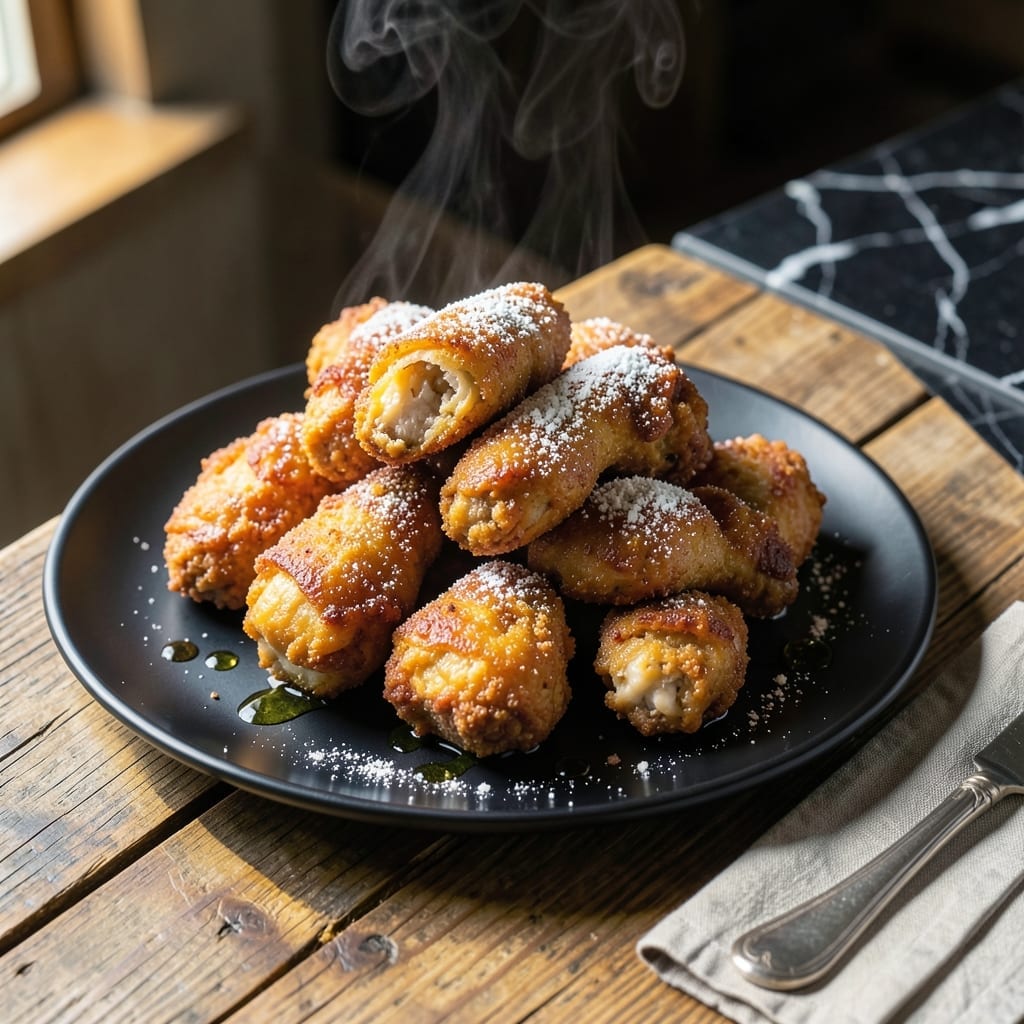
This dynamite chicken delivers a perfect balance of heat, sweetness, and tang that keeps you reaching for more. The secret lies in the double-frying technique, which creates an ultra-crispy exterior that holds up to the bold sauce.
Each bite offers tender chicken coated in a sticky, spicy-sweet glaze with just the right amount of kick. The sauce clings beautifully to the crispy pieces, ensuring every mouthful bursts with flavor.
I developed this recipe to capture that restaurant-quality texture and taste at home. The combination of chili, honey, and soy in the sauce creates a complex flavor profile that’s both addictive and satisfying.
Serve it as an appetizer or main dish—either way, it’ll disappear fast. Here’s how to make this crowd-pleaser in your own kitchen.
Ingredients for Dynamite Chicken
Pantry staples plus a quick stop at the grocery store for this addictive dish.
| Ingredient | Amount | Notes |
|---|---|---|
| Boneless Chicken Thighs 🍗 | 1 ½ lb | Cut into bite-sized pieces |
| Cornstarch 🌾 | ½ cup | For crispy coating |
| All-Purpose Flour 🌾 | ½ cup | Lightly seasons coating |
| Baking Powder 🧂 | 1 tsp | For extra crispiness |
| Salt 🧂 | 1 tsp | Kosher or sea salt |
| Black Pepper 🌶️ | ½ tsp | Freshly ground preferred |
| Garlic Powder 🧄 | 1 tsp | For savory depth |
| Vegetable Oil 🫒 | 4 cups | For frying, high smoke point |
| Honey 🍯 | ½ cup | For sweet glaze |
| Soy Sauce 🥫 | ⅓ cup | Low-sodium preferred |
| Sriracha Sauce 🌶️ | 3 tbsp | Adjust for heat preference |
| Rice Vinegar 🍚 | 2 tbsp | For tangy balance |
| Minced Garlic 🧄 | 3 cloves | Freshly minced preferred |
| Grated Ginger 🌿 | 1 tbsp | Fresh ginger for zing |
| Sesame Seeds 🌰 | 2 tbsp | For garnish, toasted |
| Green Onions 🧅 | 3 whole | Thinly sliced for garnish |
The chicken thighs are non-negotiable here. Boneless, skin-on gives you that juicy interior—skip the breasts, they dry out. I grab mine from Costco in bulk, but any supermarket will do. Look for thighs with good marbling (little white flecks of fat). The cornstarch is key for that ultra-crispy coating, so don’t swap it for flour. Bob’s Red Mill is my go-to brand.
No honey? Maple syrup or agave works in a pinch (use slightly less, it’s thinner). Sriracha too hot? Gochujang or sweet chili sauce dials it back while keeping the color. Fresh ginger not on hand? Ground ginger at one-third the amount saves the day. The soy sauce can be tamari if you need gluten-free. And if you’re out of rice vinegar, apple cider vinegar is a solid stand-in.
Fry in batches so the oil stays hot—crowding the pan makes everything soggy. Sauce keeps 5 days in the fridge, but the chicken is best eaten fresh. Leftovers? Re-crisp in a 400°F oven for 10 minutes. Trust me, they’ll still disappear fast.
Why You’ll Love This Recipe
- Minimal Effort: I just toss the chicken thighs in cornstarch and flour—no fancy prep, and they crisp up beautifully.
- Crispy Perfection: That baking powder trick gives it an insane crunch, and the thighs stay juicy every time.
- Crowd Pleaser: I serve this at parties and it’s always the first dish to disappear—even my picky nephew loves it.
- Budget Win: Boneless thighs are cheap, and a little goes a long way. Leftovers? Still delicious cold the next day.
Step-by-Step Instructions for Dynamite Chicken
This method delivers crispy, saucy perfection with minimal effort and maximum flavor impact.
Step 1: Coat and Prepare the Chicken
Cut the 1.5 lb Boneless Chicken Thighs into bite-sized pieces—about 1-inch chunks work best. Pat them completely dry with paper towels; any moisture will sabotage your crispy coating. I can’t stress this enough.
In a large bowl, whisk together the 0.5 cup Cornstarch, 0.5 cup All-Purpose Flour, 1 tsp Baking Powder, 1 tsp Salt, 0.5 tsp Black Pepper, and 1 tsp Garlic Powder. Toss the chicken pieces in this mixture until every piece is evenly coated. The baking powder is the secret to that extra-crispy texture.
Step 2: Fry to Golden Perfection
Heat the 4 cups Vegetable Oil in a deep, heavy pot to 350°F. Use a thermometer for accuracy—this isn’t the time for guessing. When the oil reaches temperature, carefully add the coated chicken in batches to avoid overcrowding.
Fry for 6-8 minutes until the pieces are deep golden brown and floating at the surface. Don’t rush this; the coating needs time to develop that shatteringly crisp texture. Transfer the fried chicken to a wire rack set over a baking sheet to drain excess oil while you fry the remaining batches.
Step 3: Create the Dynamite Sauce
In a large skillet, combine the 0.5 cup Honey, 0.33 cup Soy Sauce, 3 tbsp Sriracha Sauce, 2 tbsp Rice Vinegar, 3 cloves Minced Garlic, and 1 tbsp Grated Ginger. Cook over medium heat for 3-4 minutes, stirring constantly, until the mixture thickens slightly and becomes glossy.
The sauce should coat the back of a spoon and smell intensely aromatic. Taste it—you should detect the sweetness of the honey, the saltiness of the soy sauce, and the heat from the sriracha all in perfect balance. If it’s too thick, add a splash of water to loosen it.
Step 4: Toss and Garnish for Maximum Impact
Add all the fried chicken to the skillet with the sauce. Toss gently but thoroughly until every piece is evenly coated. The sauce should cling to the crispy coating, creating that signature sticky, glossy finish.
Transfer to a serving platter and immediately sprinkle with the 2 tbsp Sesame Seeds and thinly sliced 3 whole Green Onions. The contrast of the crispy chicken, sticky sauce, and fresh garnishes is what makes this dish unforgettable. Serve immediately while the coating is still at its crispiest.
Pro Tips For Making Dynamite Chicken
- Dry the Chicken: Pat the boneless thighs completely dry with paper towels before dredging—any moisture makes the coating slide right off.
- Chill the Coating: Mix the flour, cornstarch, baking powder, and salt, then refrigerate for 15 minutes before using; it crisps up better and sticks like glue.
- Skip the Crowding: Fry in small batches so the oil temperature doesn’t drop, or you’ll get greasy, soggy chicken instead of that shatter-crisp crust.
- Double Fry for Crunch: Fry once at 325°F for 5 minutes, rest 2 minutes, then fry again at 375°F for 3—this second blast is what makes it dynamite-level crispy.
Creative Variations of dynamite chicken
Extra Spicy Kick
For heat lovers, add 1 tbsp gochujang or 1 tsp cayenne pepper to the sauce while it simmers. I also like tossing in 2 chopped Thai bird’s eye chilies for fresh heat. The extra spice cuts through the sweetness beautifully. 🌶️
Honey Garlic Twist
Replace the sriracha with 3 tbsp gochujang and add 1 extra tbsp honey for a deeper, sweeter profile. This Korean-inspired version has a more complex, umami-rich flavor that’s just as addictive.
Citrus Zing Variation
Add zest of 1 lime and 2 tbsp lime juice to the sauce for a bright, tangy twist. The citrus lifts all the flavors and balances the richness. Garnish with extra lime wedges for serving.
Air Fryer Method
For a lighter version, coat the chicken as directed then air fry at 400°F for 12-15 minutes, shaking halfway. Toss with sauce as usual. I use my Ninja Foodi for this—comes out crispy every time.
Vegetable Boost
Add 1 cup diced bell peppers and ½ cup pineapple chunks to the sauce before tossing with chicken. The veggies soak up the sauce while adding freshness. This makes it more of a complete meal. 🥗
Gluten-Free Option
Swap the all-purpose flour for gluten-free flour blend and use tamari instead of soy sauce. The texture remains just as crispy, and the flavor is identical. I’ve tested this with King Arthur’s GF flour with great results.
Nutrition Facts
Frequently Asked Questions
Can I use chicken breasts instead of thighs?
Not recommended. Chicken breasts dry out quickly and lack the fat needed for juicy results. Stick with boneless, skin-on thighs for the best texture and flavor.
How do I make it less spicy?
Reduce the sriracha to 1-2 tablespoons or replace it with sweet chili sauce. For mild heat, add 1 tablespoon honey to balance the sauce.
Why is my coating not crispy?
Likely the oil wasn’t hot enough (350°F is key). Also, frying in batches prevents overcrowding, which lowers oil temperature. Drain on a rack, not paper towels, to keep it crisp.
Can I bake this instead of frying?
Yes! Bake at 400°F for 20-25 minutes, flipping halfway. For extra crispiness, spray with oil before baking. The texture won’t be identical, but still delicious.

- Jollof Rice Sauce Recipe: West African Tomato and Spice Infusion - September 25, 2026
- Japanese Rice Soup Recipe: Umami-Rich Comfort in a Bowl - September 25, 2026
- Homemade Cream Of Rice Recipe: Silk-Smooth Breakfast in Minutes - September 25, 2026