
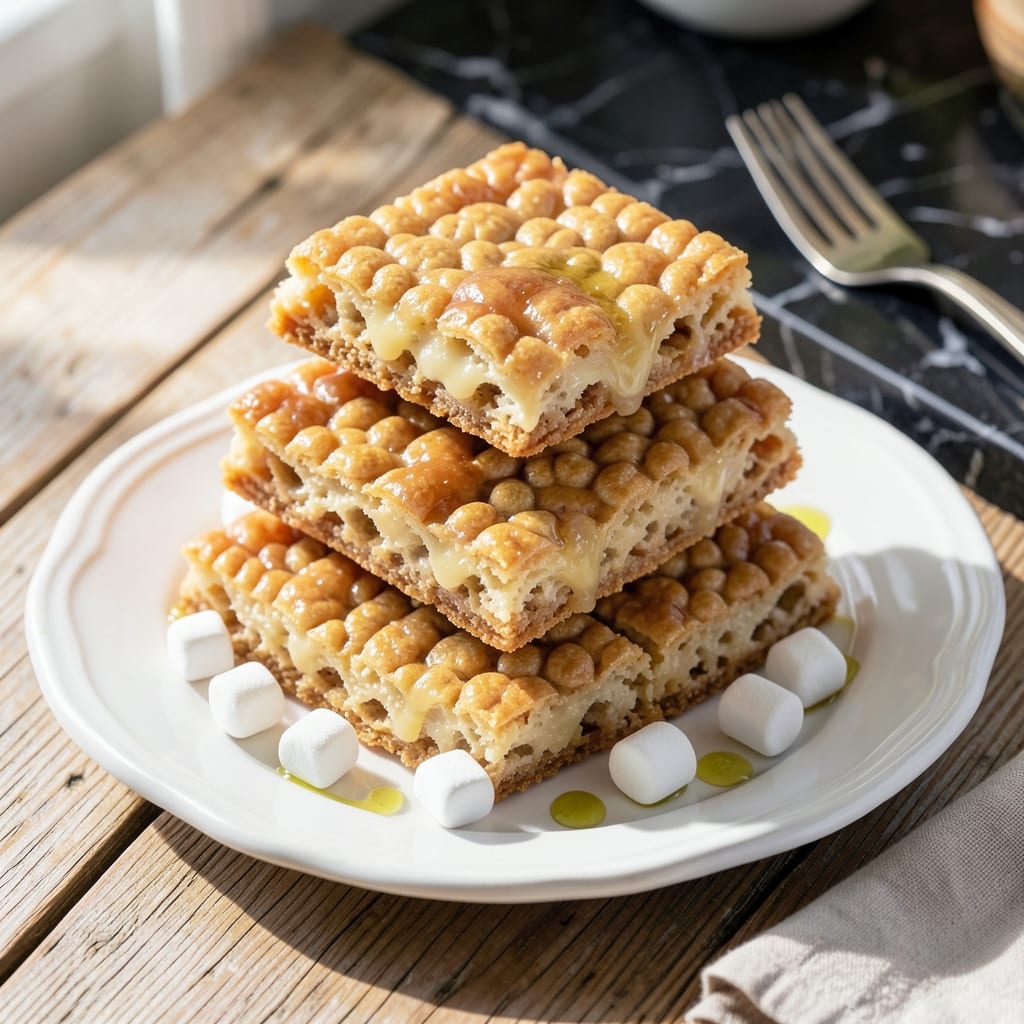
This no-bake classic delivers perfectly chewy results every time with just 3 ingredients and 10 minutes of effort.
Melted marshmallows bind crispy cereal into squares that stay soft for days—ideal for parties, lunchboxes, or last-minute cravings.
Ingredients for Find Rice Krispie Treat
Three essential ingredients plus a pinch of magic create this timeless no-bake treat.
| Ingredient | Amount | Notes |
|---|---|---|
| Rice Krispies Cereal 🥣 | 6 cups | Original crispy rice cereal |
| Mini Marshmallows 🍬 | 10 oz | Or 40 large marshmallows |
| Unsalted Butter 🧈 | 3 tbsp | For melting with marshmallows |
| Pinch of Salt 🧂 | 1 pinch | Enhances sweetness balance |
| Vanilla Extract 🌿 | ½ tsp | Pure extract for best flavor |
The marshmallows are critical here—Kraft Jet-Puffed are the gold standard for consistent melt and texture. For the cereal, only Kellogg’s Rice Krispies deliver that signature snap, crackle, pop. Generic brands often lack the right crispness. The butter should be high-quality unsalted to avoid any salty interference with the sweetness. I always use European-style butter for its higher fat content (worth the extra dollar).
No mini marshmallows? Large marshmallows cut into quarters work identically. Want a richer flavor? Swap the vanilla for almond extract at one-fourth the amount. For a vegan version, use Earth Balance butter and Dandies vegan marshmallows. The salt is optional but highly recommended—it elevates all the flavors without tasting salty.
These keep beautifully at room temperature for 2-3 days in an airtight container. For longer storage, wrap individual squares in parchment and freeze for up to 6 weeks. Let thaw 30 minutes before serving (they’ll soften but retain shape).
Why You’ll Love This Recipe
- One Pot Wonder: I melt the butter and marshmallows in a single saucepan, stir in the cereal, and we’re done—no fancy equipment needed.
- Vanilla Twist: That splash of vanilla in the melted marshmallows turns the flavor from basic to ridiculously good.
- Crowd Pleaser: I bring a batch to potlucks and they vanish before the veggie tray even gets a glance.
- Budget Friendly: A box of cereal and a bag of mini marshmallows feed a dozen for under five bucks.
Step-by-Step Instructions for Rice Krispie Treats
This no-bake method delivers perfectly chewy, gooey treats with minimal effort and maximum satisfaction.
Step 1: Melt Butter and Prepare Marshmallow Base
In a large saucepan, melt the 3 tbsp Unsalted Butter over low heat. The butter should foam slightly but not brown—this maintains the clean flavor needed for the final product. Keep the heat low to prevent scorching.
Once fully melted, add the 10 oz Mini Marshmallows and the 1 pinch Pinch of Salt. Stir constantly with a silicone spatula, scraping the bottom of the pan to prevent sticking. The marshmallows will begin to soften and collapse within 2-3 minutes.
Step 2: Achieve Smooth Marshmallow Mixture
Continue stirring until the marshmallows are completely melted and the mixture is smooth with no visible lumps. At this point, remove the saucepan from heat. The mixture should be glossy and slightly elastic when you lift the spatula.
Immediately stir in the 0.5 tsp Vanilla Extract. The residual heat will distribute the vanilla evenly. I’ve found that adding it off heat preserves the delicate aromatic compounds, ensuring a more pronounced vanilla flavor in the finished treats.
Step 3: Combine with Rice Krispies Cereal
Add all 6 cups Rice Krispies Cereal to the marshmallow mixture at once. Use a folding motion to gently incorporate the cereal, ensuring every piece is thoroughly coated. The cereal should glisten with the marshmallow mixture, and you’ll hear a subtle crackling sound as it begins to crisp under the heat.
Work quickly here—the mixture will start to set as it cools. If it becomes too stiff to stir, place the saucepan back over low heat for 10-15 seconds to soften slightly, but avoid overheating, which can make the treats hard.
Step 4: Press and Set in Pan
Transfer the mixture to a greased 9×13-inch pan or line the pan with parchment paper for easy removal. Use the spatula or lightly buttered hands to press the mixture evenly into the pan. Apply firm, even pressure to create a uniform layer with no air pockets.
For the best texture, avoid over-compressing—press just enough to shape the treats without making them dense. The surface should be smooth and slightly tacky to the touch. Let the treats cool at room temperature for 30-45 minutes until fully set.
Step 5: Cut and Serve
Once completely cooled and firm, use a sharp knife to cut into squares. For clean cuts, dip the knife in warm water between slices. The treats should hold their shape with slightly crisp edges and a soft, chewy interior.
Store in an airtight container at room temperature for up to 3 days, though they’re best enjoyed fresh. The marshmallow binding should keep the cereal slightly crisp while maintaining that signature chewy texture.
Pro Tips For Making Find Rice Krispie Treat
- Melt Butter Slowly: Use low heat when melting the butter to prevent browning—burnt butter will give your treats a bitter taste. I learned this the hard way after ruining a batch with overzealous heat.
- Use Fresh Marshmallows: Skip the stale mini marshmallows; fresh ones melt smoothly and bind better. After using old ones once, I ended up with a grainy, uneven texture.
- Press While Warm: Press the mixture into the pan immediately after mixing—waiting even 2 minutes makes it harder to shape. Sounds obvious, but I used to let it sit too long and struggled with crumbly edges.
- Add Vanilla Last: Stir in the vanilla extract after removing the marshmallow mixture from heat to preserve its flavor. High heat can dull the vanilla’s aroma—I noticed a real difference once I started doing this.
Health Benefits of This Recipe
Low-Calorie Indulgence
Each standard square contains about 90 calories, making this a lighter dessert option compared to many baked goods. The majority of calories come from simple carbs, which provide quick energy—perfect for a mid-afternoon pick-me-up. 💪
Fat-Free Base
The cereal itself is completely fat-free, and the recipe only adds 3 tbsp of butter for the entire batch. This keeps the saturated fat content minimal while maintaining the rich, buttery flavor we all love.
Gluten-Free Potential
While traditional Rice Krispies contain malt flavoring, Kellogg’s Gluten-Free Rice Krispies work identically in this recipe. Just ensure your marshmallows are certified gluten-free as well to accommodate sensitive diets.
Vitamin Fortification
The cereal is fortified with essential vitamins and minerals, including iron and several B vitamins. Each serving provides a small boost of these nutrients, adding a touch of nutritional value to your sweet treat.
Portion Control Friendly
With the batch divided into 24 squares, it’s easy to enjoy just one or two without overindulging. I find this helps satisfy cravings while keeping portions in check—ideal for mindful snacking. ✨
No Artificial Additives
When using Kraft Jet-Puffed marshmallows and Kellogg’s Rice Krispies, you’re working with products free from artificial flavors or colors. The ingredient list remains simple and recognizable.
Nutrition Facts
Frequently Asked Questions
Can I use regular marshmallows instead of mini?
Use 40 large marshmallows cut into quarters for the same result. They melt identically to mini ones, though they take slightly longer to soften.
How do I make them extra chewy?
Add 1 extra cup of marshmallows to the recipe. The additional gooeyness keeps them softer for days. Press lightly when shaping—over-compressing makes them dense.
Why did my treats turn out hard?
This usually happens from overheating the marshmallow mixture or pressing too firmly. Keep the heat on low and use gentle pressure when shaping.
Can I add mix-ins like chocolate chips?
Yes! Stir in up to 1 cup of add-ins after mixing in the cereal. Sprinkles, nuts, or dried fruit work well too. Let cool slightly before adding chocolate to prevent melting.

- Gobi Fried Rice Recipe: Spiced Cauliflower Wok Delight - October 8, 2026
- Glutinous Rice Roll Recipe: Chewy Pillows With Savory Fillings - October 8, 2026
- Garlic Jasmine Rice Recipe: Fragrant Grains with Aromatic Depth - October 8, 2026