
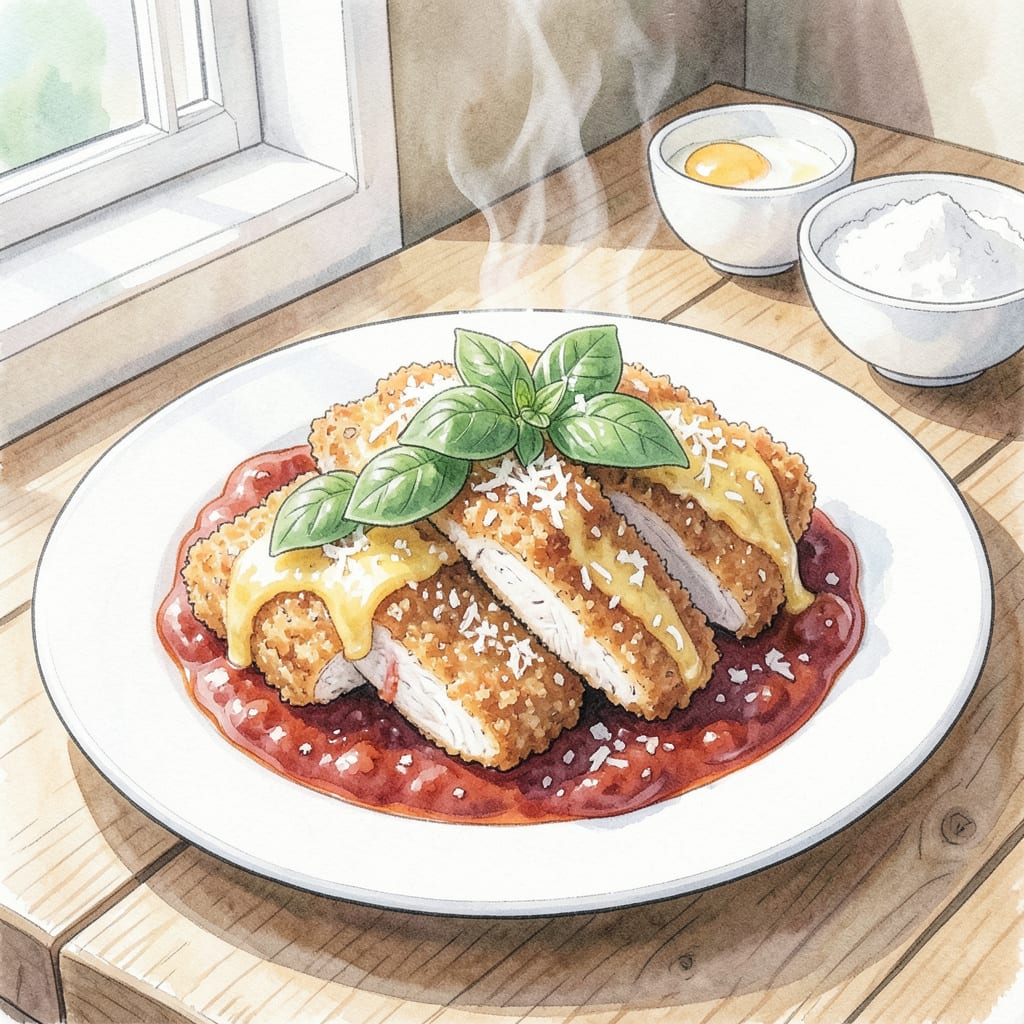
I’ve perfected my chicken parmesan recipe to deliver crispy breaded chicken with perfectly melted mozzarella cheese. The secret lies in a light breading technique and precise cooking times that ensure a golden crust.
This recipe transforms simple ingredients into a restaurant-quality main course, ready in under 45 minutes. The combination of marinara sauce and melted mozzarella creates a comforting, satisfying meal that’s sure to become a family favorite.
Ingredients for Fresh Market Chicken Parmesan
Simple ingredients come together to create this delicious chicken parmesan dish in minutes.
| Ingredient | Amount | Notes |
|---|---|---|
| Chicken Breast Cutlets 🍗 | 1 ½ lb | Pounded thin for even cooking |
| All-Purpose Flour 🌾 | 1 cup | For dredging chicken cutlets |
| Large Eggs 🥚 | 2 whole | Beaten for egg wash |
| Panko Breadcrumbs 🍞 | 1 ½ cups | For crispy breading |
| Parmesan Cheese 🧀 | 1 cup | Freshly grated from block |
| Marinara Sauce 🍅 | 2 cups | Homemade or quality jarred |
| Mozzarella Cheese 🧀 | 8 oz | Fresh mozzarella, sliced |
| Fresh Basil Leaves 🌿 | ¼ cup | Chopped, for garnish |
| Garlic Cloves 🧄 | 4 cloves | Minced for sauce |
| Olive Oil 🫒 | ½ cup | For frying chicken |
| Salt 🧂 | 1 tsp | Kosher or sea salt |
| Black Pepper 🌶️ | ½ tsp | Freshly ground preferred |
For the crispiest breading, Panko breadcrumbs are essential. Look for them in the international section at major supermarkets like Whole Foods or Trader Joe’s. Fresh mozzarella makes a difference too—grab it from the deli counter if possible. I always recommend BelGioioso or similar high-quality brands for the best melt.
No fresh basil? Dried oregano at half the amount works as a decent substitute. For the marinara, Rao’s is a solid jarred option if you’re short on time. Making your own sauce? San Marzano tomatoes are worth the investment. If you can’t find fresh mozzarella, low-moisture mozzarella from a block is the next best thing—just shred it yourself.
This dish reheats beautifully in the oven at 350°F for about 15 minutes. Leftovers keep in the fridge for 3-4 days. Freeze individual portions for up to 3 months—just thaw overnight in the fridge before reheating. The breaded chicken can be prepped ahead and stored in the fridge for up to a day before baking.
Step-by-Step Instructions for Crispy Breaded Chicken with Melty Cheese
Mastering this classic Italian-American dish is easier than you think with these detailed steps.
Step 1: Prepare the Breading Station
Set up your breading station with three shallow dishes. In the first, place the 1 cup All-Purpose Flour. In the second, beat the 2 whole Large Eggs until well mixed. In the third, combine the 1.5 cups Panko Breadcrumbs and 1 cup Parmesan Cheese, mixing thoroughly to ensure even distribution of the cheese.
This breading station is crucial for achieving that perfect crispy exterior. The flour provides a dry surface for the egg wash to adhere to, while the Panko breadcrumbs create a light, airy crust. I like to keep my breading station organized and within easy reach to streamline the process.
Step 2: Bread the Chicken Cutlets
Take each of the 1.5 lb Chicken Breast Cutlets and dredge it in the flour, coating both sides evenly. Then, dip the floured cutlet into the egg wash, making sure it’s fully coated. Finally, press the cutlet into the breadcrumb mixture, ensuring an even coating on both sides. Place the breaded cutlet on a plate or tray. Repeat with the remaining chicken cutlets.
The key to successful breading is to handle the chicken gently and avoid over-handling the breadcrumbs. You want the coating to be even and adhere well to the chicken. If you find the breadcrumbs aren’t sticking well, you can gently press them onto the chicken to help them adhere.
Step 3: Fry the Breaded Chicken
Heat the 0.5 cup Olive Oil in a large skillet over medium-high heat until it reaches 350°F. Carefully place the breaded chicken cutlets in the hot oil, being mindful not to overcrowd the pan. Fry for 3-4 minutes per side until the breading is golden brown and the chicken is cooked through. Transfer the fried chicken to a paper towel-lined plate to drain any excess oil.
Frying the chicken at the right temperature is crucial for achieving that crispy exterior. If the oil is too hot, the outside will burn before the inside is fully cooked. If it’s too cold, the breading will absorb too much oil and become greasy. I always use a thermometer to ensure the oil is at the perfect temperature.
Step 4: Assemble and Bake the Parmesan
Preheat your oven to 400°F. In a baking dish, spread a layer of 2 cups Marinara Sauce on the bottom. Place the fried chicken cutlets on top of the sauce. Spoon more marinara sauce over each cutlet, then top with slices of 8 oz Mozzarella Cheese. Sprinkle some of the remaining 1 cup Parmesan Cheese over the top.
Bake in the preheated oven for 15-20 minutes, or until the cheese is melted and bubbly. For an extra crispy top, you can broil the dish for an additional 2-3 minutes, watching carefully to prevent burning. Remove from the oven and sprinkle with 0.25 cup Fresh Basil Leaves, chopped just before serving.
Step 5: Serve and Enjoy
Let the Chicken Parmesan rest for a few minutes before serving. This allows the cheese to set slightly and makes it easier to serve. Serve hot, garnished with additional fresh basil if desired. The combination of crispy breaded chicken, tangy marinara sauce, and melted mozzarella cheese is sure to be a hit.
I like to serve this dish with a side of pasta or a simple green salad to round out the meal. The key to a great Chicken Parmesan is in the details: crispy chicken, flavorful sauce, and plenty of melted cheese. With these steps, you’ll be well on your way to creating a delicious, satisfying meal that’s sure to please even the pickiest eaters.
Make-Ahead Tips for This Dish
Advance Preparation Tips
To save time on busy weeknights, you can prepare several components ahead. Bread the chicken cutlets up to 24 hours in advance and store them on a baking sheet lined with parchment paper in the refrigerator. This allows the breading to adhere better to the chicken.
Make-Ahead Marinara Sauce
Your marinara sauce can be made 3-4 days in advance and stored in an airtight container in the refrigerator. I like to make a double batch and freeze half for future meals. Simply reheat it in the microwave or on the stovetop before assembling the parmesan.
Component Storage
You can also prepare the cheese and basil topping in advance. Slice the 8 oz mozzarella and store it in an airtight container in the refrigerator for up to 2 days. Grate the 1 cup parmesan and store it in a separate container. Chop the 0.25 cup fresh basil just before serving to preserve its flavor and color.
Assembly and Baking
Assemble the chicken parmesan just before baking by layering the fried chicken cutlets, marinara sauce, and cheese in a baking dish. You can assemble the dish up to 2 hours before baking and keep it covered in the refrigerator. When you’re ready to bake, simply remove it from the refrigerator and bake at 400°F for 20-25 minutes, or until the cheese is melted and bubbly. 🔥
Reheating Leftovers
Leftover chicken parmesan reheats beautifully in the oven. Place the leftovers on a baking sheet and reheat at 350°F for about 15 minutes, or until heated through. This method helps maintain the crispy exterior and prevents the breading from becoming soggy.
Freezing for Later
You can also freeze the assembled, unbaked chicken parmesan for up to 3 months. Wrap the baking dish tightly with plastic wrap and aluminum foil before freezing. To bake, thaw overnight in the refrigerator and bake as directed. This make-ahead option is perfect for meal prep or busy schedules. ❄️
Nutrition Facts

- Jollof Rice Sauce Recipe: West African Tomato and Spice Infusion - September 25, 2026
- Japanese Rice Soup Recipe: Umami-Rich Comfort in a Bowl - September 25, 2026
- Homemade Cream Of Rice Recipe: Silk-Smooth Breakfast in Minutes - September 25, 2026