
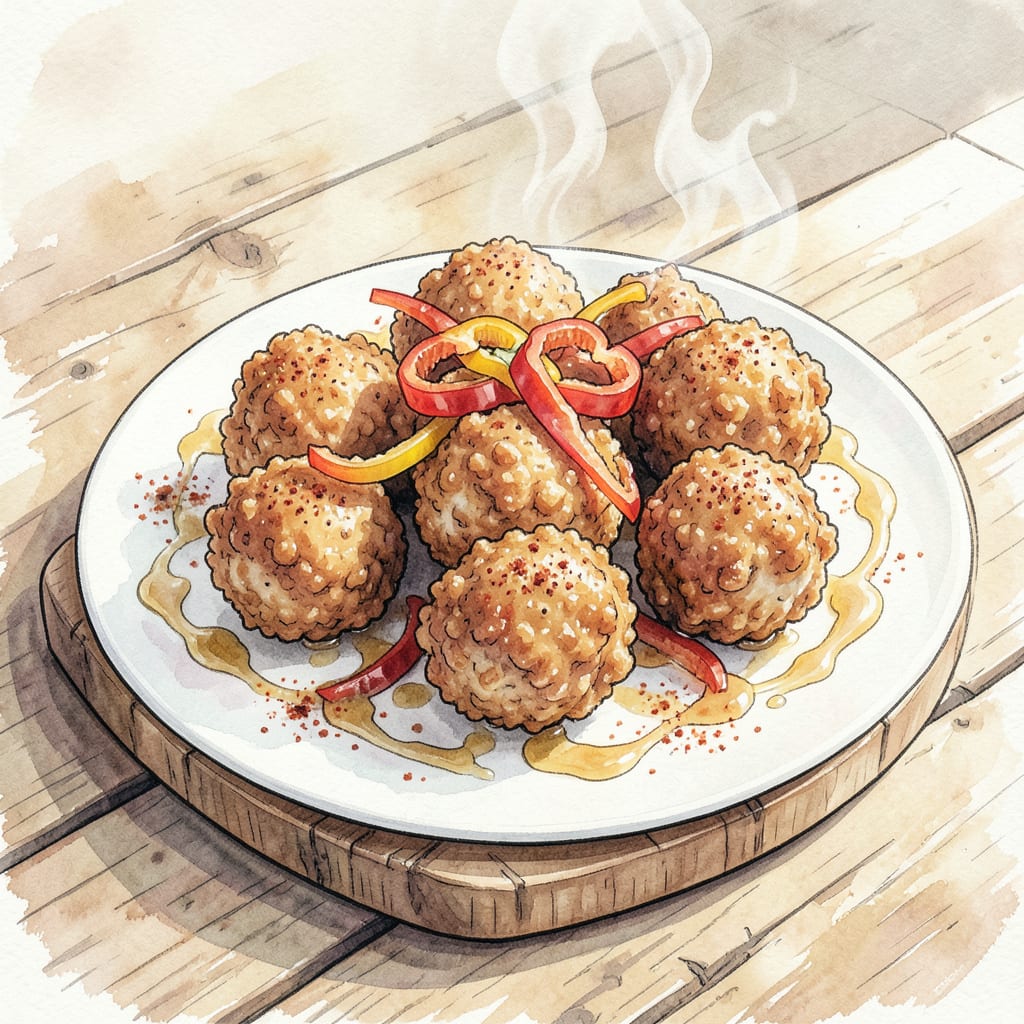
I’m excited to share my secret for achieving perfectly crispy fried chicken balls with tender interiors. 🔥 This recipe delivers crispy exteriors and juicy chicken centers every time, making it perfect for snacking or entertaining.
With a simple mixture of chicken, spices, and herbs, these bite-sized treats are easy to make and fun to eat. By following my precise frying technique, you’ll achieve tender chicken coated in a golden, crunchy exterior that’s sure to impress.
Ingredients for Fried Chicken Balls
Crispy fried chicken balls start with simple ingredients and precise technique.
| Ingredient | Amount | Notes |
|---|---|---|
| Boneless Chicken Breast 🍗 | 1 lb | Diced into 1-inch pieces |
| All-Purpose Flour 🌾 | 1 cup | For dredging chicken |
| Panko Breadcrumbs 🍞 | 1 ½ cups | For crispy coating |
| Large Eggs 🥚 | 2 whole | Beaten for egg wash |
| Paprika 🌶️ | 1 tsp | Smoked or sweet variety |
| Garlic Powder 🧄 | 1 tsp | For added flavor |
| Onion Powder 🧅 | 1 tsp | For depth of flavor |
| Salt 🧂 | 1 tsp | Kosher salt preferred |
| Black Pepper 🌶️ | ½ tsp | Freshly ground preferred |
| Vegetable Oil 🫒 | 2 cups | For frying chicken |
| Fresh Parsley 🌿 | ¼ cup | Chopped, for garnish |
| Buttermilk 🥛 | 1 cup | For marinating chicken |
For the crispiest coating, Panko breadcrumbs are non-negotiable—regular breadcrumbs get soggy. I grab mine from Asian markets or the international section at my regular grocery store. The buttermilk is crucial for tender chicken, so don’t skip it (or make a substitute with milk and lemon juice if you’re out).
No buttermilk? Mix 1 cup milk with 1 tbsp lemon juice and let it sit 5 minutes. Want extra crispy? Double-dip in egg wash and breadcrumbs. For a spicy kick, add 1/2 tsp cayenne to the flour mixture. The chicken can be marinated ahead—keeps 24 hours in the fridge.
These keep well in an airtight container for 3 days in the fridge. Reheat in a 350°F oven to crisp them back up—about 10 minutes. Freeze before frying on a baking sheet, then transfer to a freezer bag for up to 3 months.
Step-by-Step Instructions for Crispy Fried Chicken Balls
Here’s the method to achieve perfectly crispy outside and tender inside chicken balls every time.
👨🍳 Step 1: Marinate the Chicken in Buttermilk
Start by placing the 1 lb diced boneless chicken breast in a large bowl. Pour in the 1 cup of buttermilk, making sure the chicken is fully submerged. I like to cover the bowl with plastic wrap and refrigerate for at least 2 hours or overnight for maximum tenderness.
The acidity in the buttermilk will break down the proteins, resulting in incredibly tender chicken balls. You’ll notice the chicken will be quite tender when you remove it from the marinade—this is exactly what you want.
👨🍳 Step 2: Prepare the Breading Station
In one shallow dish, mix together the 1 cup of all-purpose flour, 1 tsp of paprika, 1 tsp of garlic powder, 1 tsp of onion powder, 1 tsp of salt, and 0.5 tsp of black pepper. In another dish, beat the 2 whole large eggs until well combined. In a third dish, place the 1.5 cups of panko breadcrumbs.
Having this breading station set up makes the process super efficient. The flour mixture provides flavor, the eggs help the breadcrumbs adhere, and the panko creates that signature crispy coating.
🍳 Step 3: Bread the Chicken Balls
Remove the chicken from the buttermilk marinade, allowing any excess to drip off. Dredge the chicken pieces in the flour mixture, shaking off any excess. Then dip them in the beaten eggs, making sure they’re fully coated. Finally, roll them in the panko breadcrumbs, pressing gently to ensure they stick.
You’ll end up with beautifully coated chicken balls. Place them on a plate or tray as you work. I like to chill them in the refrigerator for 15-20 minutes before frying to help the coating adhere better.
🔥 Step 4: Fry to Golden Perfection
Heat the 2 cups of vegetable oil in a deep fryer or large pot to 350°F. When the oil reaches temperature, carefully add a few chicken balls to the hot oil—don’t overcrowd the pot. Fry for 5-7 minutes until they’re golden brown and the internal temperature reaches 165°F.
Use a slotted spoon to remove the fried chicken balls from the oil and place them on a paper towel-lined plate to drain any excess oil. Repeat with the remaining chicken balls.
👨🍳 Step 5: Garnish and Serve
Once all the chicken balls are fried, sprinkle them with a bit more salt if needed. Garnish with chopped 0.25 cup of fresh parsley for a pop of color and freshness. Serve hot and enjoy the crispy outside and tender inside texture.
These fried chicken balls are perfect as an appetizer or snack. The crispy panko coating gives way to juicy, flavorful chicken inside. Serve with your favorite dipping sauce and enjoy!
Pro Cooking Tips for fried chicken balls
Mastering the Frying Temperature
Maintaining the correct oil temperature is crucial for achieving perfectly crispy fried chicken balls. Heat your oil to exactly 350°F before adding the chicken. I use a thermometer probe clipped to the side of the pot to monitor the temperature constantly. If the oil gets too hot, the outside will burn before the inside cooks; too cold, and you’ll end up with greasy, soggy coating.
Perfecting the Breading Process
The key to a great crust lies in the breading process. After marinating the chicken in 1 cup buttermilk, dredge the pieces in 1 cup seasoned flour, making sure to shake off excess. Then dip them in 2 beaten eggs, followed by coating in 1.5 cups Panko breadcrumbs. Press the crumbs gently onto the chicken to ensure they stick. For extra crispy coating, you can double-dip in the egg and breadcrumb mixture.
Avoiding Common Frying Mistakes
Don’t overcrowd the pot with too many chicken balls at once. Fry in batches of 4-5 pieces to maintain the oil temperature. If you’re using a smaller pot, you may need to fry in even smaller batches. Keep an eye on the oil temperature and adjust your heat source as needed to maintain 350°F. After frying, drain the chicken balls on a wire rack over paper towels to prevent sogginess.
Optimizing Your Frying Equipment
While a deep fryer makes things easier, you can achieve great results with a heavy-bottomed pot on your stovetop. Choose a pot that’s at least 3-4 inches deep to prevent oil splatters. For stovetop frying, use a candy thermometer to monitor the temperature accurately. If you fry frequently, consider investing in a magnetic thermometer that clips to the side of the pot.
Timing is Everything
Fry the chicken balls for 5-7 minutes or until they reach a golden brown color and an internal temperature of 165°F. The exact time will depend on the size of your chicken balls and the temperature of your oil. I recommend checking one piece first to gauge the cooking time. Keep the fried chicken balls warm in a 200°F oven while you finish frying the remaining batches.
Serving for Maximum Crispiness
For the best texture, serve the fried chicken balls immediately after frying. If you need to hold them for a short time, keep them in a single layer on a wire rack in a 200°F oven. This helps maintain crispiness while you’re finishing up the last batch. Garnish with fresh parsley and serve with your favorite dipping sauce for maximum enjoyment. 🔥
Nutrition Facts

- Jollof Rice Sauce Recipe: West African Tomato and Spice Infusion - September 25, 2026
- Japanese Rice Soup Recipe: Umami-Rich Comfort in a Bowl - September 25, 2026
- Homemade Cream Of Rice Recipe: Silk-Smooth Breakfast in Minutes - September 25, 2026