
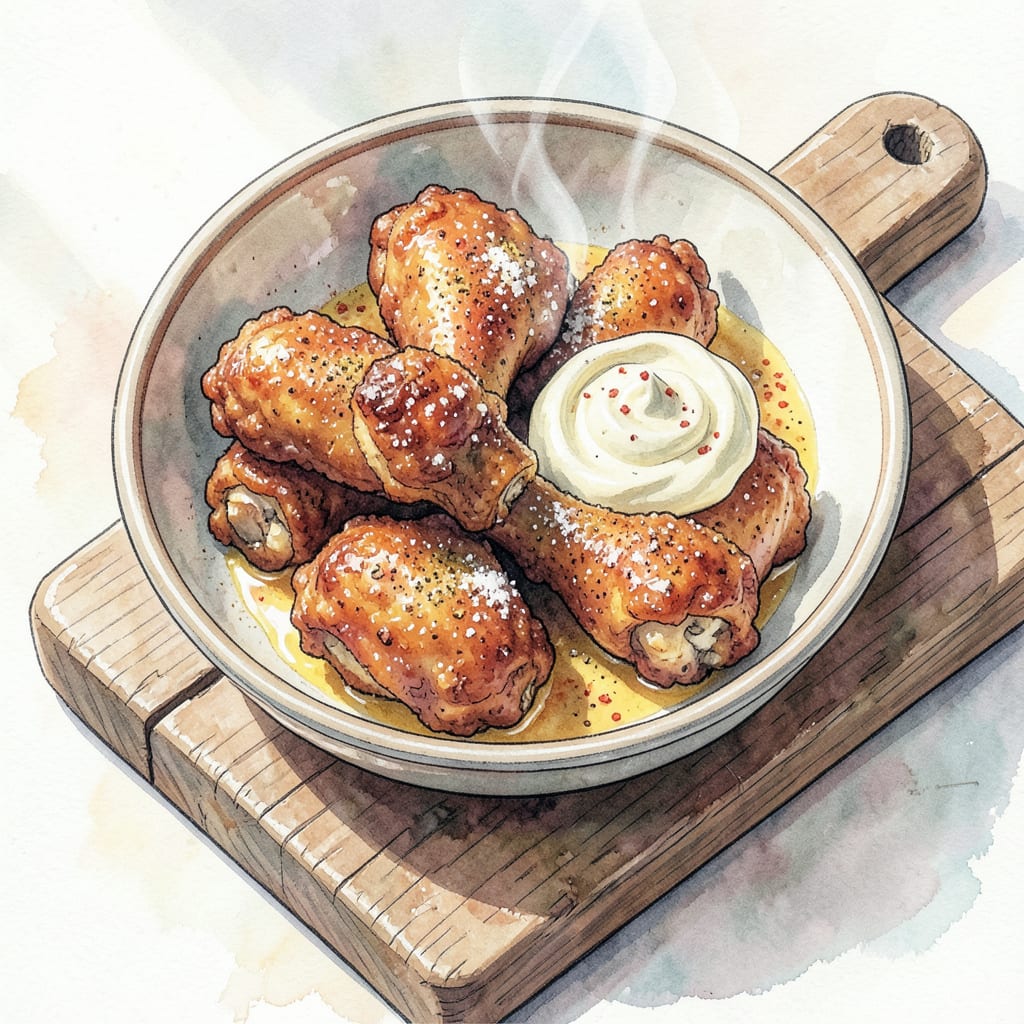
Fried chicken legs are a Southern comfort food classic that never goes out of style. I achieve crispy perfection by marinating in buttermilk and coating with a seasoned flour mixture, then frying at 375°F for about 12 minutes.
The result is tender meat with a golden-brown crust that’s both crunchy and juicy. Serve with classic sides like mashed potatoes or coleslaw for a true comfort food experience that’s sure to become a family favorite.
Ingredients for Fried Chicken Legs
Crispy fried chicken legs start with these simple ingredients and a bit of Southern magic.
| Ingredient | Amount | Notes |
|---|---|---|
| Chicken Legs 🍗 | 4 pieces | Fresh or thawed frozen |
| Buttermilk 🥛 | 2 cups | For marinating chicken |
| All-Purpose Flour 🌾 | 1 ½ cups | For coating chicken |
| Paprika 🌶️ | 2 tbsp | Smoked or sweet variety |
| Garlic Powder 🧄 | 1 tbsp | Not garlic salt |
| Onion Powder 🧅 | 1 tbsp | For added depth |
| Salt 🧂 | 1 tsp | Kosher or sea salt |
| Black Pepper 🌶️ | 1 tsp | Freshly ground preferred |
| Cayenne Pepper 🔥 | ½ tsp | Optional, for heat |
| Vegetable Oil 🫒 | 2 cups | For frying, about 1/2-inch deep |
For the crispiest coating, Panko breadcrumbs can be mixed with the flour for extra crunch. I like to use store-brand buttermilk for marinating as it’s consistent and affordable. If you’re out of buttermilk, make a substitute by mixing 1 cup of milk with 1 tablespoon of white vinegar or lemon juice—let it sit for 5 minutes.
No smoked paprika? Regular paprika works too, or try chipotle powder for a smoky heat. For extra flavor, add a teaspoon of dried thyme or oregano to the flour mixture. If you prefer a lighter coating, use cornstarch instead of flour, but be aware it can make the crust slightly different.
Fried chicken is best enjoyed fresh, but leftovers can be stored in an airtight container in the fridge for up to 3 days. To reheat, bake in a preheated oven at 375°F until crispy again, about 15-20 minutes. You can also freeze cooked chicken for up to 3 months—just thaw and reheat.
Step-by-Step Instructions for Fried Chicken Legs
Follow these straightforward steps to achieve perfectly crispy Southern-style fried chicken legs every time.
Step 1: Marinate the Chicken Legs in Buttermilk
Place the 4 pieces Chicken Legs in a large bowl or zip-top plastic bag. Pour in the 2 cups Buttermilk, making sure the chicken is fully submerged. If necessary, weigh down the chicken with a plate to keep it under the liquid. Cover or seal the container and refrigerate for at least 2 hours or overnight for best results.
The acidity in the buttermilk will tenderize the chicken and help the coating adhere better. You’ll notice the chicken will be significantly more tender after marinating.
Step 2: Prepare the Flour Coating
In a large shallow dish, combine the 1.5 cups All-Purpose Flour, 2 tbsp Paprika, 1 tbsp Garlic Powder, 1 tbsp Onion Powder, 1 tsp Salt, 1 tsp Black Pepper, and 0.5 tsp Cayenne Pepper. Mix the dry ingredients thoroughly until they’re evenly distributed.
Using a fork or whisk ensures there are no lumps and that the spices are well incorporated into the flour. This seasoned flour mixture will create that signature crispy coating.
Step 3: Coat the Chicken Legs
Remove the chicken legs from the buttermilk marinade, allowing any excess to drip off. Dredge the chicken pieces in the flour mixture, pressing the coating onto the chicken to ensure it adheres well. Place the coated chicken on a wire rack set over a baking sheet.
For an extra crispy coating, you can double-dip the chicken: after the first coating, dip the chicken back into the buttermilk, then coat again in the flour mixture. Let the coated chicken sit for 10-15 minutes to allow the coating to set.
Step 4: Fry the Chicken Legs
Heat the 2 cups Vegetable Oil in a large skillet or Dutch oven over medium-high heat until it reaches 350°F. Carefully place the coated chicken legs in the hot oil, being mindful of splatters. Fry for 8-10 minutes or until the chicken reaches a golden brown and the internal temperature hits 165°F.
Don’t overcrowd the pan—fry in batches if necessary. Maintain the oil temperature between 325°F and 350°F for the crispiest results. Use a thermometer to monitor the temperature accurately.
Step 5: Drain and Rest
Once the chicken is cooked, remove it from the oil with tongs and place it on a clean wire rack or paper towels to drain excess oil. Let the fried chicken legs rest for 5-10 minutes before serving. This resting period helps the juices redistribute, ensuring the chicken stays juicy.
Serve the fried chicken legs hot, garnished with fresh herbs if desired. Enjoy the crispy exterior and tender, flavorful meat within.
Regional Styles of This fried chicken legs
Nashville Hot Style
Transform your fried chicken legs into a Nashville hot sensation by adding 2 tbsp brown sugar and 1 tsp cayenne pepper to the flour mixture. After frying, toss the chicken in a mixture of ¼ cup hot sauce (I like Frank’s RedHot) and 2 tbsp melted butter. The result is a finger-licking combination of sweet, spicy, and smoky flavors. 🔥
Korean-Style Double Frying
Adopt the Korean technique of double frying for ultra-crispy results. Fry the chicken legs at 325°F for 5 minutes, rest for 10 minutes, then finish at 375°F for an additional 3-4 minutes. Toss in a mixture of gochujang, soy sauce, and rice vinegar for a bold, savory glaze.
Southern Classic
For traditional Southern-style fried chicken legs, stick with the classic buttermilk marinade and seasoned flour coating. Add a personal touch by incorporating 1 tsp dried thyme or 1 tsp poultry seasoning into the flour mixture for an extra layer of flavor. Serve with classic sides like mashed potatoes or coleslaw.
Spicy Cajun Variation
Give your fried chicken legs a Cajun twist by adding 1 tbsp Cajun seasoning and ½ tsp cayenne pepper to the flour coating. For an extra kick, mix some hot sauce into the buttermilk marinade. The bold spices complement the crispy exterior perfectly, making it a great option for those who enjoy a bit of heat.
Japanese Karaage Influence
Incorporate Japanese flavors by marinating the chicken legs in a mixture of soy sauce, sake, and mirin before coating with potato starch or cornstarch. Fry at 350°F until crispy, then garnish with sesame seeds and thinly sliced green onions for a unique twist on traditional fried chicken.
Nutrition Facts
Frequently Asked Questions
What’s the best way to keep fried chicken legs crispy?
To maintain crispiness, place fried chicken legs on a wire rack set over a baking sheet rather than directly on paper towels. This allows air to circulate around the chicken, preventing sogginess. For extra crunch, you can reheat them in the oven at 375°F for 10-15 minutes.
Can I make fried chicken legs ahead of time?
While fried chicken is best enjoyed fresh, you can prepare it ahead of time. Fry the chicken legs as instructed, then let them cool completely. Store them in an airtight container in the refrigerator for up to 3 days. Reheat in the oven to restore crispiness.
What’s the ideal oil temperature for frying chicken legs?
The optimal temperature for frying chicken legs is between 325°F and 350°F. Maintaining this temperature ensures a crispy exterior and juicy interior. Use a thermometer to monitor the oil temperature accurately and adjust the heat as needed.
How do I prevent the coating from falling off?
To prevent the coating from falling off,

- Jollof Rice Sauce Recipe: West African Tomato and Spice Infusion - September 25, 2026
- Japanese Rice Soup Recipe: Umami-Rich Comfort in a Bowl - September 25, 2026
- Homemade Cream Of Rice Recipe: Silk-Smooth Breakfast in Minutes - September 25, 2026