
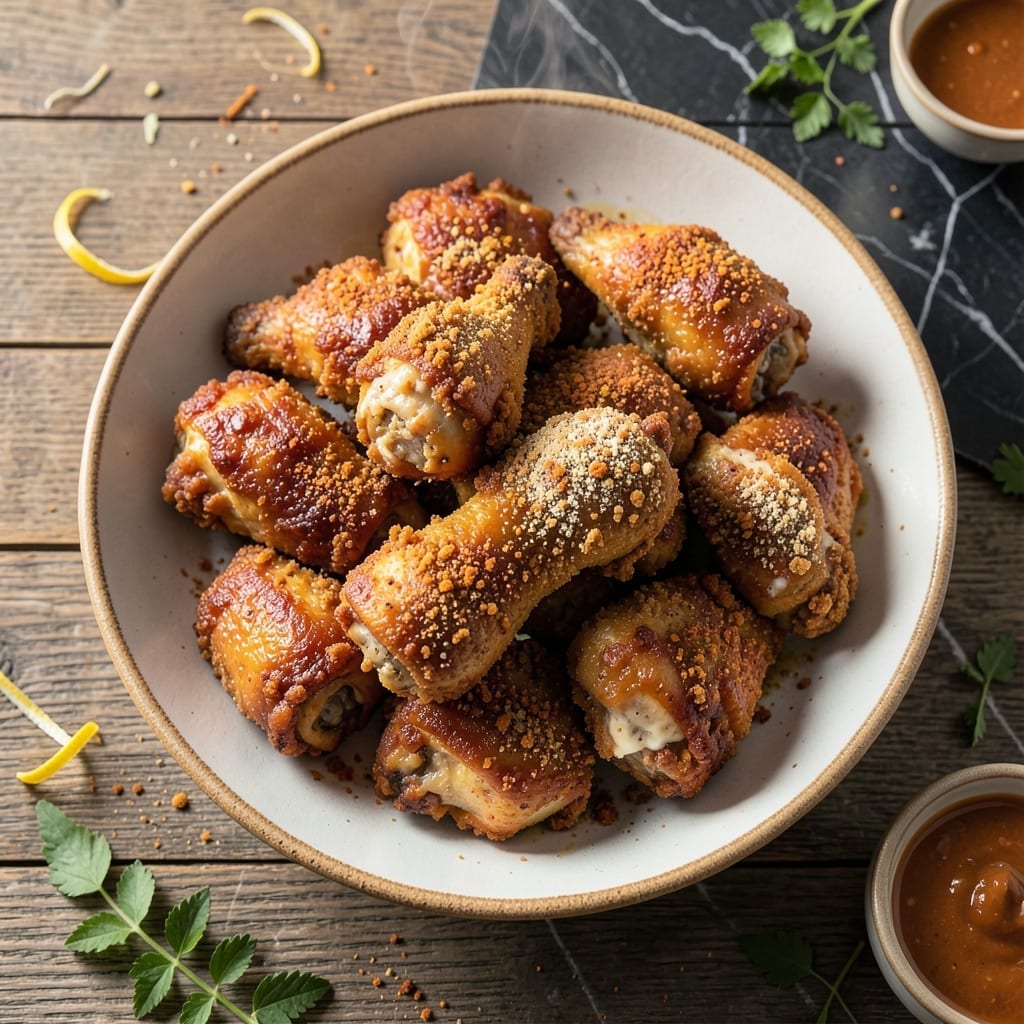
This buttermilk-brined fried chicken delivers crispy, golden bites with juicy interiors every time. The overnight brine is what transforms ordinary chicken into something extraordinary.
I’ve tested countless methods, and this combination of buttermilk, spices, and hot oil produces results that rival any restaurant. The double-dredge coating ensures maximum crunch without sacrificing tenderness.
The secret lies in the brine—it tenderizes the meat while adding layers of flavor. When fried at the right temperature, the crust stays shatteringly crispy long after it leaves the oil.
Serve hot for the best texture, with your favorite dipping sauces on the side. This is comfort food at its finest.
Ingredients for Fried Chicken Mixture
Buttermilk, spices, and a double-dredge create that shatteringly crispy coating we all crave.
| Ingredient | Amount | Notes |
|---|---|---|
| Chicken Thighs 🍗 | 2 lb | Boneless, skin-on for crispiness |
| Buttermilk 🥛 | 4 cups | Full-fat for best tenderness |
| All-Purpose Flour 🌾 | 2 ½ cups | For initial dredging |
| Cornstarch 🌾 | ½ cup | For extra crunch in coating |
| Paprika 🌶️ | 1 tbsp | Sweet or smoked for color |
| Garlic Powder 🧄 | 1 tbsp | Not garlic salt |
| Onion Powder 🧅 | 1 tbsp | Adds depth to seasoning |
| Cayenne Pepper 🔥 | ½ tsp | Adjust for heat preference |
| Salt 🧂 | 1 tbsp | Kosher salt preferred |
| Black Pepper 🌶️ | 1 tsp | Freshly ground for best flavor |
| Large Eggs 🥚 | 2 whole | For egg wash binding |
| Peanut Oil 🫒 | 6 cups | High smoke point for frying |
| Baking Powder 🧂 | ¼ cup | Makes coating lighter |
The chicken is everything here. Thighs stay juicier than breasts—skin-on for that extra crunch. I grab mine from Whole Foods or Costco when I’m feeding a crowd. The buttermilk? Don’t skimp on full-fat (the lower-fat versions just don’t tenderize as well). Look for the thick, cultured kind in the dairy aisle, not the powdered stuff.
No buttermilk? Whole milk plus 1 tbsp vinegar per cup works in a pinch. Swap peanut oil for vegetable or canola oil if that’s what you’ve got. The cornstarch is key for crunch though—don’t skip it (trust me on this). Fresh out of cayenne? Hot paprika or red pepper flakes at half the amount get you close. The egg wash can be thinned with a splash of water if it feels too thick.
The brine can sit overnight—up to 24 hours max. Fried chicken reheats decently in the oven at 375°F for 10-15 minutes (microwave kills the crisp). Leftovers keep 3-4 days in the fridge, but honestly, they never last that long.
Why You’ll Love This Recipe
- One Bowl Magic: So easy. Just toss the chicken thighs in buttermilk, then dredge in the flour-cornstarch mix with paprika—no fancy steps.
- That Crispy Bite: The cornstarch in the coating gives it this unreal crunch, while the buttermilk keeps the meat juicy inside.
- Feeds the Crew: I’ve served this for Sunday dinner and packed leftovers for lunches—equally good hot or cold.
- Budget Winner: Chicken thighs stay cheap, and a bag of flour plus a jug of buttermilk stretches across multiple meals.
Step-by-Step Instructions for Buttermilk-Brined Crispy Fried Chicken
Here’s the method that guarantees extra-crispy, juicy chicken with a well-seasoned coating.
Step 1: Brine the Chicken Thighs in Buttermilk
Place the 2 lb Chicken Thighs in a large bowl and pour over all 4 cups Buttermilk. Ensure every piece is fully submerged—this acidic soak tenderizes the meat while adding moisture that keeps it juicy during frying.
Cover and refrigerate for at least 4 hours, but overnight works best. The buttermilk will penetrate deeply, and you’ll notice the chicken plumps slightly as it absorbs the liquid. Don’t skip this step; it’s the secret to tender, flavorful meat beneath that crispy exterior.
Step 2: Prepare the Seasoned Coating Mixture
In a large shallow dish, whisk together the 2.5 cups All-Purpose Flour, 0.5 cup Cornstarch, 0.25 cup Baking Powder, 1 tbsp Paprika, 1 tbsp Garlic Powder, 1 tbsp Onion Powder, 0.5 tsp Cayenne Pepper, 1 tbsp Salt, and 1 tsp Black Pepper.
The baking powder creates tiny air pockets in the coating, amplifying crispiness. The cornstarch adds an extra crunch that all-purpose flour alone can’t achieve. Whisk thoroughly until no lumps remain and the spices are evenly distributed throughout the dry mixture.
Step 3: Create the Egg Wash and Dredge the Chicken
In a separate bowl, beat the 2 whole Large Eggs until smooth. Remove the chicken from the buttermilk, letting excess drip off, then dip each piece in the beaten eggs. This egg wash acts as the glue that helps the seasoned coating adhere properly.
Press each piece firmly into the flour mixture, turning to coat completely. For maximum crunch, press down hard so the coating compacts slightly onto the meat. Place the dredged pieces on a wire rack set over a baking sheet—this allows air circulation so the coating doesn’t get soggy while waiting to fry.
Step 4: Fry to Golden, Crispy Perfection
Heat the 6 cups Peanut Oil in a heavy pot or Dutch oven to 350°F over medium-high heat. Use a thermometer for accuracy; the oil is ready when it shimmers and a pinch of flour sizzles when dropped in.
Carefully lower 2-3 pieces of chicken into the oil at a time—don’t overcrowd the pot, as this lowers the oil temperature and results in greasy chicken. Fry for 12-15 minutes, turning occasionally, until the coating is deep golden brown and the internal temperature reaches 165°F.
Transfer to a wire rack or paper towels to drain. The coating should be audibly crisp when tapped, and the chicken should be juicy with no pink near the bone when cut into.
Pro Tips For Making Fried Chicken Mixture
- Rest the Chicken: After coating, let the chicken rest for 10 minutes—this helps the flour stick better and keeps the crust from falling off in the pan.
- Use Cold Buttermilk: Soak the chicken thighs in ice-cold buttermilk for at least 2 hours; it tenderizes the meat and adds flavor that warm buttermilk just can’t.
- Skip the Overcrowding: Fry in batches so the pan isn’t packed—crowding lowers the oil temp and gives you soggy, unevenly cooked chicken.
- Add Cornstarch Last: Mix the cornstarch into the flour just before dredging; it keeps the coating light and extra crispy without turning gummy.
Storing and Reheating fried chicken mixture
Refrigerator Storage
Let your fried chicken cool completely before storing. I use airtight glass containers to maintain freshness. It’ll keep well at 40°F or below for 3-4 days, though it’s best eaten within 2 days for optimal texture. 💪
Freezer Storage
For longer storage, freeze in a single layer on a baking sheet first. Once solid, transfer to ziplock freezer bags with parchment paper between layers. It’ll stay fresh for up to 3 months. Squeeze out excess air to prevent freezer burn.
Oven Reheating
Preheat your oven to 375°F for the best results. Place chicken on a wire rack over a baking sheet to allow air circulation. Heat for 10-15 minutes until the internal temperature reaches 165°F and the crust is crisp again. 🔥
Air Fryer Reheating
This is my go-to for quick, crispy results. Preheat the air fryer to 375°F and cook for 4-5 minutes, flipping halfway. The hot air circulation revives the crunch beautifully without drying out the meat.
Avoid the Microwave
Microwaving will make the coating soggy—it’s the one method I never use for leftovers. If you’re in a rush, the air fryer or toaster oven are far better options. The texture just isn’t the same with microwave reheating.
Nutrition Facts
Frequently Asked Questions
Can I use chicken breasts instead of thighs?
Yes, but thighs stay juicier. If using breasts, reduce frying time to 10-12 minutes to prevent dryness. Brining is especially important for white meat.
Why does the recipe call for cornstarch?
Cornstarch creates an ultra-crispy crust that flour alone can’t achieve. It absorbs less oil too, keeping your chicken lighter.
What if I don’t have a deep fry thermometer?
Drop a pinch of flour into the oil. If it sizzles immediately, it’s ready. Maintain medium-high heat to keep temperature steady.
Can I bake this instead of frying?
Yes! Bake at 400°F for 25-30 minutes on a wire rack. Spray with oil first for extra crispiness.

- Jollof Rice Sauce Recipe: West African Tomato and Spice Infusion - September 25, 2026
- Japanese Rice Soup Recipe: Umami-Rich Comfort in a Bowl - September 25, 2026
- Homemade Cream Of Rice Recipe: Silk-Smooth Breakfast in Minutes - September 25, 2026