
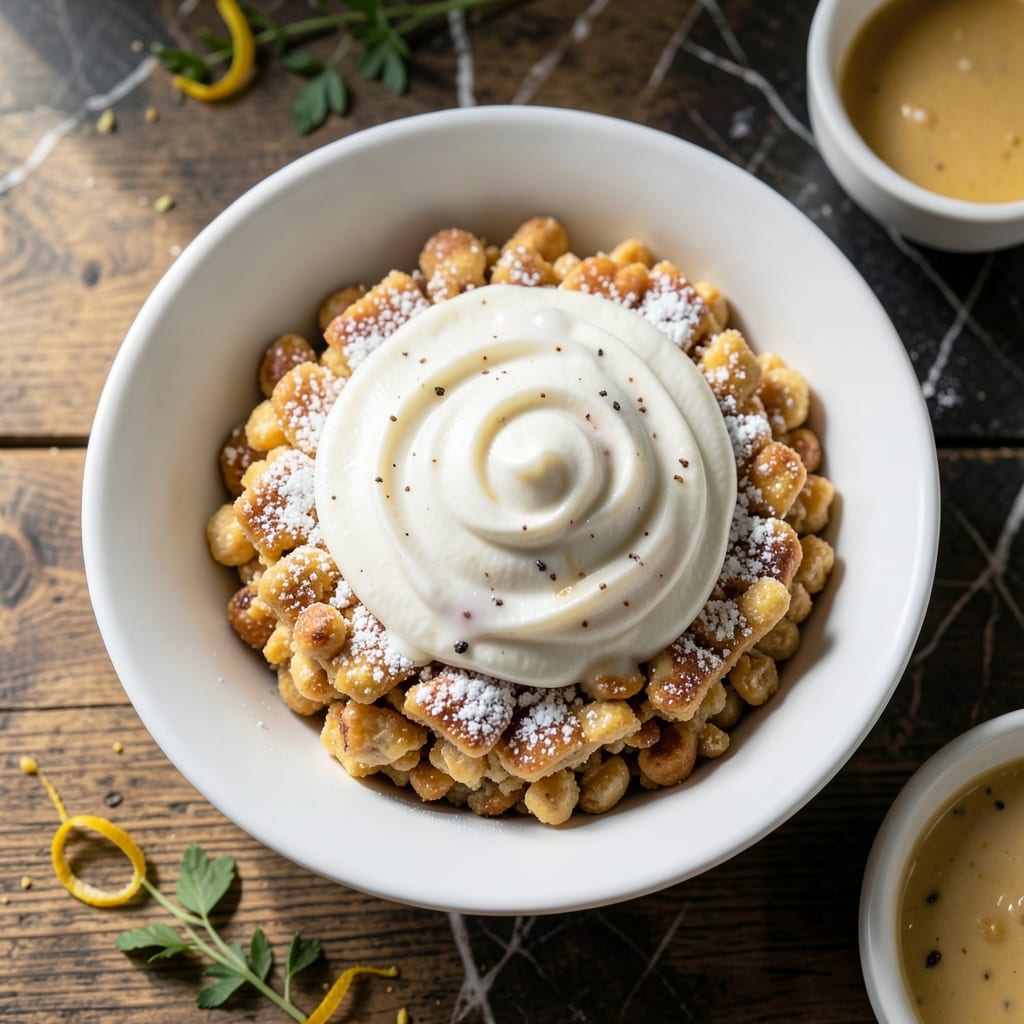
This simple vanilla frosting transforms ordinary rice krispie treats into something extraordinary. I developed this after realizing how a buttery glaze could elevate a childhood favorite without overwhelming its classic texture.
The secret lies in the balance of sweetness and richness, using just a handful of pantry staples. Unlike heavy buttercream, this smooth glaze drizzles effortlessly over the crispy surface, adding a professional touch to your homemade treats.
What you get is a velvety topping that hardens slightly but remains soft enough to bite through. It’s the perfect finishing touch for birthdays, potlucks, or when you want to impress without spending hours in the kitchen.
Store leftovers in an airtight container at room temperature for up to three days. This recipe scales easily for larger batches.
Ingredients for Frosting Recipe for Rice Krispie Treats
Six simple ingredients create this velvety buttery vanilla glaze for your treats.
| Ingredient | Amount | Notes |
|---|---|---|
| Powdered Sugar 🍚 | 2 cups | Sifted for smooth texture |
| Unsalted Butter 🧈 | ½ cup | Melted and slightly cooled |
| Vanilla Extract 🌿 | 2 tsp | Pure for best flavor |
| Whole Milk 🥛 | 2 tbsp | Or cream for richness |
| Salt 🧂 | ¼ tsp | Fine grain for even distribution |
| Almond Extract 🌰 | ¼ tsp | Optional for depth of flavor |
The powdered sugar is key here—Domino or C&H brands dissolve beautifully without graininess. For the butter, Plugrá or Land O’Lakes unsalted gives that pure buttery flavor without salt interference. I grab mine at Costco for bulk savings (the good stuff, not the store brand). The vanilla extract should be pure, not imitation—McCormick or Nielsen-Massey are my go-tos.
No almond extract? Skip it—the vanilla carries the flavor just fine. Need a dairy-free version? Coconut oil works instead of butter (use refined for neutral taste). Out of milk? Heavy cream or half-and-half adds extra richness. If your glaze seems too thick, add the milk one teaspoon at a time. For a citrus twist, swap vanilla for lemon extract (same amount).
This glaze sets up in about 30 minutes at room temperature. Store treats in an airtight container for up to 3 days—the glaze stays soft but won’t get sticky. Freezing isn’t ideal (it can get crumbly), but leftovers keep well on the counter.
Why You’ll Love This Recipe
- 5-Minute Whip: I can mix this while the treats cool—just melt butter, whisk in powdered sugar, and a splash of milk for that creamy glide.
- Buttery Sweetness: The vanilla and salt hit that sweet-but-not-too-sweet spot, like the frosting version of my childhood favorite.
- Party or Snack: Honestly, it’s just as good on a Tuesday night as it is dressed up for a bake sale.
- Pantry Staples: Between us, I always have these ingredients, so no last-minute store runs when the craving hits.
Step-by-Step Instructions for Buttery Vanilla Glaze
This foolproof method ensures a silky, spreadable frosting that hardens just enough to stay put on your treats.
Step 1: Melt and Cool the Butter
Begin by melting the 0.5 cup Unsalted Butter in a microwave-safe bowl or small saucepan over low heat. Watch it carefully—you want it fully liquid but not hot enough to bubble or brown.
Let the melted butter sit at room temperature for 5-10 minutes until it’s just warm to the touch. This cooling step is crucial because hot butter can cause the sugar to clump or the frosting to separate. You should be able to dip a finger in without discomfort.
Step 2: Whisk in Powdered Sugar and Salt
Gradually add the 2 cups Powdered Sugar to the cooled butter, about ½ cup at a time, whisking vigorously after each addition. This prevents lumps and ensures a smooth consistency.
Once all the powdered sugar is incorporated, add the 0.25 tsp Salt and whisk again. The salt enhances the sweetness and balances the flavors, so don’t skip it. The mixture will resemble coarse, damp sand at this stage.
Step 3: Incorporate Liquid Ingredients for Creaminess
Pour in the 2 tbsp Whole Milk, 2 tsp Vanilla Extract, and 0.25 tsp Almond Extract (if using). Start with 1 tablespoon of milk, whisk until smooth, then add the remaining milk as needed. The vanilla and almond extracts add depth, while the milk adjusts the thickness.
Whisk for 2-3 minutes until the frosting is completely smooth and glossy. If it’s too thick, add milk ½ teaspoon at a time until it reaches a pourable but still spreadable consistency. If it’s too thin, let it sit for 5 minutes to thicken slightly.
Step 4: Test and Adjust the Consistency
Dip a spoon into the frosting and let it drip off slowly. It should ribbon off the spoon in a steady, thick stream. If it’s too runny, add powdered sugar 1 tablespoon at a time until it thickens.
Taste and adjust the flavor if needed. If you want a stronger vanilla presence, add another ½ teaspoon of Vanilla Extract. For a richer taste, substitute heavy cream for the whole milk. The frosting should be sweet but not cloying, with a velvety texture.
Step 5: Apply to Rice Krispie Treats Immediately
Use the frosting right away while it’s still workable. Spread it evenly over cooled Rice Krispie treats with a spatula or the back of a spoon. Work quickly—the frosting will begin to set within 10-15 minutes at room temperature.
For a professional finish, drizzle the frosting in a zigzag pattern or pipe it on using a plastic bag with a small corner snipped off. Let the treats sit for 30 minutes to allow the frosting to fully set before serving or stacking.
Pro Tips For Making Frosting Recipe For Rice Krispie Treats
- Soften the Butter: Let the butter sit at room temperature for 30 minutes before mixing—I learned this the hard way after ending up with lumpy frosting that refused to smooth out.
- Sift the Sugar: Always sift the powdered sugar first, even if the bag says “pre-sifted.” My grandmother swore by this, and it actually prevents those annoying little clumps in the finished frosting.
- Skip the Cold Milk: Use milk straight from the fridge, but don’t let it be ice cold. About 5-10 minutes out of the fridge takes the edge off and helps it blend smoothly with the butter.
- Add Salt Last: Wait until the end to fold in the salt—about ¼ teaspoon for balance. I was skeptical until I tried it, but it lets you taste and adjust without overdoing it.
Troubleshooting This Recipe
Too Runny Frosting
If your glaze is too thin, you likely added too much milk. Fix it by whisking in powdered sugar 1 tablespoon at a time until it thickens. Let it sit for 5 minutes to stabilize before re-testing. I learned this the hard way in my tiny Boston kitchen! 💡
Grainy Texture
Graininess usually means the powdered sugar wasn’t sifted. To fix, press the frosting through a fine-mesh sieve or whisk vigorously for 3-4 minutes. Always sift your Domino or C&H powdered sugar first—it makes a difference.
Frosting Separating
This happens when the butter was too hot. Let it cool to room temperature and whisk vigorously to re-emulsify. If it won’t come together, start fresh with cooled butter. Patience saves the day here.
Too Thick to Spread
Add milk ½ teaspoon at a time, whisking well between additions. Warm the bowl slightly in 10-second microwave bursts if needed. The glaze should ribbon off a spoon smoothly. This trick works every time for me.
Frosting Won’t Set
If it stays sticky after 30 minutes, you may have used too much milk. Spread it thinly on the treats and refrigerate for 15 minutes to speed up setting. Avoid freezing—it can make the glaze crumbly.
Uneven Color
Stir in a drop of food coloring if desired, but mix thoroughly. For natural color, use vanilla bean paste instead of extract. The speckles look beautiful on top of the crispy treats. ✨
Nutrition Facts
Frequently Asked Questions
Can I use salted butter instead?
Yes, but reduce the added salt to a pinch. Salted butter contains about ¼ tsp salt per ½ cup, so omit the extra salt to avoid over-seasoning. The flavor balance is best with unsalted butter though.
How do I make it dairy-free?
Swap the butter for refined coconut oil and use a dairy-free milk like almond or oat. Use the same 1:1 ratio and ensure all ingredients are at room temperature for smooth mixing.
Why did my frosting turn out grainy?
This usually happens if the powdered sugar wasn’t sifted. Press the mixture through a fine-mesh sieve and whisk for 3-4 minutes to smooth it out. Always sift first for best results.
Can I make this ahead of time?
Yes, but store it in an airtight container at room temperature for up to 2 days. Stir well before using, as it may thicken slightly. Avoid refrigerating to prevent hardening.

- Cream of Wild Rice Soup Recipe: Earthy Grains in Silky Broth - October 9, 2026
- Filipino Garlic Rice Recipe: Crispy Fried Aroma With Every Bite - October 9, 2026
- Gobi Manchurian Rice Recipe: Indo-Chinese Fusion in One Bowl - October 9, 2026