
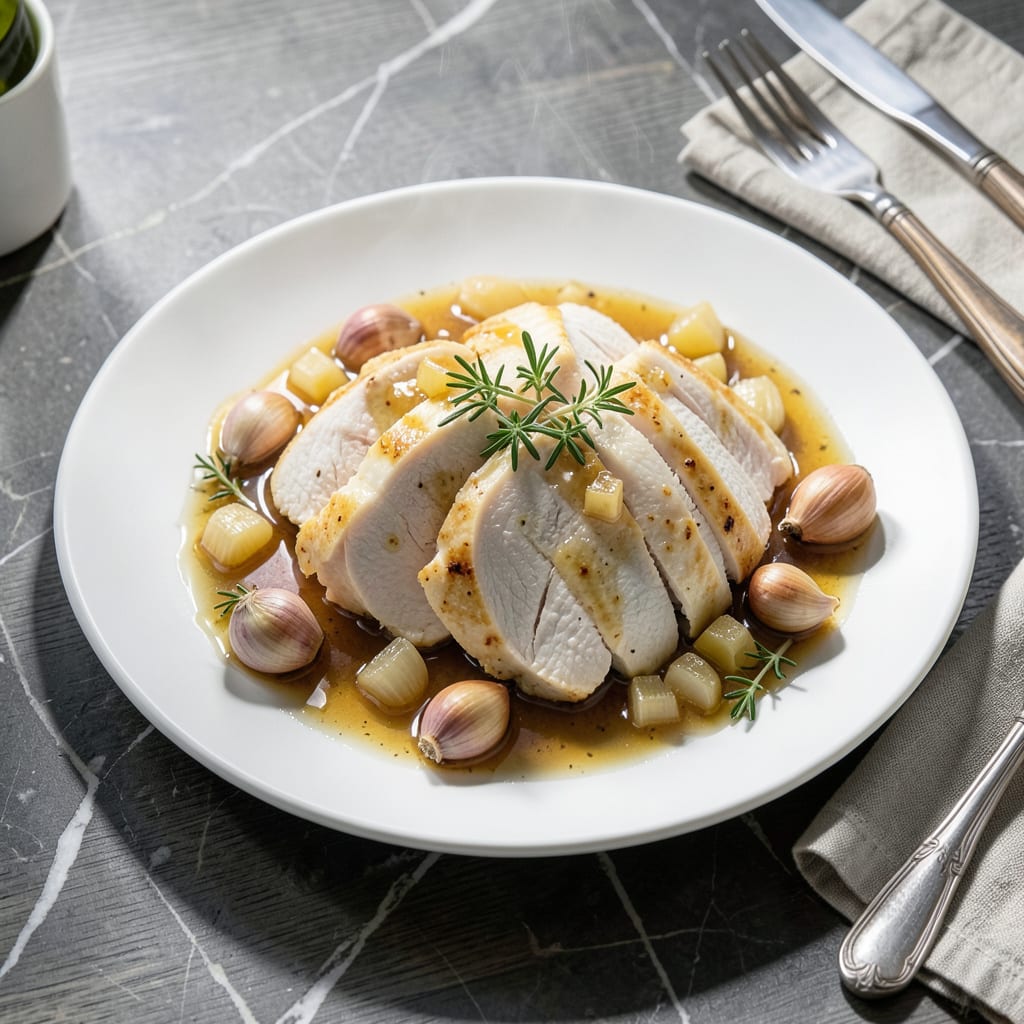
This pressure cooker method transforms frozen chicken into juicy, tender results without thawing. The sealed environment locks in moisture while cooking evenly at high pressure.
With proper timing and liquid, you’ll achieve perfectly cooked chicken every time. This technique cuts preparation time significantly compared to traditional methods.
Ingredients for Frozen Chicken Pressure Cooker
Frozen chicken, aromatic herbs, and simple pantry staples create this pressure cooker masterpiece in record time.
| Ingredient | Amount | Notes |
|---|---|---|
| Boneless Skinless Chicken Breasts 🍗 | 2 lb | Frozen, no need to thaw |
| Chicken Broth 🥣 | 1 ½ cups | Low-sodium preferred for control |
| Olive Oil 🫒 | 1 tbsp | For searing chicken after cooking |
| Garlic Cloves 🧄 | 4 cloves | Minced for flavor base |
| Yellow Onion 🧅 | 1 whole | Medium, diced finely |
| Dried Thyme 🌿 | 1 tsp | For earthy depth |
| Dried Rosemary 🌿 | 1 tsp | Crushed before adding |
| Bay Leaf 🍃 | 1 whole | For aromatic infusion |
| Kosher Salt 🧂 | 1 ½ tsp | Diamond Crystal preferred |
| Black Pepper 🌶️ | 1 tsp | Freshly ground for best flavor |
| Lemon Juice 🍋 | 2 tbsp | Freshly squeezed for brightness |
| Unsalted Butter 🧈 | 2 tbsp | Optional for finishing sauce |
[recipeingredientscaler]
The chicken quality matters most here. Opt for boneless, skinless breasts from reputable brands like Perdue or Tyson—they hold moisture better under pressure. Frozen is ideal (the method’s whole point), but ensure pieces aren’t clumped together. For broth, Swanson or College Inn offer consistent low-sodium options. Avoid pre-seasoned varieties that can overpower the dish.
No fresh herbs? Dried work perfectly at one-third the amount. Out of chicken broth? Water with a bouillon cube (check for MSG if avoiding). The lemon juice brightens the flavor—bottled works in a pinch but fresh is superior. If skipping the butter finish, a drizzle of extra-virgin olive oil adds richness. For extra depth, add a splash of white wine (dry varieties only).
Cooked chicken keeps 3-4 days refrigerated in an airtight container. The broth can be frozen for 3 months—perfect for future batches. Reheat gently to prevent drying; pressure-cooked chicken stays juicier than most leftovers. Always let the pressure release naturally for optimal texture.
Why You’ll Love This Recipe
- Set and Forget: Honestly, I just dump frozen chicken, broth, and garlic in the pressure cooker and walk away.
- Rich Garlic Flavor: The onion and garlic simmering in broth make the chicken taste like it cooked all day.
- Weeknight Hero: I pull this out when I need dinner ready in 20 minutes flat.
- Budget Stretch: One pound of frozen chicken breasts feeds my family for two meals.
Step-by-Step Instructions for Frozen Chicken Pressure Cooker
Follow this proven method to transform frozen chicken into tender, juicy results with minimal effort.
Step 1: Build the Flavor Base in the Pressure Cooker
Set your pressure cooker to the sauté function and add the 1 tbsp Olive Oil. Once the oil shimmers, add the diced Yellow Onion and cook for 3-4 minutes until softened and just beginning to turn translucent.
Add the 4 cloves Garlic Cloves, then the 1 tsp Dried Thyme, 1 tsp Dried Rosemary, and 1 whole Bay Leaf. Sauté for an additional 30 seconds until the garlic becomes fragrant. This aromatic foundation infuses the chicken with depth as it cooks.
Step 2: Pressure Cook the Frozen Chicken
Pour in the 1.5 cups Chicken Broth and scrape the bottom of the pot to deglaze, ensuring no bits remain stuck. Place the 2 lb Boneless Skinless Chicken Breasts directly into the liquid—no thawing required. Season with 1.5 tsp Kosher Salt and 1 tsp Black Pepper.
Secure the lid and set the pressure cooker to high pressure for 12 minutes. The cooker will take 10-15 minutes to come to pressure before the timer begins. This method guarantees the chicken emerges perfectly tender and juicy every time.
Step 3: Natural Release and Rest
Allow the pressure to release naturally for 10 minutes, then carefully switch the valve to quick-release. Remove the lid once the pressure has fully dissipated. The chicken should register at least 165°F internally when checked with a thermometer.
Transfer the chicken to a cutting board and tent loosely with foil. Let it rest for 5 minutes to allow the juices to redistribute. This step ensures the meat stays moist and doesn’t dry out when sliced.
Step 4: Finish with Bright, Creamy Sauce
Skimming excess fat from the cooking liquid if desired, then stir in the 2 tbsp Lemon Juice and 2 tbsp Unsalted Butter until the butter melts and the sauce slightly thickens. Taste and adjust seasoning with additional salt if needed.
The acidity from the lemon juice brightens the rich broth, while the butter adds a velvety finish. Slice the chicken against the grain and serve with the sauce spooned over the top for maximum flavor in every bite.
Pro Tips For Making Frozen Chicken Pressure Cooker
- Thaw Slightly First: I learned this the hard way—give the chicken 10-15 minutes at room temperature before pressure cooking, or it’ll cook unevenly and stick to the pot.
- Deglaze the Pot: After browning the onion and garlic in olive oil, pour in ½ cup broth and scrape the bottom to prevent the dreaded “burn” error on your pressure cooker.
- Skip the Overfill: Resist the urge to cram in extra chicken; never exceed the ⅔ max fill line, or you’ll get a messy, undercooked disaster.
- Use Natural Release: Sounds weird, but it works: let the pressure release naturally for 5 minutes before quick-releasing to keep the chicken from turning rubbery.
Wine and Beer Pairings for This Dish
Crisp White Wines
A Sauvignon Blanc from New Zealand cuts through the richness with its bright citrus notes. I love how the acidity cleanses my palate between bites. Kim Crawford offers a consistent, widely available option. 🍷
Light Bodied Reds
For red wine lovers, a chilled Pinot Noir from Oregon works beautifully. The 2021 Domaine Drouhin has earthy undertones that complement the herbs without overpowering the chicken. Serve slightly below room temperature.
Wheat Beers
A German-style Hefeweizen like Weihenstephaner brings a slight banana-clove spice that echoes the rosemary. The effervescence refreshes after each savory bite. I always keep a few bottles in my fridge for pressure cooker nights.
Crisp Lagers
Clean, crisp lagers such as Pilsner Urquell provide a neutral backdrop that lets the chicken shine. The subtle bitterness balances the buttery sauce. At 4.4% ABV, it’s light enough for weeknight dinners.
Cider Options
For a non-beer alternative, dry hard ciders like Angry Orchard Traditional Dry offer apple notes that pair well with the lemon finish. The bubbles clean your palate between each tender bite. 🍏
Nutrition Facts
Frequently Asked Questions
Can I use chicken thighs instead of breasts?
Use 2 lb of frozen boneless, skinless thighs and reduce cooking time to 10 minutes at high pressure. Thighs stay especially juicy under pressure.
Why do I need to deglaze the pot?
Deglazing prevents the “burn” error on electric pressure cookers. The 1.5 cups of liquid lifts browned bits, ensuring even cooking and rich flavor in your sauce.
What if my chicken isn’t fully cooked after 12 minutes?
If it’s under 165°F, reseal the lid and cook for an additional 3-5 minutes at high pressure. Always check thickest pieces with a meat thermometer.
Can I skip the natural pressure release?
No, the 10-minute natural release allows the chicken to finish cooking gently. Quick-releasing can make the meat tough or unevenly cooked.

- Jollof Rice Sauce Recipe: West African Tomato and Spice Infusion - September 25, 2026
- Japanese Rice Soup Recipe: Umami-Rich Comfort in a Bowl - September 25, 2026
- Homemade Cream Of Rice Recipe: Silk-Smooth Breakfast in Minutes - September 25, 2026