
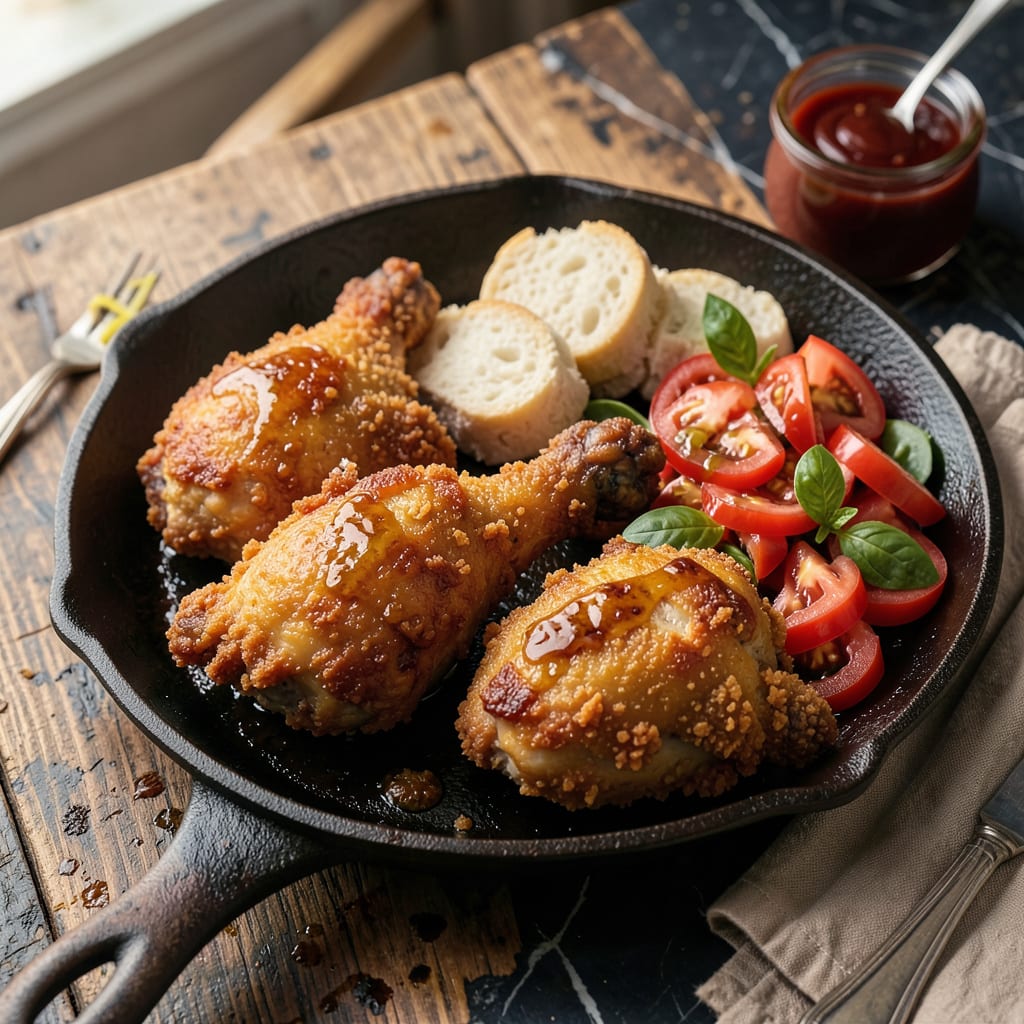
Forget the thawing wait—this method lets you go straight from freezer to frying pan for crispy, golden chicken that’s juicy inside. I’ve burned through more batches than I’d like to admit perfecting this, but the secret is all in the oil temp and timing. No more soggy crusts or raw centers, just restaurant-quality results with frozen chicken.
The trick starts with hot oil—350°F is non-negotiable—and a double-dredge in seasoned flour for extra crunch. Frozen chicken needs about 50% more cooking time than fresh, but here’s the kicker: you’ll actually get a better crust because the ice crystals create tiny steam pockets that puff up the coating. Just don’t crowd the pan, or you’ll tank the oil temp and ruin everything.
What you’re left with is chicken that’s golden and shatteringly crisp on the outside, tender inside, and safe to eat (we’re hitting that 165°F internal temp, no excuses). The first time I nailed this, my family asked if I’d secretly ordered takeout. That’s when I knew this method was a game-changer for busy weeknights or last-minute cravings.
Serve it with mashed potatoes to soak up any stray crispy bits or coleslaw for crunch contrast. No thawing, no stress—just perfect fried chicken when you need it. Let’s get that oil heating.
📚 In This Guide
- What You’ll Need
- Instructions
- Tips and Common Mistakes
What Youll Need
- ● Frozen chicken pieces – 4–6 pieces (legs, thighs, or wings; ensure they’re individually frozen, not clumped)
- ● Vegetable or peanut oil – 2–3 cups (enough for 1.5–2 inches depth in your frying pan)
- ● All-purpose flour – 1 cup (for dredging; add spices if desired)
- ○ Cornstarch – ¼ cup (optional, for extra crispiness)
- ● Salt & black pepper – 1 tsp each (adjust to taste)
- ○ Paprika or garlic powder – ½ tsp (optional, for flavor)
- ● Deep skillet or Dutch oven (heavy-bottomed for even heat)
- ● Tongs or slotted spoon (for safe flipping & draining)
- ● Paper towels (to blot excess oil)
- ○ Meat thermometer (optional but recommended for perfect doneness—165°F internal temp)
- ○ Wire rack (optional, keeps chicken crispy while resting)
Instructions
Here’s how to achieve perfectly crispy fried chicken straight from the freezer—no thawing required.
Set Up Your Frying Station
Fill a deep, heavy-bottomed pot or Dutch oven with 2-3 inches of oil. I prefer peanut or vegetable oil for its high smoke point and neutral flavor. Heat the oil to 325°F over medium-high heat—use a candy or deep-fry thermometer for accuracy.
While the oil heats, prepare a wire rack set over a baking sheet. This is where your chicken will drain after frying, allowing air to circulate and prevent sogginess. I also like to have paper towels nearby for any last-minute blotting, though the rack does most of the work.
Prepare the Frozen Chicken
Remove the frozen chicken pieces from their packaging and place them on a clean plate. Don’t try to separate them if they’re stuck together—let them sit at room temperature for 5 minutes while the oil finishes heating. This brief rest helps the coating adhere better.
Here’s the thing—frozen chicken will lower the oil temperature when added, so we compensate by starting with slightly hotter oil. If you’re working with large pieces like thighs or breasts, you might need to adjust the cooking time later. The key is maintaining that 325°F oil temperature as much as possible.
Fry in Batches for Even Cooking
Carefully lower 3-4 pieces of frozen chicken into the hot oil using tongs. Don’t overcrowd the pot—this causes the oil temperature to drop too much, resulting in greasy rather than crispy chicken. The oil should bubble actively but not violently when the chicken is added.
Fry for 12-15 minutes, turning occasionally with tongs, until the chicken reaches an internal temperature of 165°F and the coating is deep golden brown. You’ll notice the bubbling slows as the chicken thaws—this is normal. For extra crispiness, I like to increase the heat slightly during the last 2 minutes of frying.
Drain and Rest Before Serving
Transfer the fried chicken to your prepared wire rack using tongs. Let it drain for 5 minutes before serving—this resting time allows the crust to set properly and prevents it from sticking to your fingers. You’ll hear a satisfying crunch when you move the pieces, which tells you the coating has crisped up perfectly.
If you’re frying multiple batches, keep the finished chicken warm in a 200°F oven while you cook the remaining pieces. This prevents the early batches from getting cold and losing their crispness. I always fry the dark meat first since it can handle the waiting time better than white meat.
Tips and Common Mistakes for Perfectly Crispy Frozen Fried Chicken
These key insights will help you avoid common pitfalls and achieve that ideal golden crunch every time.
Oil Temperature Control: Maintaining that 325°F oil temperature mentioned in Step 1 is absolutely crucial. When you add frozen chicken, the temperature will drop—this is normal. The trick is to let it recover to 325°F before adding your next batch. I always keep my thermometer in the oil the entire time to monitor this. If the temperature dips below 300°F, your chicken will absorb too much oil and turn greasy instead of crispy.
Batch Size Matters: In Step 3, when it says to fry 3-4 pieces at a time, this isn’t arbitrary. Overcrowding the pot causes the oil temperature to plummet, leading to soggy results. I learned this the hard way after ruining two batches by trying to cook everything at once. Stick to the recommended batch size, and you’ll get perfectly crispy chicken every time. For larger pieces like thighs, I sometimes reduce to 3 pieces per batch to maintain that critical 325°F temperature.
The Final Crisp: That last 2 minutes of frying mentioned in Step 3 is your secret weapon for extra crispiness. When you increase the heat slightly during this time, you’re essentially giving your chicken a final sear that locks in the crunch. Watch closely during these final minutes—the color will deepen quickly from golden to deep brown. This is when that perfect crust forms, so don’t walk away from the stove.
Resting is Non-Negotiable: The 5 minutes of resting time in Step 4 might seem unnecessary when you’re hungry, but it’s what transforms good fried chicken into great fried chicken. This brief rest allows the crust to set completely and the juices to redistribute. If you cut into it too soon, you’ll lose that satisfying crunch and the meat won’t be as juicy. I set a timer to resist the temptation to dig in early.
Pro Tips for Fry Chicken From Frozen
- These key insights will help you avoid common pitfalls and achieve that ideal golden crunch every time.
- Oil Temperature Control: Maintaining that 325°F oil temperature mentioned in Step 1 is absolutely crucial. When you a…
- Batch Size Matters: In Step 3, when it says to fry 3-4 pieces at a time, this isn’t arbitrary. Overcrowding the pot c…
Frequently Asked Questions
Got questions about frying chicken straight from the freezer? You’re not alone! Here are the most common concerns—and quick answers—to help you nail that crispy, juicy result every time.
Can I fry chicken from frozen without thawing it first?
Absolutely! Frying frozen chicken is safe if done correctly. The key is lowering the oil temp slightly (325–350°F) and increasing cook time by 30–50% to ensure it cooks through without burning the crust. Always use a meat thermometer to hit 165°F internally.
How much longer does frozen chicken take to fry vs. thawed?
Expect 5–8 extra minutes per side for bone-in pieces (e.g., 12–15 mins total for wings) and 3–5 extra minutes for boneless tenders. Larger cuts like thighs may need 20+ minutes. Pro tip: Partially cover the pan to trap steam and speed up cooking!
Why is my frozen fried chicken soggy or greasy?
This usually happens if the oil temp drops too low (below 300°F) or you overcrowd the pan. Fry in small batches and let the oil recover between adds. For extra crispiness, drain on a wire rack (not paper towels) and pop it in a 200°F oven for 5 mins post-fry.
Is it safer to deep-fry or pan-fry frozen chicken?
Both work, but deep-frying is more forgiving—it maintains a steady temp better. For pan-frying, use 1/2 inch of oil and flip frequently. Never use a non-stick pan; high heat can damage the coating. Cast iron is ideal!
Can I use an air fryer for frozen chicken instead?
Yes! Air fryers are a healthier alternative. Spray frozen chicken lightly with oil, then cook at 375°F for 18–22 mins (flip halfway). For breaded pieces, mist with oil again after 10 mins for extra crunch. Check internal temp—no guesswork!
Frying chicken straight from the freezer doesn’t have to mean sacrificing crispiness or flavor! With the right oil temp, cooking time adjustments, and a few pro tricks, you can achieve that golden, juicy perfection every time—no thawing required. 🍗✨
Now that you’re armed with the know-how, why not grab a bag of frozen chicken and put these tips to the test? Your next crispy, crowd-pleasing meal is just a fry away—happy cooking!

- Jollof Rice Sauce Recipe: West African Tomato and Spice Infusion - September 25, 2026
- Japanese Rice Soup Recipe: Umami-Rich Comfort in a Bowl - September 25, 2026
- Homemade Cream Of Rice Recipe: Silk-Smooth Breakfast in Minutes - September 25, 2026