
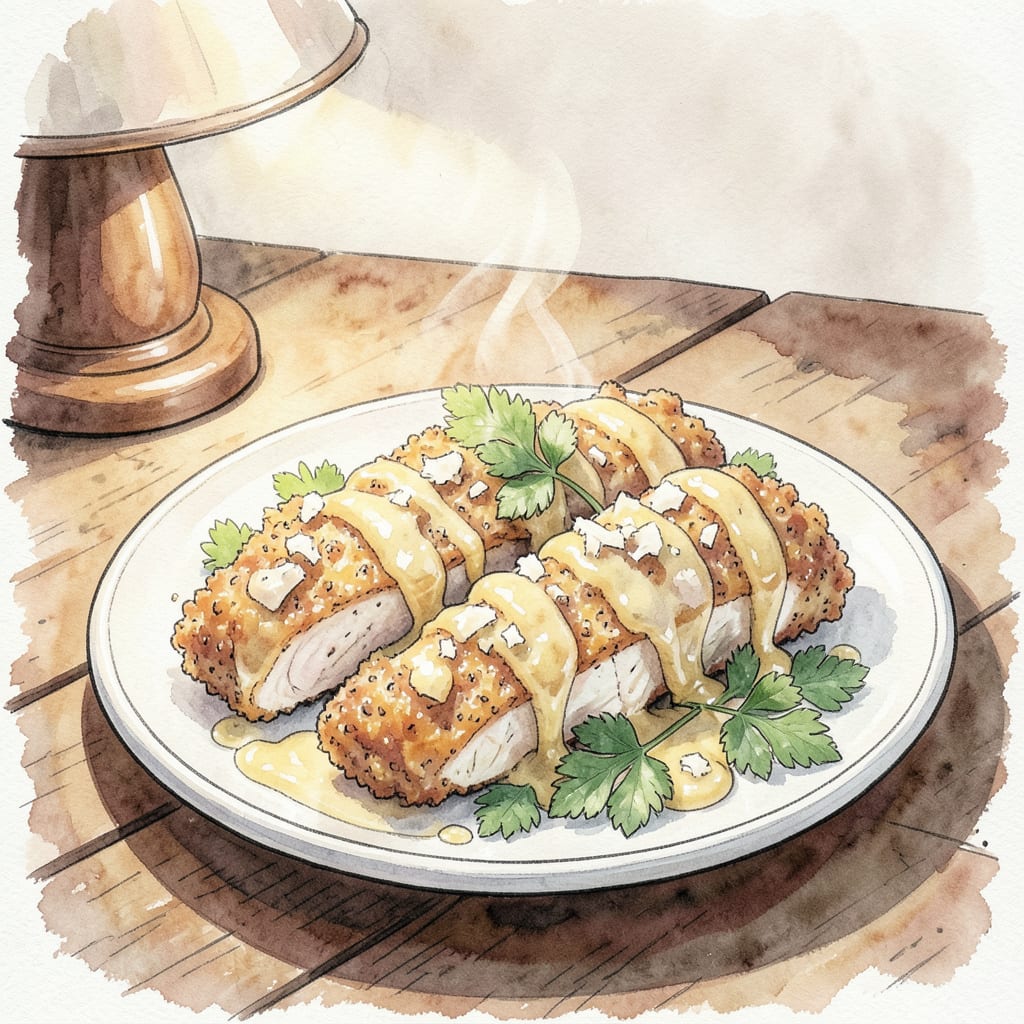
I’ve perfected a garlic parmesan chicken tenders recipe that delivers crispy exteriors and juicy interiors every time. The secret lies in a special breading technique and precise cooking temperature.
These tender and flavorful chicken strips are ready in just 20 minutes, making them perfect for a quick weeknight dinner. Serve with your favorite dipping sauce and enjoy the crispy, cheesy goodness.
Ingredients for Garlic Parmesan Chicken Tenders
Crispy garlic parmesan chicken tenders in 20 minutes with simple ingredients.
| Ingredient | Amount | Notes |
|---|---|---|
| Chicken Breast Tenders 🍗 | 1 ½ lb | Fresh, never frozen preferred |
| All-Purpose Flour 🌾 | 1 cup | For breading station |
| Garlic Powder 🧄 | 2 tsp | Not garlic salt |
| Italian Seasoning 🌿 | 1 tsp | Dried herb blend |
| Paprika 🌶️ | 1 tsp | Smoked or sweet |
| Large Eggs 🥚 | 2 whole | For egg wash |
| Panko Breadcrumbs 🍞 | 1 ½ cups | Fresh, not stale |
| Grated Parmesan Cheese 🧀 | 1 cup | Freshly grated preferred |
| Olive Oil 🫒 | ½ cup | For frying |
| Salt 🧂 | 1 tsp | Kosher salt preferred |
| Black Pepper 🌶️ | ½ tsp | Freshly ground |
| Garlic Cloves 🧄 | 3 cloves | Minced for flavor |
The parmesan makes or breaks this dish. Grab a wedge from the deli for the best flavor. Freshly grate it yourself—the pre-grated stuff just doesn’t melt right. For the chicken, look for tenderloin cuts or regular breast cut into strips. Most grocery stores have pre-cut tenders, which saves time.
No panko? Regular breadcrumbs with Italian seasoning are a decent substitute. If you’re out of garlic powder, mince fresh garlic and mix it into the egg wash. The Italian seasoning can be homemade with dried herbs like basil, oregano, and thyme. For an extra crispy coating, try grinding the panko finer in a food processor before mixing with parmesan.
These reheat beautifully in the oven at 350°F for about 10 minutes. Store leftovers in an airtight container for up to 3 days. Freeze cooked tenders on a baking sheet, then transfer to a freezer bag for up to 3 months.
Step-by-Step Instructions for Garlic Parmesan Chicken Tenders
Here’s the method that delivers perfectly crispy and juicy chicken tenders every time.
Step 1: Prepare the Breading Station
In one shallow dish, mix together the 1 cup All-Purpose Flour, 2 tsp Garlic Powder, 1 tsp Italian Seasoning, 1 tsp Paprika, 1 tsp Salt, and 0.5 tsp Black Pepper. I like to use a fork to ensure the seasonings are evenly distributed throughout the flour. In a second dish, beat the 2 whole Large Eggs until they’re well mixed. In a third dish, combine the 1.5 cups Panko Breadcrumbs and 1 cup Grated Parmesan Cheese, mixing until they’re well incorporated.
Having three separate stations like this makes the breading process much more efficient. You’ll be able to coat the chicken tenders evenly and quickly, which helps prevent them from drying out.
Step 2: Bread the Chicken Tenders
Take each of the 1.5 lb Chicken Breast Tenders and coat it in the flour mixture, shaking off any excess. Then dip it in the egg wash, making sure it’s fully coated. Finally, roll it in the breadcrumb mixture, pressing the crumbs onto the chicken to help them stick. I find that using one hand for the dry ingredients and the other for the wet ingredients keeps things tidy and prevents clumping.
Place the breaded chicken tenders on a plate or tray as you work. If you notice the breadcrumb mixture getting clumpy, give it a quick stir to redistribute the ingredients.
Step 3: Fry the Chicken Tenders
Heat the 0.5 cup Olive Oil in a large skillet over medium-high heat until it reaches 350°F. When the oil is hot enough, add a few of the breaded chicken tenders to the pan (don’t overcrowd it). Fry for 3-4 minutes per side until they’re golden brown and the internal temperature reaches 165°F. Repeat with the remaining chicken tenders.
As you fry, keep an eye on the oil temperature and adjust the heat as needed to maintain 350°F. If the oil starts to smoke, remove the pan from the heat for a minute to cool it down slightly.
Step 4: Finish with Garlic Flavor
Once all the chicken tenders are fried, reduce the heat to low and add the 3 cloves minced Garlic Cloves to the remaining oil in the pan. Cook for 1 minute until fragrant, stirring constantly to prevent burning. This step adds a rich, aromatic flavor to the chicken.
Toss the fried chicken tenders with the garlic-infused oil and serve immediately. The result should be crispy on the outside, juicy on the inside, and full of garlicky flavor.
Storing and Reheating This Recipe
Refrigerator Storage Tips
Let your garlic parmesan chicken tenders cool completely before storing them in an airtight container. I use glass containers with tight-fitting lids to prevent moisture from affecting the crispy coating. Store in the refrigerator for up to 3 days. ❄️
Freezer Storage Method
For longer storage, freeze the cooked chicken tenders on a parchment-lined baking sheet until solid, then transfer them to a freezer-safe bag or container. This prevents them from sticking together. They’ll keep for up to 3 months in the freezer.
Oven Reheating Technique
Reheat frozen or refrigerated chicken tenders in a 350°F oven for 10-12 minutes, flipping halfway through. This method maintains the crispy exterior better than microwaving. For frozen tenders, add an extra 2-3 minutes to the reheating time.
Avoiding Sogginess
To keep the coating crispy during reheating, place the chicken tenders on a wire rack over a baking sheet. This allows air to circulate around them, preventing sogginess. If you’re reheating from frozen, you can bake them straight from the freezer.
Microwave Reheating Shortcut
While the oven is preferred for maintaining crispiness, you can reheat chicken tenders in the microwave for 30-45 seconds on high. Place them on a microwave-safe plate and cover with a paper towel to absorb excess moisture. Be aware that the coating may not stay as crispy.
Reheating Multiple Tenders
For larger batches, use a single layer on the baking sheet to ensure even reheating. If you need to reheat a huge batch, consider using a convection oven setting at 325°F for more even heating. This helps maintain the crispy coating across all tenders. 🔥
Nutrition Facts
Frequently Asked Questions
What’s the best way to keep garlic parmesan chicken tenders crispy?
To maintain crispiness, place cooked tenders on a wire rack over a baking sheet during reheating. This allows air circulation and prevents sogginess. You can also reheat in a convection oven at 325°F for better results.
Can I make garlic parmesan chicken tenders ahead of time?
Yes, you can prepare them ahead! Bread the chicken tenders and refrigerate for up to 24 hours before frying. Alternatively, cook them completely, cool, and store in an airtight container in the refrigerator for up to 3 days.
What’s the ideal oil temperature for frying?
The optimal temperature is 350°F. Maintain this temperature throughout frying to ensure crispy exteriors and juicy interiors. Use a thermometer to monitor the oil temperature and adjust the heat as needed.
Can I bake instead of frying?
While baking is a healthier alternative, it won’t produce the same crispiness as frying. If you choose to bake, preheat your oven to 400°F and bake for 15-20 minutes, flipping halfway through. For extra crispiness, broil for an additional 1-2 minutes at the end.

- Jollof Rice Sauce Recipe: West African Tomato and Spice Infusion - September 25, 2026
- Japanese Rice Soup Recipe: Umami-Rich Comfort in a Bowl - September 25, 2026
- Homemade Cream Of Rice Recipe: Silk-Smooth Breakfast in Minutes - September 25, 2026