
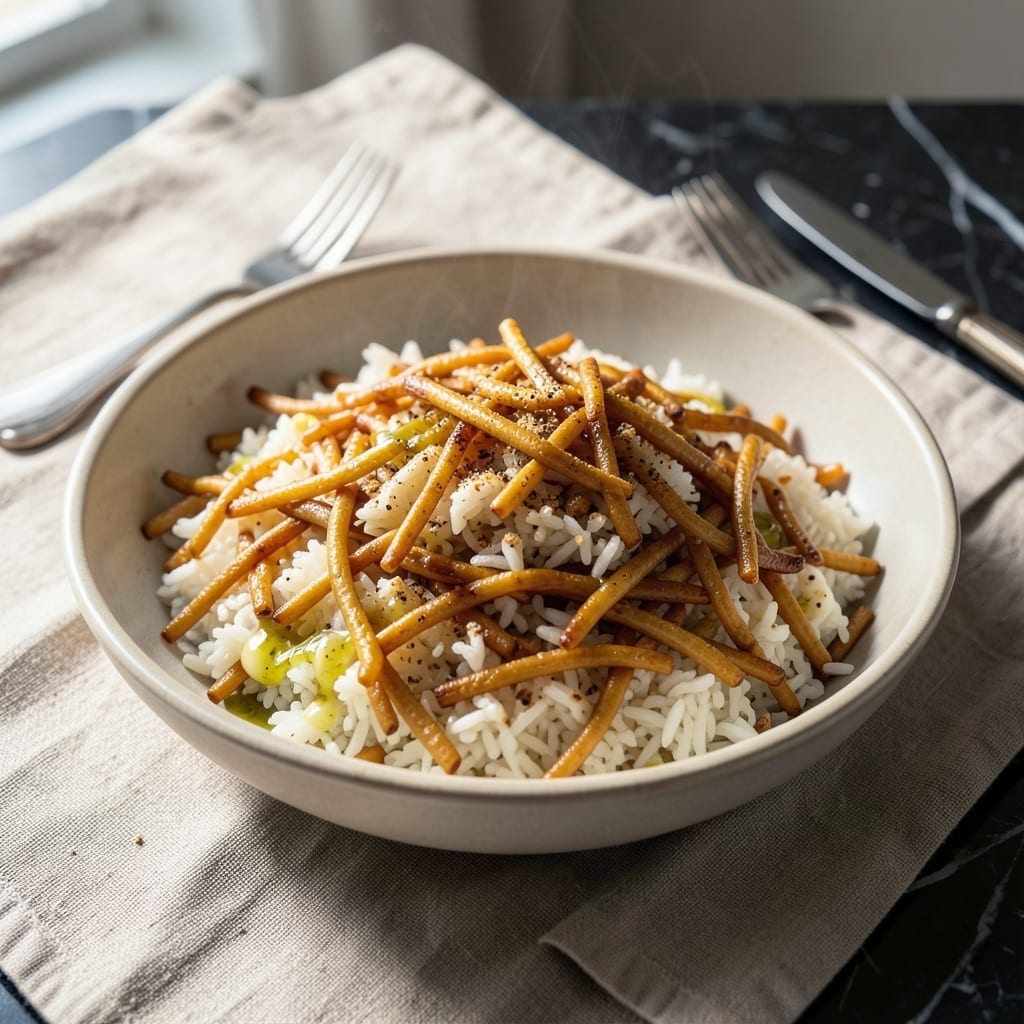
I’ve perfected a homemade version of the classic boxed dish, delivering all the familiar flavor without any gluten. This recipe stays true to the original while using simple, accessible ingredients.
You’ll get the same comforting taste and texture you remember, with the added benefit of knowing exactly what’s in your meal. It’s a straightforward, foolproof way to enjoy a childhood favorite again.
Ingredients for Gluten Free Rice a Roni
Simple pantry staples recreate that nostalgic boxed flavor at home.
| Ingredient | Amount | Notes |
|---|---|---|
| White Rice 🍚 | 1 ½ cups | Long-grain, uncooked |
| Vermicelli Pasta 🍝 | 1 cup | Gluten-free, broken into pieces |
| Chicken Broth 🍲 | 3 cups | Vegetable broth for vegetarian option |
| Butter 🧈 | ¼ cup | Unsalted, for toasting |
| Onion Powder 🧅 | 1 ½ tsp | For savory depth |
| Garlic Powder 🧄 | 1 ½ tsp | Balances the onion flavor |
| Dried Parsley 🌿 | 1 tbsp | Adds freshness to the blend |
| Celery Salt 🌿 | 1 tsp | Key for authentic flavor |
| Salt 🧂 | 1 tsp | Adjust to taste |
| Black Pepper 🌶️ | ½ tsp | Freshly ground preferred |
| Dried Onion Flakes 🧅 | 2 tbsp | For texture and flavor |
| Paprika 🌶️ | ½ tsp | For subtle smokiness |
The vermicelli is the trickiest part—look for gluten-free at Whole Foods or online. I like Jovial or Barilla’s gluten-free for texture. The broth matters too; Better Than Bouillon makes a solid vegetable base. For the spices, Penzeys has the freshest celery salt and onion powder. If your grocery store’s spice aisle is sad, the bulk section usually has better turnover.
No celery salt? Half teaspoon celery seed plus half teaspoon salt works. Out of onion flakes? Fresh minced onion at double the amount (cook it in the butter first). Want extra richness? Swap half the butter for olive oil. The paprika can be smoked if you like it deeper. Don’t skip the toasting step—it’s what gives that signature nutty aroma.
Leftovers keep 4-5 days in the fridge. Reheat with a splash of broth to revive the texture. Freezes well for up to 3 months—just thaw in the fridge overnight. I make a double batch and freeze half for lazy days.
Why You’ll Love This Recipe
- One Pan Meal: I love that everything cooks together—just rice, vermicelli, broth, and butter in one pot.
- Rich Chicken Flavor: The chicken broth and onion powder make it taste way better than the boxed version.
- Weeknight Hero: Honestly, it’s my go-to when I need something fast and filling on a busy evening.
- Budget Stretcher: A handful of pantry staples feeds my family for pennies per serving.
Step-by-Step Instructions for Gluten Free Rice A Roni
This homemade method delivers that nostalgic flavor with better ingredients and gluten-free ease.
Step 1: Toast the Vermicelli Pasta
Melt the 0.25 cup butter in a large skillet over medium heat. Once foamy, add the 1 cup vermicelli pasta and stir frequently. You’ll notice it turning from pale to a rich golden brown—this toasting step is critical for that signature nutty flavor.
Continue cooking for 3-5 minutes until the pasta is evenly browned and fragrant. Don’t walk away; vermicelli can go from perfectly toasted to burnt quickly. The aroma should be deeply savory, almost like popcorn.
Step 2: Add Rice and Seasonings
Stir in the 1.5 cups white rice, 2 tbsp dried onion flakes, 1.5 tsp onion powder, 1.5 tsp garlic powder, 1 tbsp dried parsley, 1 tsp celery salt, 1 tsp salt, 0.5 tsp black pepper, and 0.5 tsp paprika. Coat everything evenly in the butter so the spices bloom and adhere to the rice and pasta.
This step should take about 1-2 minutes. The rice grains will turn slightly translucent at the edges as they absorb the butter and spices. The mixture should look uniformly seasoned with no dry patches.
Step 3: Add Broth and Simmer
Pour in the 3 cups chicken broth and stir well to combine. Bring the mixture to a boil over medium-high heat, then immediately reduce to low heat. Cover the skillet tightly with a lid to trap the steam.
Let it simmer for 15-18 minutes until the liquid is fully absorbed and the rice is tender. Resist the urge to lift the lid—releasing steam interrupts the cooking process. You’ll know it’s done when the surface looks dry and the rice is fluffy when tested with a fork.
Step 4: Rest and Fluff
Remove the skillet from heat and let it sit covered for 5 minutes. This resting period allows the rice to steam gently and finish absorbing any remaining liquid. The vermicelli will soften further, and the flavors will meld together.
After resting, fluff the mixture with a fork to separate the grains and distribute the toasted vermicelli evenly. The texture should be light and airy, with the pasta pieces integrated throughout. Serve warm for the best experience.
Pro Tips For Making Gluten Free Rice A Roni
- Toast the Vermicelli: Brown the gluten-free vermicelli in the butter for 2-3 minutes before adding liquid—it adds a nutty depth that raw pasta just can’t deliver.
- Use Hot Broth: Pour in chicken broth that’s already simmering, not cold, or you’ll drop the temperature and end up with mushy rice and undercooked pasta.
- Skip the Stirring: Once the liquid is in, resist the urge to stir—it breaks the vermicelli and turns the rice to mush; just cover and let it steam.
- Double the Onion Powder: Gluten-free versions often taste bland, so bump the onion powder to 1.5 teaspoons—it actually changes the outcome.
Make-Ahead Tips for Leftovers
Prep Ahead
Mix all dry ingredients except the rice and vermicelli in a small bowl. I combine 1.5 tsp onion powder, 1.5 tsp garlic powder, 1 tbsp dried parsley, 1 tsp celery salt, 1 tsp salt, 0.5 tsp black pepper, and 0.5 tsp paprika for a quick seasoning blend. Store in an airtight container for up to 2 weeks. ✨
Toasting Vermicelli
Toast the 1 cup vermicelli pasta in 0.25 cup butter up to 1 day ahead and store at room temperature. The toasted pasta keeps its flavor well in a sealed bag.
Pre-Measure Rice
Measure out the 1.5 cups white rice and 3 cups chicken broth the night before. Keep the rice in a dry container and the broth in the fridge. This small step saves time on busy evenings.
Freeze Cooked Batches
Cook a double batch and freeze in 1-cup portions for up to 3 months. Use freezer-safe bags and squeeze out excess air. Thaw overnight in the fridge before reheating. 💡
Reheating Tips
Add 2 tbsp water or broth to each cup of frozen or refrigerated dish before reheating. Microwave covered on 50% power for 2-3 minutes, stirring halfway.
Nutrition Facts
Frequently Asked Questions
Can I use brown rice instead of white?
Yes, but adjust the liquid to 3.5 cups and simmer for 35-40 minutes. Brown rice needs more water and time to soften properly.
What if my vermicelli won’t brown?
Increase heat slightly and stir constantly. If it’s still pale after 5 minutes, add 1 tsp olive oil to help browning. Don’t let it burn.
Can I make this in a rice cooker?
Toast vermicelli in a pan first, then transfer everything to the cooker. Use the standard rice setting, but expect 20-25 minutes total.
How do I make it vegetarian?
Swap chicken broth for vegetable broth. The flavor remains rich, and all other ingredients are already plant-based.

- Fresh Turmeric Rice Recipe: Golden Grains with Earthy Warmth - October 7, 2026
- French Onion Brown Rice Recipe: Umami-Rich Grains With Caramelized Depth - October 7, 2026
- Rice Noodle Soup Recipe: Aromatic Broth with Silky Strands - October 7, 2026