
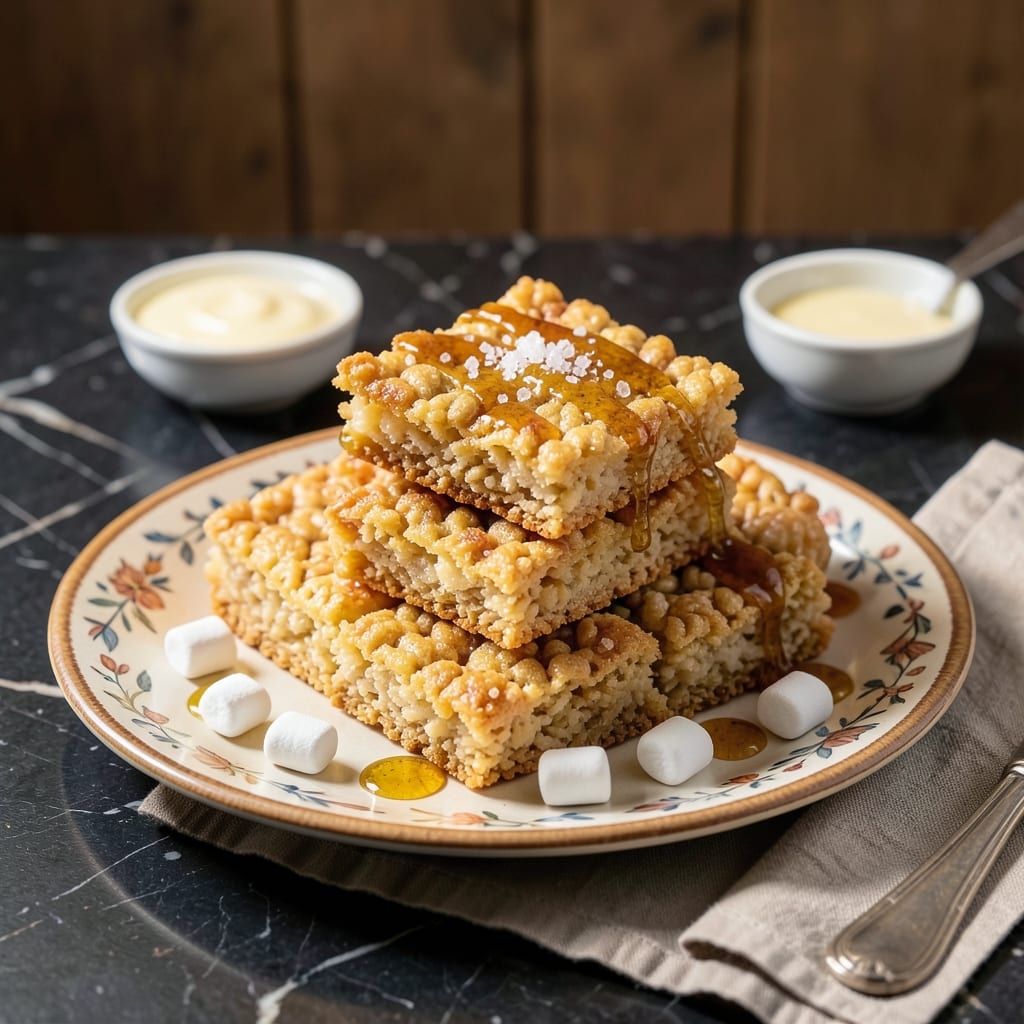
These no-bake treats deliver the same nostalgic crunch and sweetness as the classic, but with gluten-free ingredients. The secret lies in using certified gluten-free rice cereal and marshmallows to maintain that signature texture.
I developed this version after realizing how few store-bought options cater to dietary restrictions. The process takes just 15 minutes and requires no oven time, making it perfect for last-minute gatherings or satisfying a sweet tooth.
What you get is perfectly crispy squares with that familiar snap, held together by gooey marshmallow goodness. The result is so close to the original, even gluten-eaters won’t notice the difference.
Ideal for lunchboxes, potlucks, or an easy dessert solution. The squares keep well for days when stored properly.
Ingredients for Gluten Free Rice Krispie Squares
Certified gluten-free rice cereal and marshmallows create that perfect crispy texture everyone loves.
| Ingredient | Amount | Notes |
|---|---|---|
| Gluten-Free Rice Cereal 🌾 | 6 cups | Certified gluten-free brand required |
| Mini Marshmallows 🍬 | 10 oz | Certified gluten-free variety |
| Unsalted Butter 🧈 | ½ cup | Or vegan butter alternative |
| Vanilla Extract 🌿 | 1 tsp | Pure extract for best flavor |
| Sea Salt 🧂 | ¼ tsp | Fine grain preferred |
| Light Corn Syrup 💧 | 1 tbsp | Optional for extra chewiness |
| Cinnamon 🌶️ | ¼ tsp | Ground, for warmth |
The rice cereal is non-negotiable—Alexia or Nature’s Path are reliable certified gluten-free brands (check labels carefully, as some generic brands have cross-contamination warnings). Kraft Jet-Puffed marshmallows are confirmed gluten-free and melt beautifully. For the butter, Land O’Lakes or Kerrygold work well, but any unsalted variety will do. The cereal freshness matters too—stale cereal won’t give that signature snap.
No mini marshmallows? Regular ones cut into quarters work just as well (though they melt a bit slower). For a vegan version, Dandies brand marshmallows are perfect. Skipping the corn syrup? Increase the butter by 1 tbsp for binding. The cinnamon is optional but adds a lovely warmth—Ceylon if you’re feeling fancy, though standard ground works fine too.
Store in an airtight container at room temperature for up to 5 days. For longer storage, wrap individual squares in parchment and freeze for 2 months. They’ll soften slightly after a day, but the crunch returns once they’re back at room temperature.
Why You’ll Love This Recipe
- One-Pot Wonder: I melt the butter and marshmallows in a single saucepan, stir in the cereal, and press it into the pan—no extra bowls, no fuss.
- That Vanilla Magic: The vanilla extract turns the marshmallow-butter combo into something richer, like a cozy hug in square form.
- Party or Lunchbox: I pack these for school snacks or cut them into small squares for a last-minute potluck contribution.
- Stays Fresh for Days: Honestly, they taste just as good on day three as day one, and the batch is big enough to stash some in the freezer.
Step-by-Step Instructions for Gluten Free Rice Krispie Squares
This no-bake method delivers perfectly crispy treats with minimal effort.
Step 1: Melt the Butter and Prepare the Base
In a large saucepan, melt the 0.5 cup Unsalted Butter over low heat. You want the butter to melt completely without browning—this ensures a smooth, even base for your mixture. Watch carefully; butter can go from melted to browned quickly.
Once melted, stir in the 1 tbsp Light Corn Syrup and 0.25 tsp Sea Salt. The corn syrup adds extra chewiness and helps bind the ingredients, while the fine-grain sea salt dissolves easily for consistent seasoning. Remove from heat immediately after combining.
Step 2: Incorporate Marshmallows and Flavorings
Add the 10 oz Mini Marshmallows to the warm butter mixture. Place the saucepan back over low heat and stir constantly with a silicone spatula. The marshmallows will begin to soften and melt within 2-3 minutes.
As soon as the mixture is smooth and fully melted, remove from heat. Stir in the 1 tsp Vanilla Extract and 0.25 tsp Cinnamon. The vanilla adds depth of flavor, while the cinnamon provides a subtle warmth that complements the sweetness without overpowering it.
Step 3: Fold in the Cereal
Working quickly, add all 6 cups Gluten-Free Rice Cereal to the marshmallow mixture. Use the spatula to gently fold the cereal into the melted marshmallow, pressing down lightly to ensure every piece is evenly coated. This step requires swift action—the mixture begins to set as it cools.
Continue folding until no dry cereal remains visible. The texture should be sticky and uniform, with the cereal glistening from the marshmallow coating. If the mixture thickens too much before the cereal is fully incorporated, return the pan to low heat for 10-15 seconds to soften it slightly.
Step 4: Press and Shape the Squares
Transfer the mixture to a 9×13-inch baking dish lined with parchment paper. Use the spatula or your hands (lightly greased with butter or cooking spray) to press the mixture evenly into the pan. Apply firm, consistent pressure to compact the mixture—this ensures the squares hold together after cooling.
Aim for an even layer about 1-inch thick. The surface should be smooth and flat, with no visible gaps. If the mixture sticks to your hands or spatula, dip them in cold water to release more easily.
Step 5: Cool and Cut
Let the pan sit at room temperature for 30-45 minutes to set completely. You’ll know it’s ready when the top is firm to the touch and no longer shiny. Resist the urge to cut too soon—premature slicing can cause the squares to crumble.
Once fully set, use a sharp knife to cut into 16 equal squares. For clean cuts, dip the knife in hot water and wipe it dry between each slice. Store in an airtight container at room temperature for up to 3 days.
Pro Tips For Making Gluten Free Rice Krispie Squares
- Melt Butter Low: I learned this the hard way—melting the butter over low heat prevents the marshmallows from seizing up or turning grainy when you add them.
- Press While Warm: Work fast and press the mixture into the pan while it’s still warm and sticky, using a buttered spatula or your hands (lightly greased) to avoid a crumbly mess.
- Use Fresh Marshmallows: Sounds weird, but it works: stale mini marshmallows don’t melt as smoothly, so check the bag’s freshness date for the gooiest texture.
- Add Salt Last: Sprinkle the sea salt over the top just before pressing into the pan—this keeps the flavor bright and prevents it from dissolving into the marshmallow mix.
Troubleshooting Perfect Results
Too Sticky Mixture
If your mixture feels overly sticky, it likely needs more cereal. Add an extra ½ cup gluten-free rice cereal and fold gently. This often happens when marshmallows melt too quickly over high heat. 💡
Squares Won’t Hold
When squares crumble, they probably didn’t cool long enough. Ensure 30-45 minutes of setting time at room temperature. Pressing too lightly during shaping can also cause this—use firm, even pressure.
Hardened Treats
If your squares turn rock-hard, the marshmallows may have been overcooked. Next time, melt them over low heat and remove from heat as soon as they’re smooth. Storing in an airtight container helps maintain the right texture.
Uneven Coating
For cereal that isn’t fully coated, work faster when folding. If the mixture thickens before full incorporation, return the pan to low heat for 10-15 seconds to soften. Use a silicone spatula for best results.
Butter Separation
If butter pools at the bottom, your heat was too high. Melt butter over low heat only. Also, ensure all ingredients are at room temperature before starting. This prevents the butter from cooling and separating.
For vegan versions, Dandies marshmallows melt differently—stir constantly and remove from heat the moment they’re smooth. ✨
Nutrition Facts
Frequently Asked Questions
Can I use regular marshmallows instead?
No, regular marshmallows often contain gluten. Stick with certified brands like Kraft Jet-Puffed or Dandies for vegan. Always check labels for cross-contamination warnings.
Why did my squares turn out hard?
Overcooking the marshmallows causes this. Melt them over low heat and remove immediately once smooth. Storing in an airtight container prevents hardening over time.
How do I make them extra crispy?
Press the mixture firmly into the pan using buttered hands. Let it set for the full 45 minutes before cutting. Fresh cereal also makes a big difference in texture.
Can I add chocolate chips?
Yes! Stir in 1 cup gluten-free chocolate chips after folding in the cereal. Press lightly so they don’t sink to the bottom. Let cool completely before cutting.

- Gobi Fried Rice Recipe: Spiced Cauliflower Wok Delight - October 8, 2026
- Glutinous Rice Roll Recipe: Chewy Pillows With Savory Fillings - October 8, 2026
- Garlic Jasmine Rice Recipe: Fragrant Grains with Aromatic Depth - October 8, 2026