
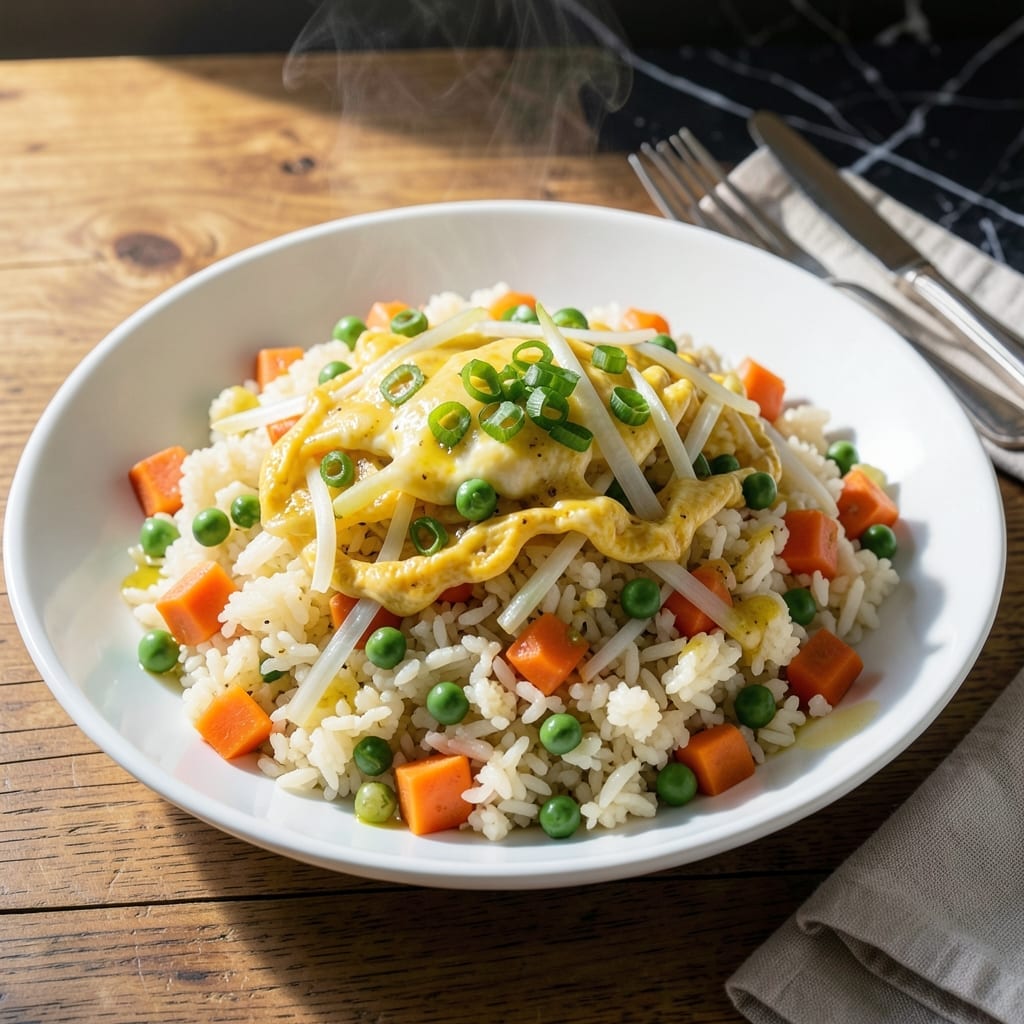
I developed this cauliflower fried rice to solve the age-old problem of getting more vegetables into meals without sacrificing flavor. This version transforms riced cauliflower into a satisfying main dish that even skeptics will love.
The secret is high heat and proper seasoning. Cooking the cauliflower rice quickly in a hot wok prevents mushiness while maintaining that signature fried rice texture. Fresh vegetables add color and crunch to every bite.
What you get is a veggie-packed dish with all the familiar flavors of takeout fried rice but with a lighter, fresher twist. It comes together in 20 minutes with simple ingredients from any grocery store.
Perfect for busy weeknights or when you want a vegetarian meal that doesn’t skimp on satisfaction. Here’s how to make it right.
Ingredients for Green Giant Cauliflower Fried Rice
Fresh veggies, pantry staples, and one bag of riced cauliflower make this dish sing.
| Ingredient | Amount | Notes |
|---|---|---|
| Green Giant Riced Cauliflower 🥬 | 24 oz | Frozen, thawed and drained |
| Large Eggs 🥚 | 3 whole | Beaten for scrambling |
| Carrots 🥕 | 2 whole | Medium, finely diced |
| Green Onions 🧅 | 4 whole | Thinly sliced, whites and greens separated |
| Frozen Peas 🌱 | 1 cup | Thawed if time allows |
| Garlic Cloves 🧄 | 3 cloves | Minced for maximum flavor |
| Fresh Ginger 🌿 | 1 tbsp | Peeled and grated |
| Soy Sauce 💧 | 3 tbsp | Low-sodium preferred |
| Sesame Oil 🫒 | 1 tbsp | Toasted for depth |
| Vegetable Oil 🫒 | 2 tbsp | High smoke point for frying |
| Diamond Crystal Kosher Salt 🧂 | ½ tsp | Adjust to taste |
| Black Pepper 🌶️ | ¼ tsp | Freshly ground preferred |
| Rice Vinegar 💧 | 1 tsp | Adds necessary tang |
The cauliflower rice is the star—Green Giant’s frozen riced cauliflower works perfectly (no prep, just thaw and drain). For the veggies, hit the fresh section for carrots and green onions—look for bright colors and firm textures. Most grocery stores carry everything you need. I grab my ginger and garlic from Whole Foods when I want extra freshness, but the regular supermarket stuff is totally fine too.
No riced cauliflower? Pulse fresh cauliflower in a food processor until it resembles rice (about 1 medium head for 24 oz). Out of peas? Corn or diced bell peppers add similar color and crunch. For soy sauce, tamari works in a 1:1 swap if you need gluten-free. The sesame oil is non-negotiable for that authentic flavor—don’t skip it (a little goes a long way).
This keeps 3-4 days in the fridge, and honestly tastes even better the next day. Reheat in a skillet with a splash of water to restore the texture. Don’t freeze it though—the cauliflower gets watery. Best made fresh, but leftovers are still pretty great.
Why You’ll Love This Recipe
- One Pan Wonder: I can toss the Green Giant riced cauliflower, eggs, and veggies straight into a skillet—no chopping, no fuss.
- Crave-Worthy Bites: The eggs scramble into soft pillows while the peas and carrots add that sweet crunch I never knew I needed.
- Meal Prep MVP: I make a big batch on Sunday and it reheats beautifully for lunches all week.
- Budget Stretcher: Honestly, a bag of riced cauliflower and a few eggs feed my family for less than takeout.
Step-by-Step Instructions for Green Giant Cauliflower Fried Rice
Here’s my proven method for achieving that perfect wok-seared texture with vibrant vegetables every time.
Step 1: Prep Vegetables and Aromatics for Maximum Flavor
Finely dice the 2 whole Carrots into uniform ¼-inch pieces so they cook evenly. Thinly slice the 4 whole Green Onions, keeping the white and green parts separate—you’ll use the whites now and greens later for garnish.
Mince the 3 cloves Garlic Cloves and peel and grate the 1 tbsp Fresh Ginger. This prep work ensures all your aromatics are ready to go when the wok is hot. I like to keep everything in small bowls within arm’s reach for efficient cooking.
Thaw and drain the 24 oz Green Giant Riced Cauliflower thoroughly—excess moisture will steam your dish instead of frying it. Press it between paper towels to remove every last drop of water.
Step 2: Scramble Eggs and Create the Flavor Base
Beat the 3 whole Large Eggs with a pinch of the 0.5 tsp Diamond Crystal Kosher Salt until no streaks remain. Heat 1 tbsp Vegetable Oil in a large wok or skillet over medium-high heat until it shimmers.
Pour in the beaten eggs and let them sit undisturbed for 10 seconds until the edges set. Then scramble quickly with a spatula until just set but still slightly soft. Remove the eggs and set aside—they’ll finish cooking when combined with the other ingredients.
In the same pan, add the remaining 1 tbsp Vegetable Oil, then toss in the diced carrots. Stir-fry for 2-3 minutes until they begin to soften but retain some bite. Add the minced garlic, grated ginger, and the white parts of the green onions. Cook for 30 seconds until fragrant.
Step 3: Cook Cauliflower Rice and Vegetables to Perfection
Increase heat to high and add the drained riced cauliflower to the wok. Stir-fry for 4-5 minutes, breaking up any clumps with your spatula, until the cauliflower is tender and beginning to brown in spots.
Add the 1 cup Frozen Peas and cook for another 2 minutes until heated through. The peas should remain bright green and slightly crisp. Return the scrambled eggs to the pan and mix gently to combine.
Drizzle the 3 tbsp Soy Sauce, 1 tbsp Sesame Oil, remaining 0.5 tsp Diamond Crystal Kosher Salt, 0.25 tsp Black Pepper, and 1 tsp Rice Vinegar over the mixture. The vinegar adds a subtle tang that balances the richness.
Step 4: Finish and Garnish for Optimal Texture
Stir-fry everything together for 1-2 minutes until all ingredients are evenly coated and heated through. Taste and adjust seasoning if needed, but remember the soy sauce already adds significant saltiness.
The cauliflower should have a slight bite with some caramelized edges, and the peas should pop in your mouth. If the mixture seems dry, add a splash of water and let it steam for 30 seconds.
Remove from heat and garnish with the reserved green onion greens. The contrast of the fresh, crisp greens against the warm, savory dish is what makes this recipe special. Serve immediately while hot for the best texture.
Pro Tips For Making Green Giant Cauliflower Fried Rice
- Pre-Cook the Veggies: Sauté the carrots and peas separately before adding the riced cauliflower—I learned this the hard way after ending up with crunchy carrots in my final dish.
- Dry the Riced Cauliflower: Pat the Green Giant riced cauliflower dry with a paper towel to remove excess moisture, or it’ll steam instead of fry, leaving you with a soggy mess.
- Scramble Eggs First: Cook the eggs first in the pan, then set them aside—this guarantees they stay fluffy instead of turning rubbery when mixed with the cauliflower.
- Use High Heat: Crank the heat to medium-high when frying the cauliflower rice to get that slight char and mimic the texture of traditional fried rice.
Pro Cooking Tips for Great green giant cauliflower fried rice
Wok Heat Control
Your wok needs to be screaming hot before adding ingredients. I test mine by flicking a drop of water—if it sizzles and evaporates immediately, it’s ready. Use medium-high to high heat throughout cooking. A well-seasoned carbon steel wok distributes heat beautifully, but a heavy skillet works too. 🔥
Drain Cauliflower Well
This is non-negotiable. Thaw the 24 oz Green Giant Riced Cauliflower completely, then wrap in a clean towel and squeeze. Any excess moisture will steam your dish instead of frying it. I’ve ruined batches by skipping this step—learn from my mistakes.
Egg Timing Trick
Cook the 3 beaten eggs first, then set aside. This prevents them from overcooking when combined with other ingredients. Scramble just until soft curds form—they’ll finish cooking later. Use 1 tbsp Vegetable Oil for this step to prevent sticking.
Stir-Fry Sequence
Cook aromatics first, then veggies, then cauliflower. Add the 1 cup Frozen Peas last—they only need 2 minutes to heat through. This order ensures everything finishes cooking at the same time without overcooking any component.
Seasoning Balance
The 3 tbsp Soy Sauce adds most of the salt, so go light on the 0.5 tsp Diamond Crystal Kosher Salt. Taste before adding more. The 1 tsp Rice Vinegar brightens all the flavors—don’t skip it. I add it at the very end for maximum impact. 💡
Texture Monitoring
Your cauliflower should have a slight bite with some caramelized edges. If it’s mushy, your heat wasn’t high enough or you overcrowded the pan. Work in batches if needed. The peas should remain bright green and slightly crisp when done properly.
Nutrition Facts
Frequently Asked Questions
Do I need to thaw the cauliflower rice first?
Yes, thaw and drain it completely. Press between paper towels to remove all moisture. Excess water will steam instead of fry your dish.
Can I make this without a wok?
A large skillet works just as well. Use medium-high heat and cook in batches if needed to avoid overcrowding. The key is maintaining high heat for proper browning.
What if my cauliflower turns mushy?
This happens when there’s too much moisture or the heat isn’t high enough. Ensure your cauliflower is thoroughly drained and your pan is screaming hot before adding it.
Can I add other vegetables?
Try bell peppers, corn, or broccoli. Add harder veggies first, delicate ones last. Keep total additions under 2 cups to maintain the right texture.

- Ground Beef Rice and Beans Recipe: Slow-Simmered Savory Harmony - October 17, 2026
- Guyanese Fried Rice Recipe: Caribbean Spice With Wok-Charred Aromatics - October 17, 2026
- Hakka Thunder Tea Rice Recipe: Wok-Charred Herbal Infusion - October 17, 2026